Peer-to-Peer - Messaging Automation
The Messaging Automation is a suite of tools used to create default Emails and Notifications within your Peer To Peer Site.
Summary
Messaging Automation allows you to create default styled emails that automatically loads or get sent depending on the type of automation it is. The process follows similar steps on how you build your Marketing Tools - Broadcast Emails.
Once you build your Peer To Peer Site, some of these messages would be created by default. However, you can still manage these messages if you want to add new message, simply click on the New Automation [![]() ]. If you want to manage existing messages, you can click on either of the three icons on the right most side of each message:
]. If you want to manage existing messages, you can click on either of the three icons on the right most side of each message:
Icon | Details |
|---|---|
 | This indicates that the automation message is currently activated and is in use for your Peer to Peer site. |
 | This indicates that the automation message is currently deactivated and can’t be an option for users to see the message or send the message. |
 | This for internal users to be able to mange and make changes to the message and the details within it. |
 | This is for the ability yo delete the automation message for the list of messages in your Site. Note that if the message is activated, the delete icon will be grayed out. |

You can only use one Broadcast Template across the emails however, the information can still vary within each email.
Messaging Emails
Messaging Type | Details |
|---|---|
Donation | This automation triggers an email notification to the team captain whenever a donation is made on their team page. |
Login | This automation will send a 1-time link which will allow a fundraiser to log into their dashboard. |
Registration | This automation sends a confirmation email to new fundraisers as they register on the site. |
Thank Donor | This message is sent to a donor whenever a fundraiser sends a thank you message from their fundraiser dashboard. |
Administrative | This automation sends a confirmation email to new fundraisers as they register on the site. |
Goal-Based Milestones |
|
Coaching |
|
Event-Based Notification | This automation triggers an email notification to the team captain whenever a team member joins their team. |
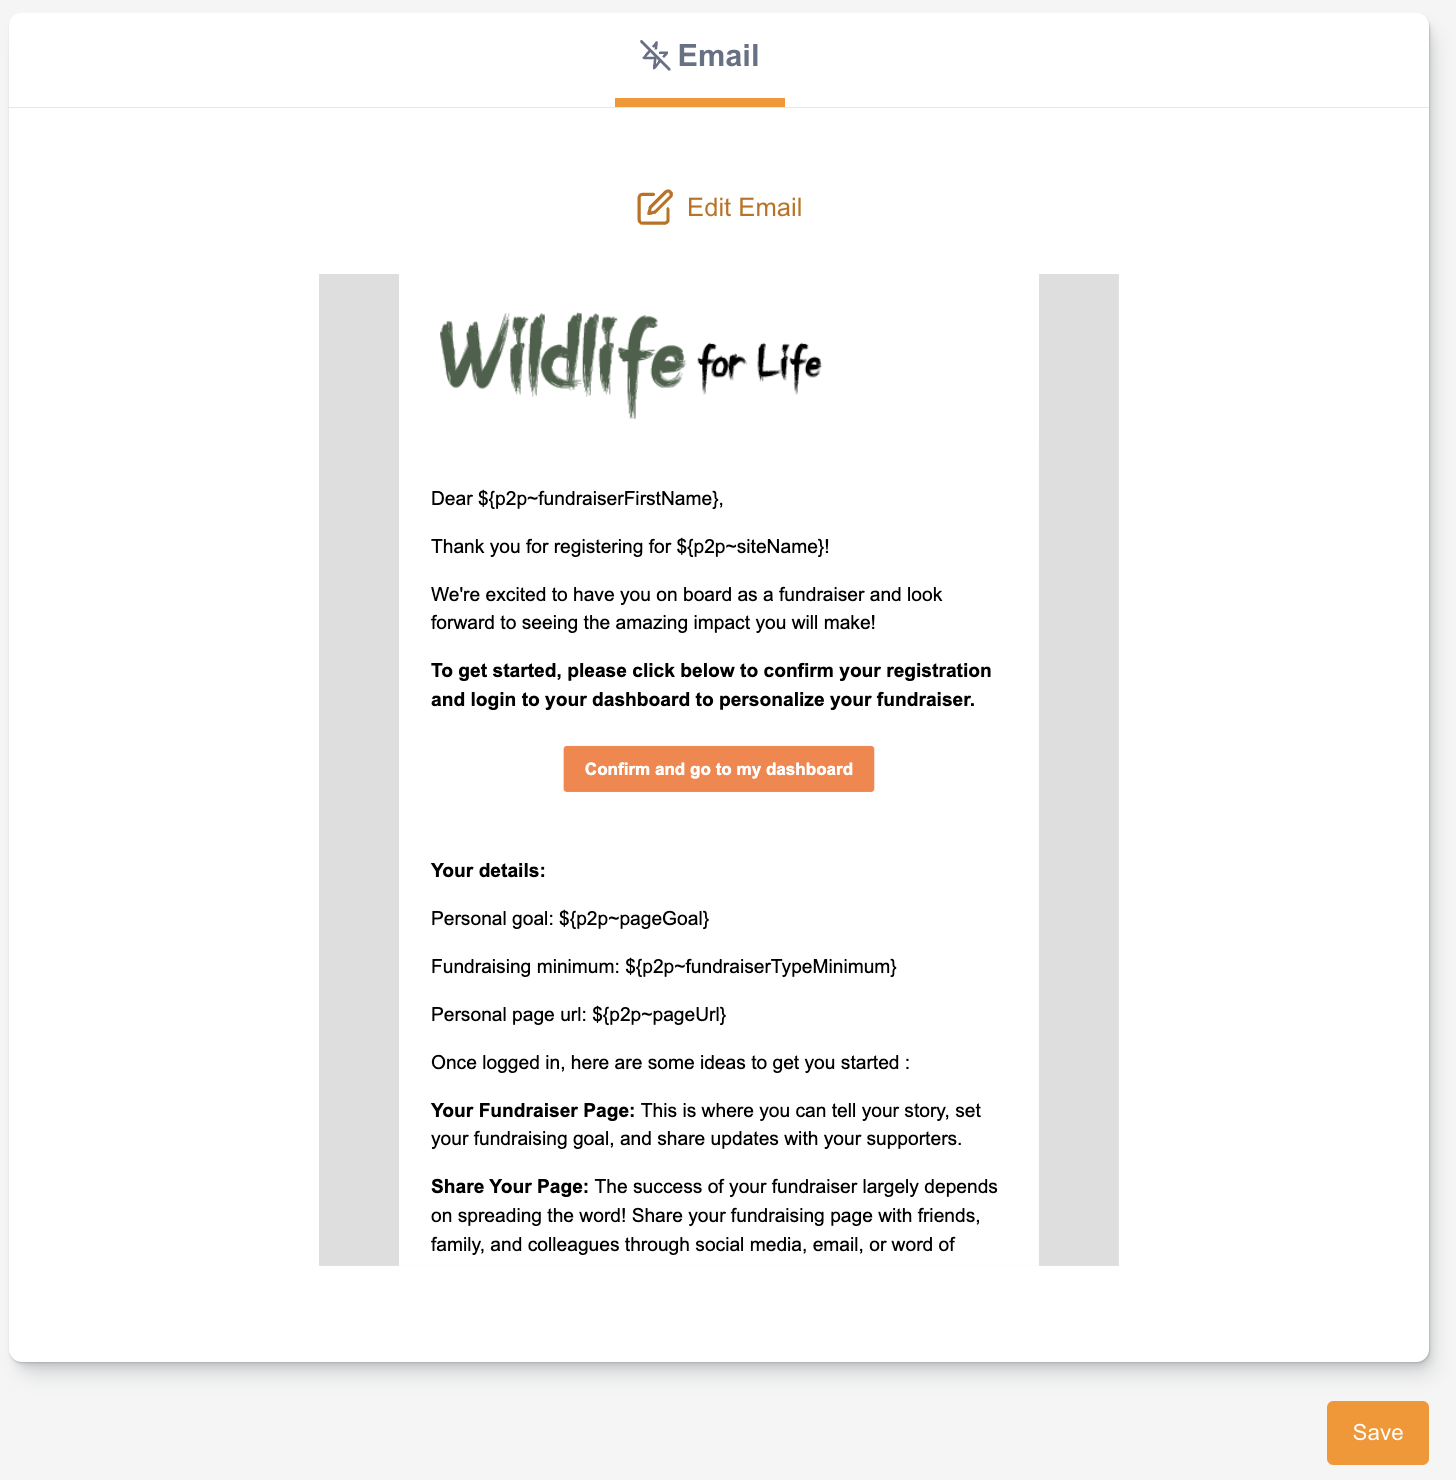
Email Preview
In this section, you can specify the email name, execute a test send, and modify the email's content. This functionality parallels the features in our Marketing Tools for Broadcast Emails. You can add content blocks, insert text and hyperlinks, and configure key email parameters, including sender information and subject lines.
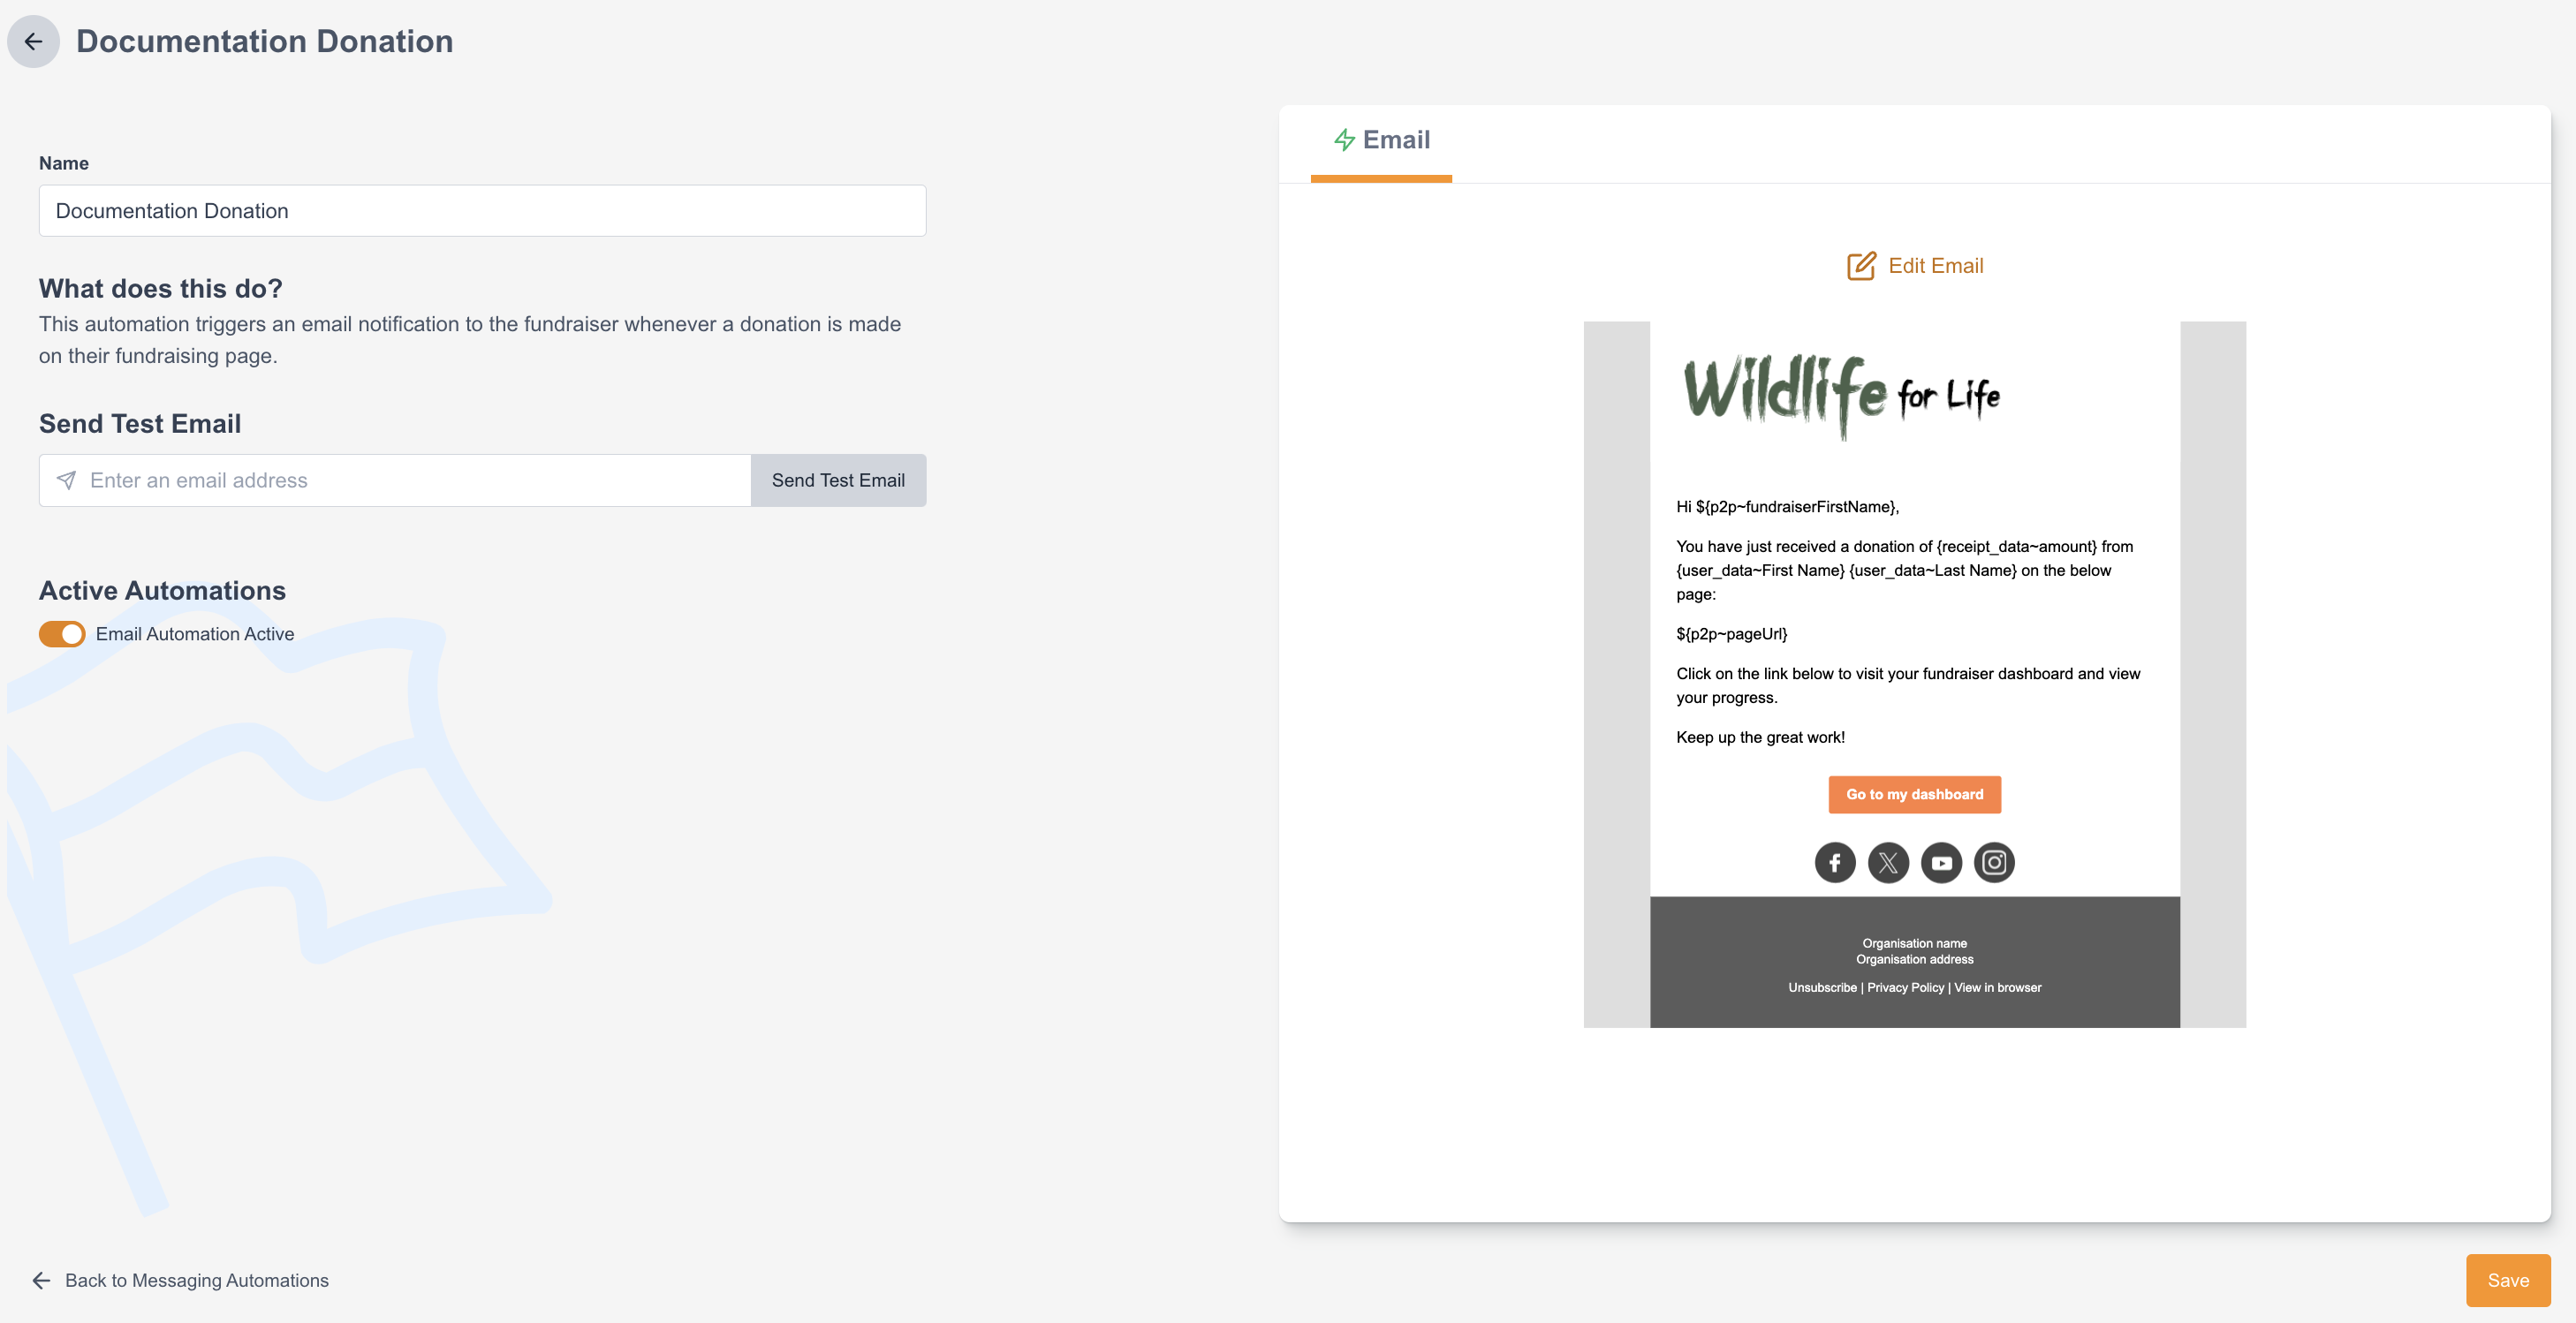

Left Side Panel
Depending on the type of Automation Message you are working on, the details or information reflected may vary. Here are the details on those:
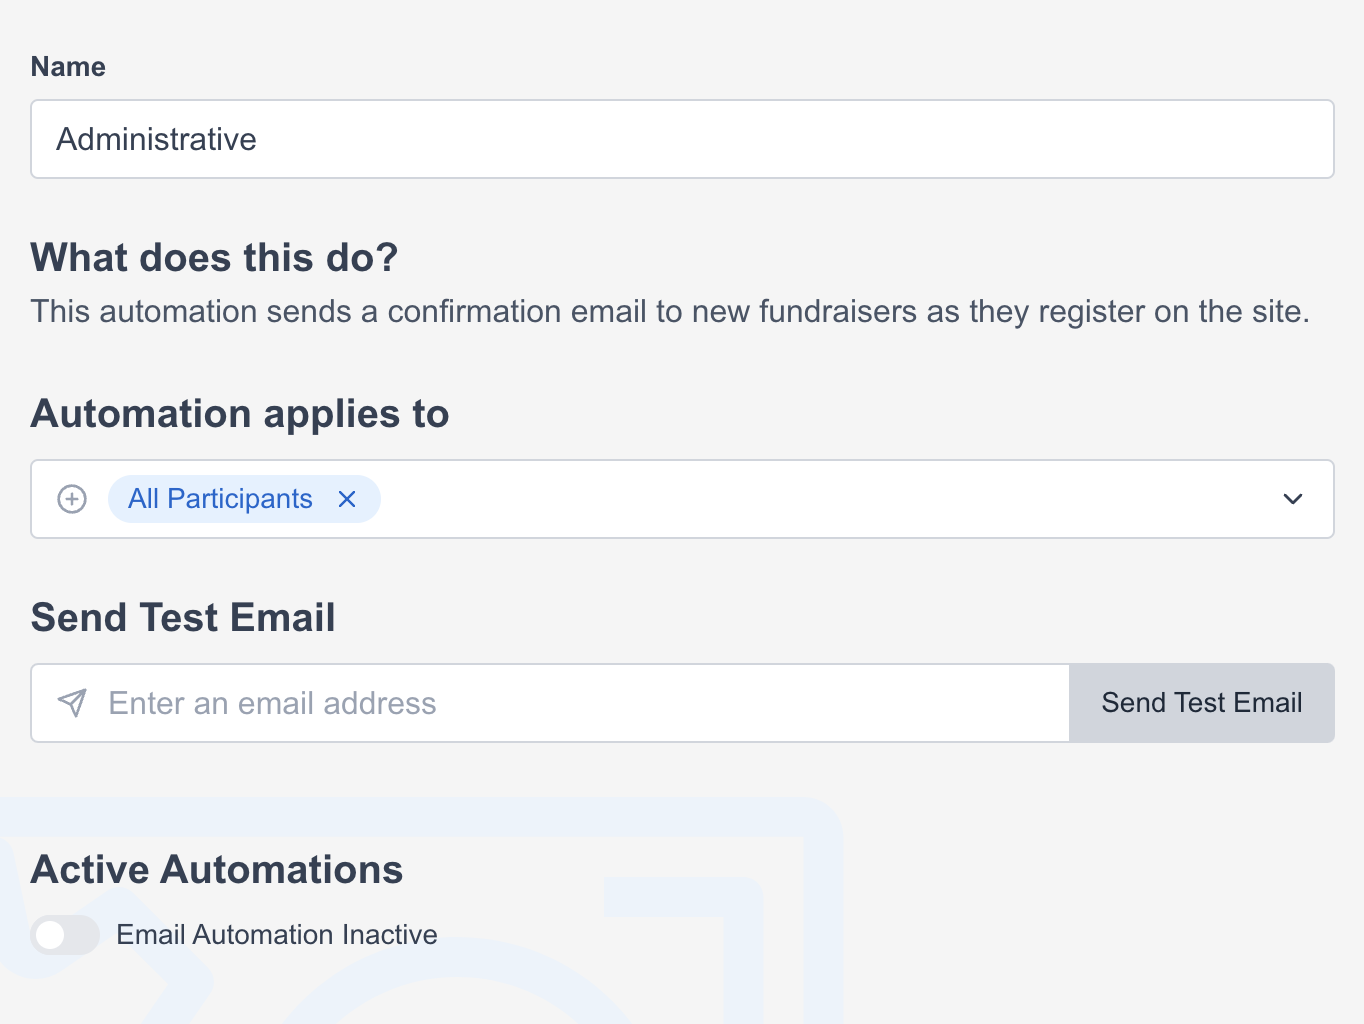
Name - Descriptive name you would like to give the message for your own purposes.
What does this do - Gives you a short summary what the type of automation you are working on is for.
Automation Applies to - Able to select if you want the message to be sent to all Participation Types or specific types only.
Send Test Email - Lets you directly send a test email to specific email address to preview the message similar to how it would be if its received from the front-end.
Active Automation - Similar to the Icon in the above article, this acts as a way for you to either set the message as active/inactive.
Right Side Panel
This gives you a preview of how the message would look like in the front-end. There is a button above the previewed message where you can edit your message [![]() ]. Below the preview is where you are able to save the changes you made for the messaging.
]. Below the preview is where you are able to save the changes you made for the messaging.
Navigating inside the Email Message
Here you can see similar features found in the Broadcast Email - Marketing Tools. Where you have the editable preview on the left side and the details of the selected components block on the right side. You can navigate to each block and add multiple blocks depending on how you want to mange your message.
To add a block, simply hover over to an existing block and a blue box will appear over it with a plus icon that you can click on.

Once selected, you will find available Sample Blocks and Custom blocks which is also found in your Marketing Tools.
The four arrow icon allows you to drag the block into a different position
The bin icon deletes the block from the message
The + icons above and below the block allows you to insert a block before or after it. This will show you a new screen where you can insert either Sample Blocks (for our sample templates), or Custom Blocks which you or your designer has made for your account
To know more about how to navigate and manage existing Components blocks, check the article here.
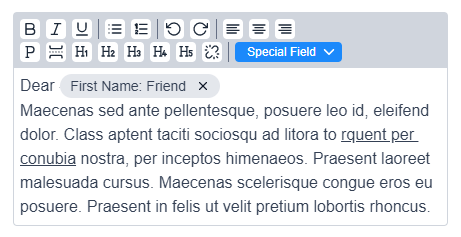
Editing text “rich text editor” blocks
This editor is shown for blocks that contain editable text. Simply type into this area to change the content. You can also use the icons to format the text.
Icons | Details |
|---|---|
 | will add Bold, Italics or Underline to the selected text. |
 | create bullets or numbered lists |
 | undo or redo |
 | Left align, Centre align, Right align selected text |
 | Set the text as normal (paragraph text), add a horizonal rule, or set the text as Heading 1, Heading 2, Heading 3, Heading 4, or Heading 5 |
 | Unlink the text (if you added a text via the Special Field dropdown) |
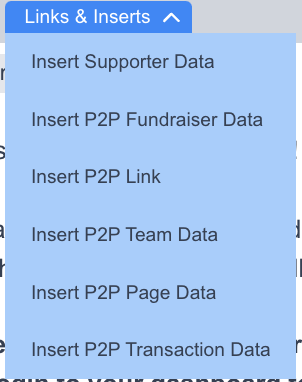 | insert a Special field into the email. This can be one of:
More information about the different merge tag available HERE |
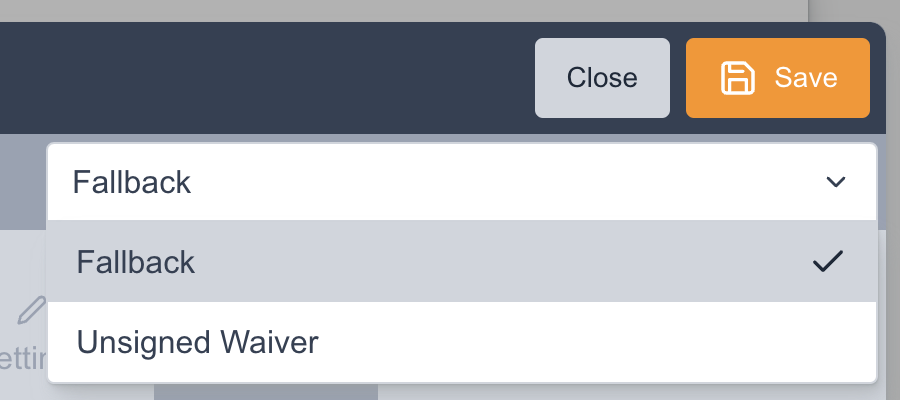
Automation Message Settings
This is where you are able to manage the name of the Message again, the Subject Line you want to use to reflect once the message is sent out to the recipient and the Sender of the message you want to use.

For the Subject Line, you are also able to insert Supporter Data to your line.
For the Sender, you are able to see the list of available Senders that are created on your Email Address list within your Account Settings. This can be managed via the edit icon within the sender box, or via the Hello menu > Account settings > Accounts emails of the type “Broadcast email sender”. Make sure that the sender’s domain is authenticated.
Once everything is set and built, you can now click on the save button and send a test email or navigate to your next Automation Message to make the changes and updates needed.
Available Merge Tag Fields
Supporter Data
First Name | ${p2p~fundraiserFirstName} |
Last Name | ${p2p~fundraiserLastName} |
Other Supporter Fields that you can insert will have the default merge tags formatted like {user_data~Supporter Field}
P2P Fundraiser Data
Fundraising Goal | ${p2p~pageGoal} |
% Raised | ${p2p~pagePercentRaisedToGoal} |
Amount Raised | ${p2p~pageAmountRaised} |
Amount Left To Goal | ${p2p~pageAmountLeftToGoal} |
Number Of Donations | ${p2p~pageDonationCount} |
Participant Type | ${p2p~fundraiserTypeDisplayName} |
Registration Fee | ${p2p~fundraiserTypeFee} |
Additional Donation | ${p2p~donationAdditionalAmount} |
Total Paid | {receipt_data~amount} |
Fundraising Minimum | ${p2p~fundraiserTypeMinimum} |
Amount Left To Minimum | ${p2p~pageAmountLeftToMinimum} |
P2P Page Links
Individual Fundraiser Page | ${p2p~pageUrl} |
Team Page | ${p2p~teamPageUrl} |
Fundraiser Dashboard | ${p2p~participantLoginUrl} |
Team Data
Team Goal | ${p2p~teamPageGoal} |
Amount Raised | ${p2p~teamPageAmountRaised} |
Team Name | ${p2p~teamPageName} |
Captain First Name | ${p2p~teamCaptainFirstName} |
Captain Last Name | ${p2p~teamCaptainLastName} |
Number Of Team Members | ${p2p~teamMembersCount} |
Page Data
Site Name | {p2p~siteName} |
Page Name | ${p2p~pageName} |
Page Title | ${p2p~pageTitle} |
Page Subtitle | ${p2p~pageSubtitle} |
Page's Profile Image | ${p2p~pageImageUrl} |
Page Story | ${p2p~pageStoryTitle} |
Page ID | ${p2p~pageId} |
P2P Transaction Data
Amount Processed | {receipt_data~amount} |