
Deleting supporters is a permanent action and cannot be undone. Please review this article carefully to fully understand the consequences of deleting supporters.
Deleting supporters in Engaging Networks should be done carefully, as this action permanently removes supporter data from your account. This guide walks through the steps, permissions required, and important considerations before deleting any supporter record.
Consequences of Deleting Supporters
Deleting supporters deletes all identifiable data for the supporter and all transactions and transaction history for the supporter in your Engaging Networks including but not limited to:
-
One time donations
-
Recurring donations including active recurring donations (active recurring transactions will stop)
-
Opt in responses
-
Interactions with emails and email engagement scores
-
Advocacy submissions
Deleting Individual Supporters
Users can individually delete supporters or a selection of supporters from the Lookup Supporter area of Engaging Networks under Data & Reports > Lookup Supporter and then searching for the record they intend to delete.
Users can delete a supporter record from an account with the 
Deleting Supporters in Bulk
Deleting supporters is a permanent action and cannot be undone. Before proceeding with a bulk deletion, please review this article carefully to fully understand the consequences of deleting supporters.
1. Prepare a CSV of supporters to delete
-
The file should only have one column with each row having the email address of the supporter who should be deleted
-
Include a header row with a name for the email address column, e.g., Email
-
The CSV should be UTF-8 encoded
-
Sample file: Supporter_Delete _Sample.csv
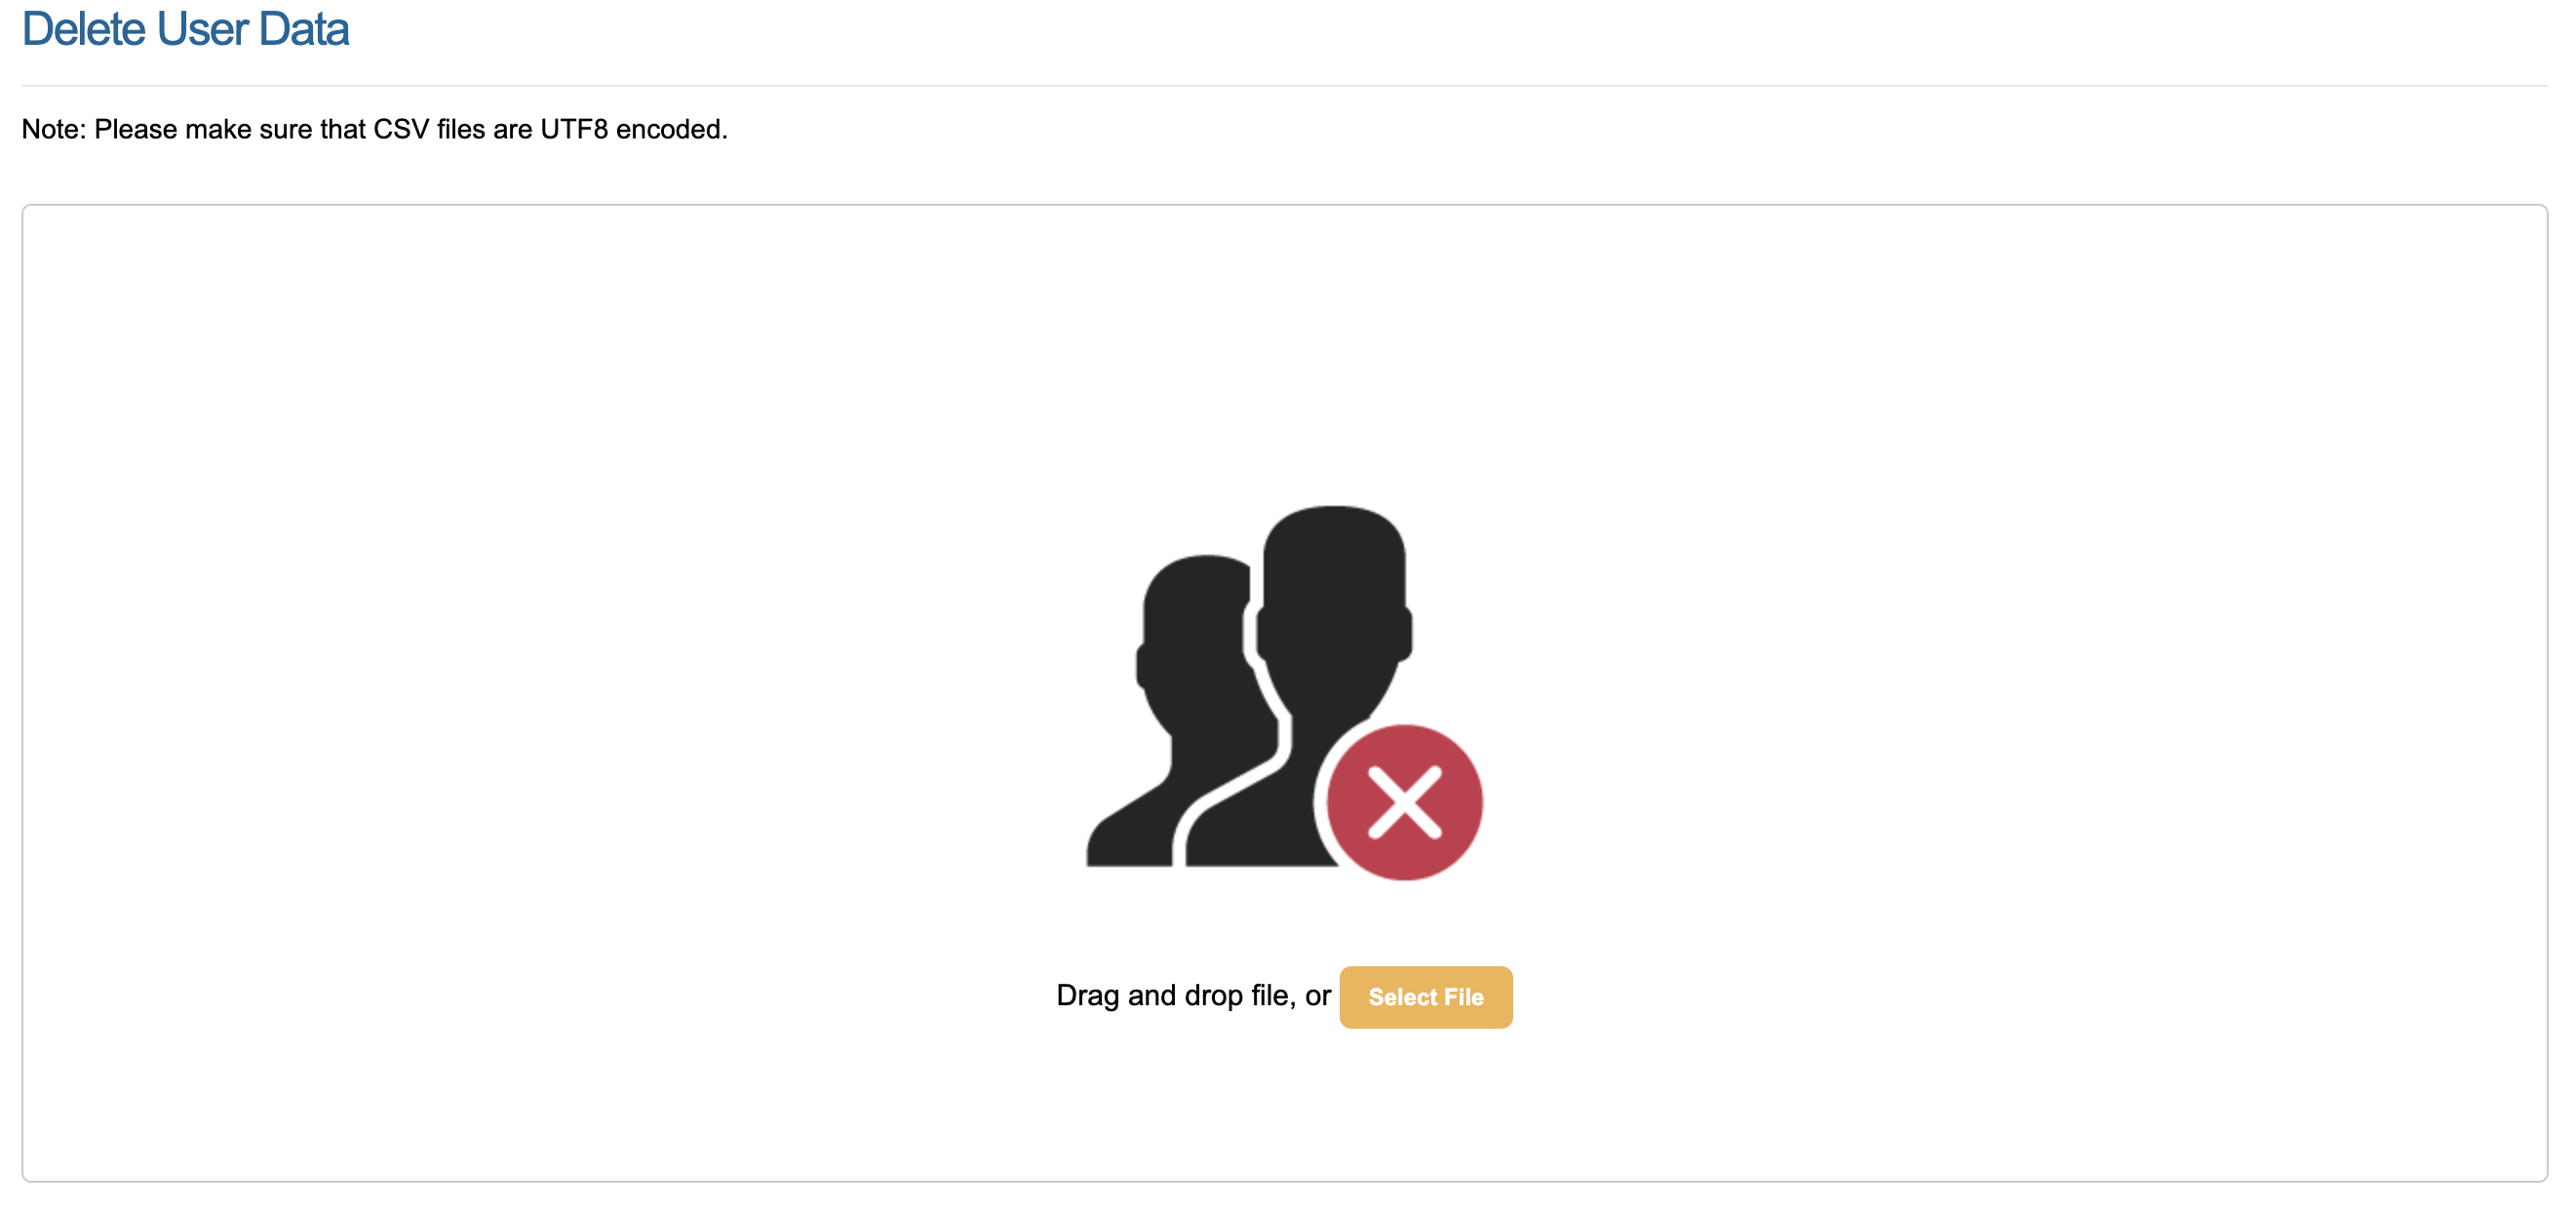
2. Run the deletion process
-
Navigate to Data & reports > Delete, and select the deletion import file to import.
-
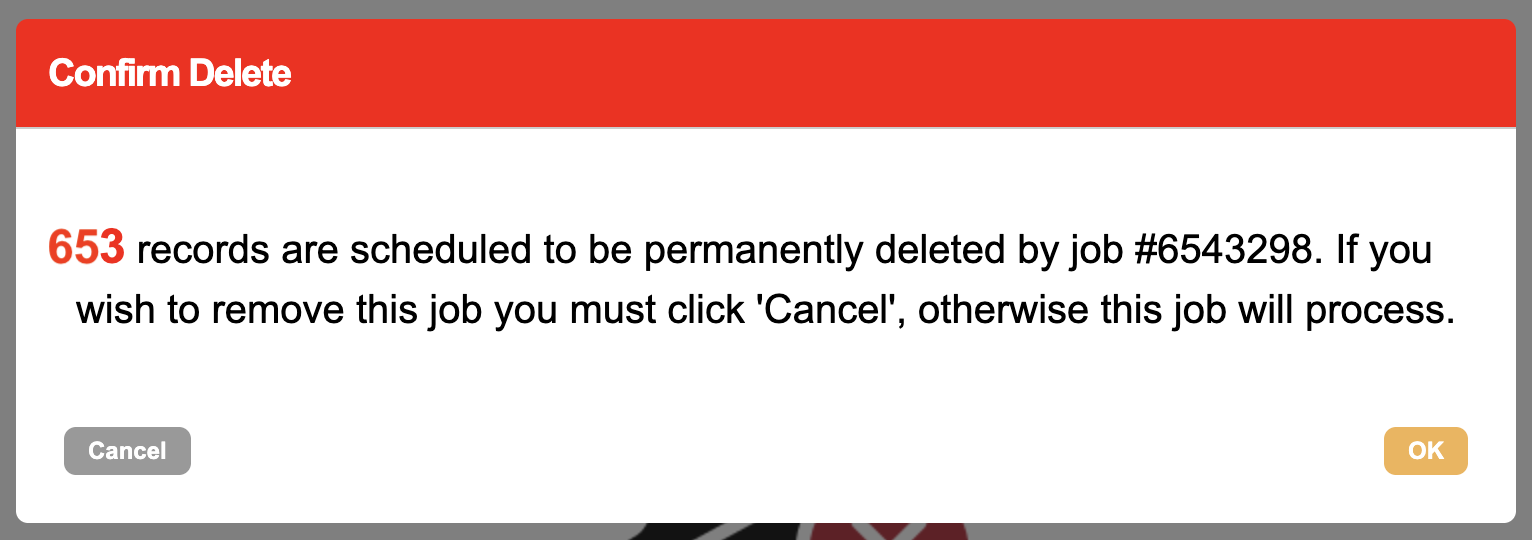
Confirm you would like to proceed with the deletion.
-
A job will be created in the Job Monitor
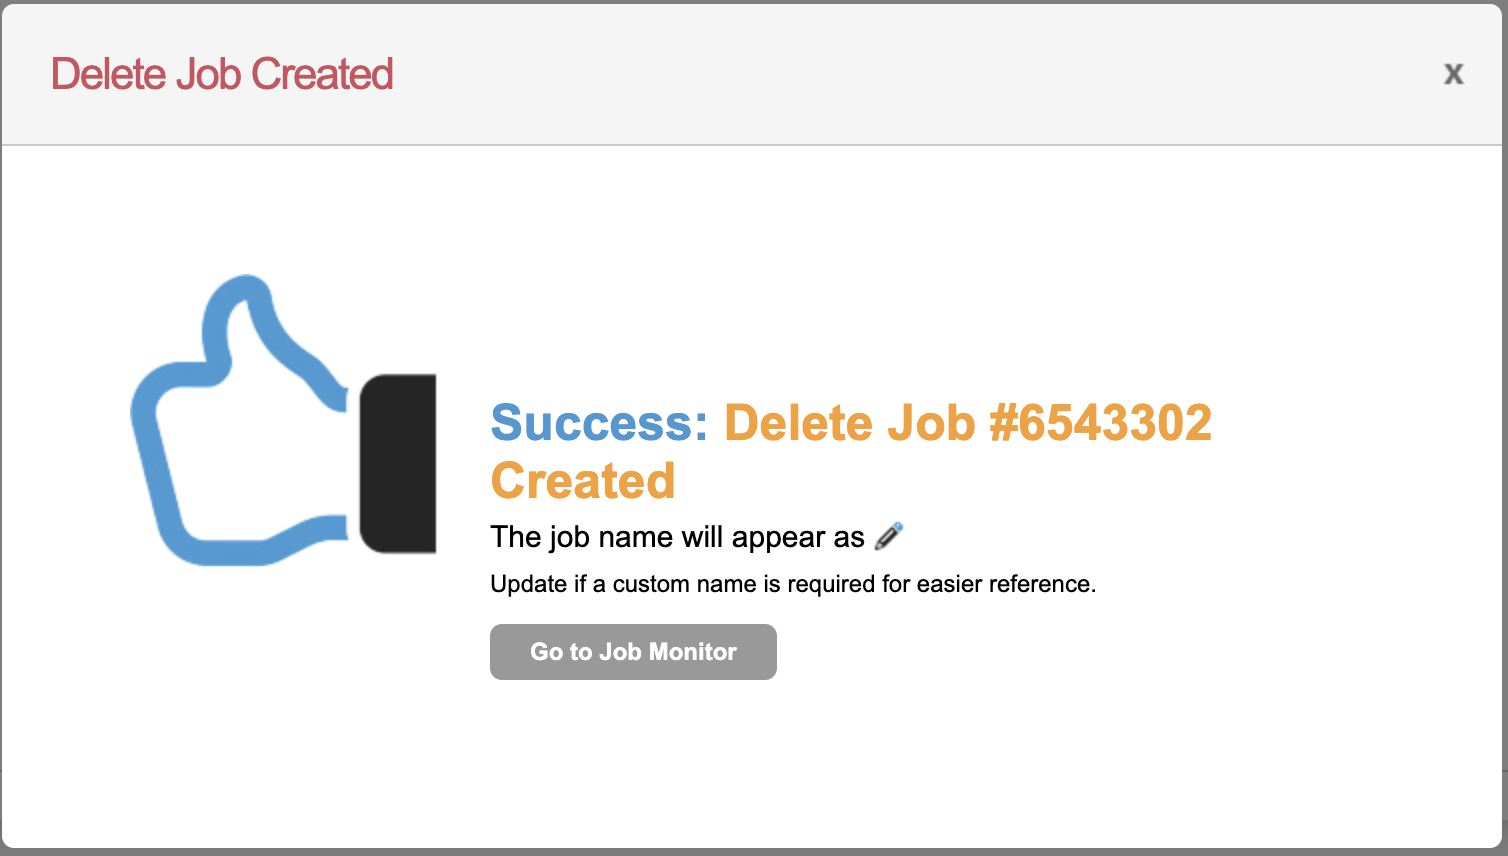
3. Check the deletion job
-
Monitor the progress of the deletion in the job monitor
-
Once complete, you can download a results file. If it was fully successful it will show “none” in the downloaded file:
All supporters were successfully deleted except the following which were not found:

none
-
Any email addresses not deleted, will be listed in the results file.
Deleting Supporters FAQs