
The Engaging Networks Connector App for connecting Salesforce with Engaging Networks is designed for advanced Salesforce users to set up.
Whilst this page outlines the process for setting up the integrations, it is advisable to consult all required stakeholders before beginning the setup and to have read and understood the documentation listed on the product overview page to ensure you understand the potential impact on both systems of enabling the connector.
1. Installing the Engaging Networks Connector App and authenticating your connection to Salesforce
View instructions for: Installing the app and connecting to Salesforce
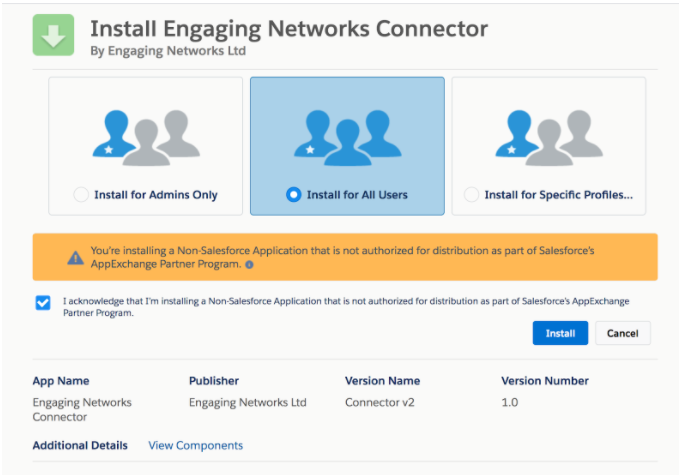
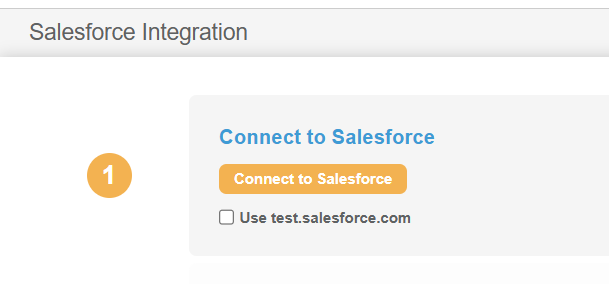
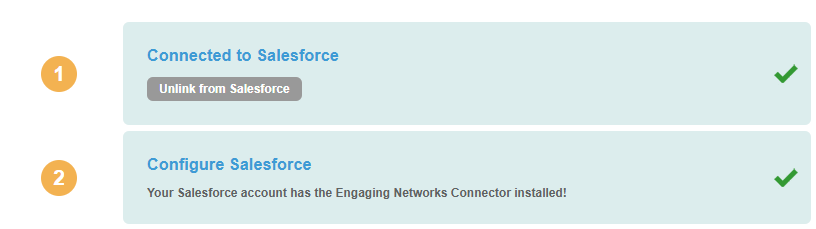
The following outlines how to install the Salesforce Connector App for Engaging Networks. If you have added this to your Engaging Networks account, you will receive an access link to install this feature from your Account Representative or the Support Team. Once you’ve received the link, you’ll be ready to install the package.
|
|
||
|
|
||
|
|
||
|
|
||
|
|
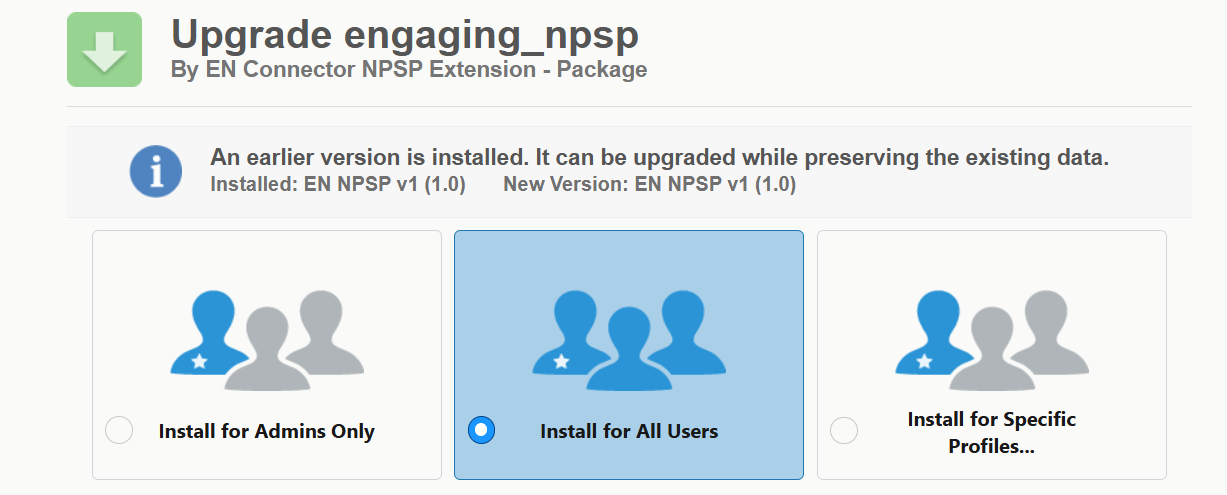
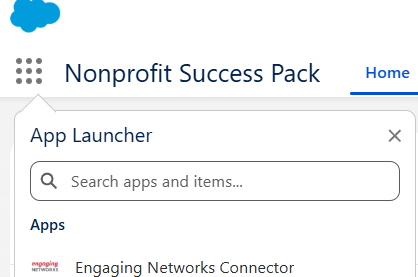
For Recurring Gifts: Install the NPSP Extension Package
If your organisation is using Salesforce’s NonProfit Success Pack and representing Recurring Gifts via the Recurring Donation object, then please install the following Engaging NPSP extension package.
|
|
|
|
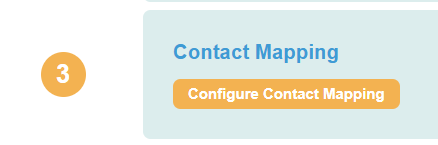
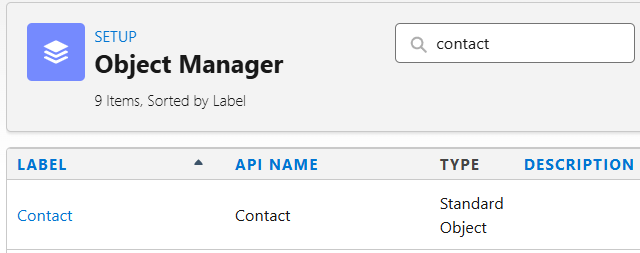
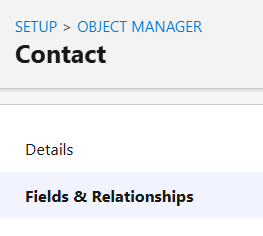
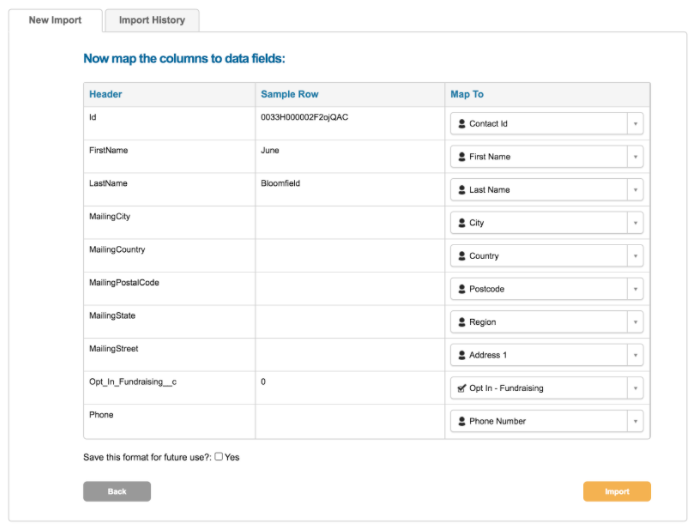
2. Configure Contact Mapping
View instructions for: Configure Contact Mapping
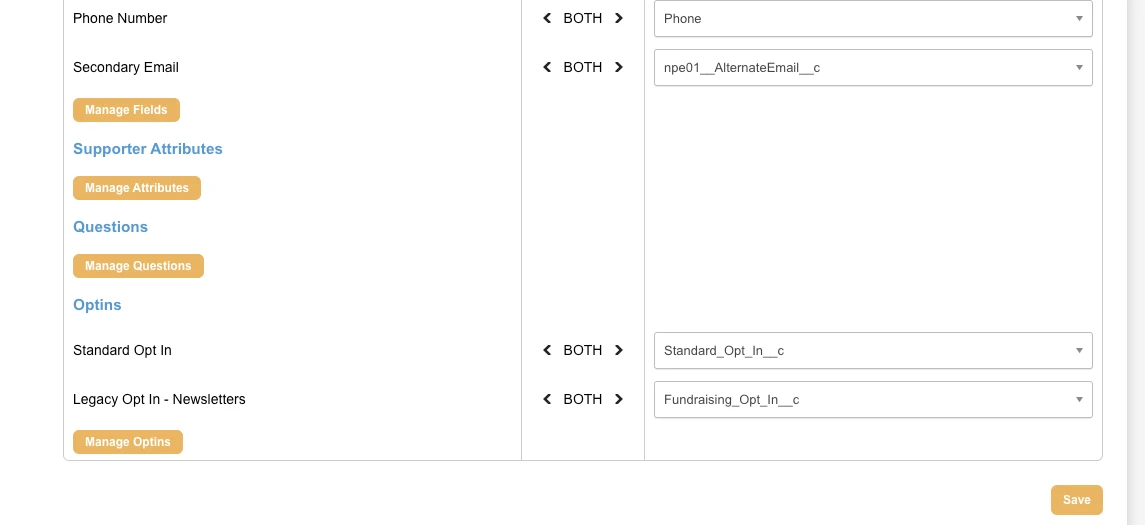
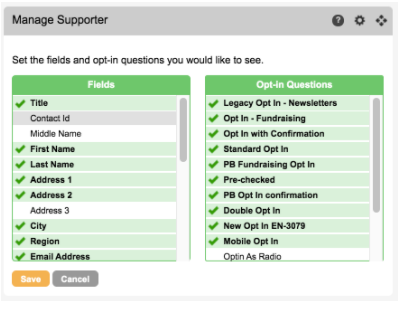
Once installed and connected, you can configure the contact mapping.
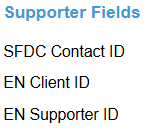
The only required fields to map are Email Address and Last Name. The Salesforce Contact ID, Engaging Networks Client ID, and Engaging Networks Supporter ID will automatically map and indicate the field names in both systems.
|
|
||
|
|
||
|
By default, Address 1 is mapped to MailingStreet. If you use Address 1 and Address 2 fields, you shouuld map to engaging__EN_Address_1__c and engaging__EN_Address_1__c. |
|||
|
|
||
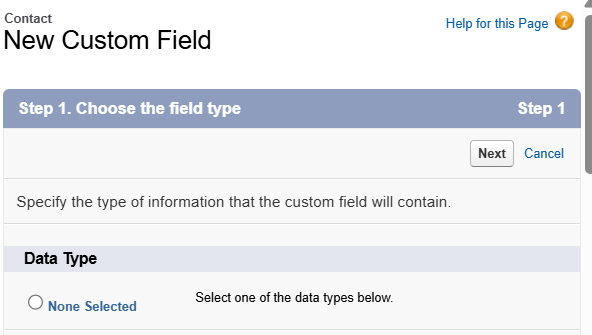
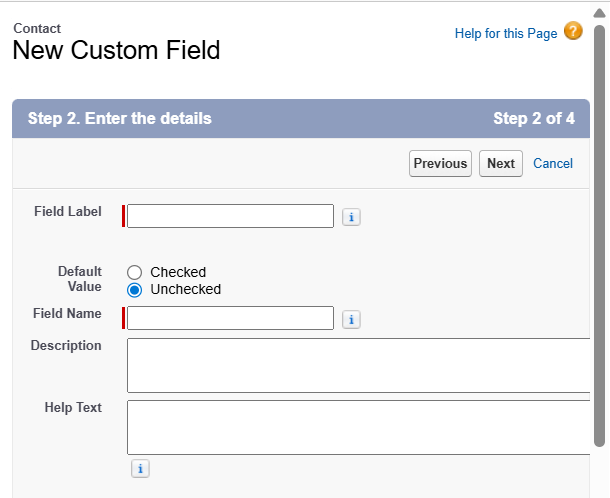
Creating missing fields, questions or opt-in for mapping
The following are the basic steps to take if you are unable to map a field, question or opt-in from Engaging Networks to Salesforce.
|
|
||
|
|
||
|
|
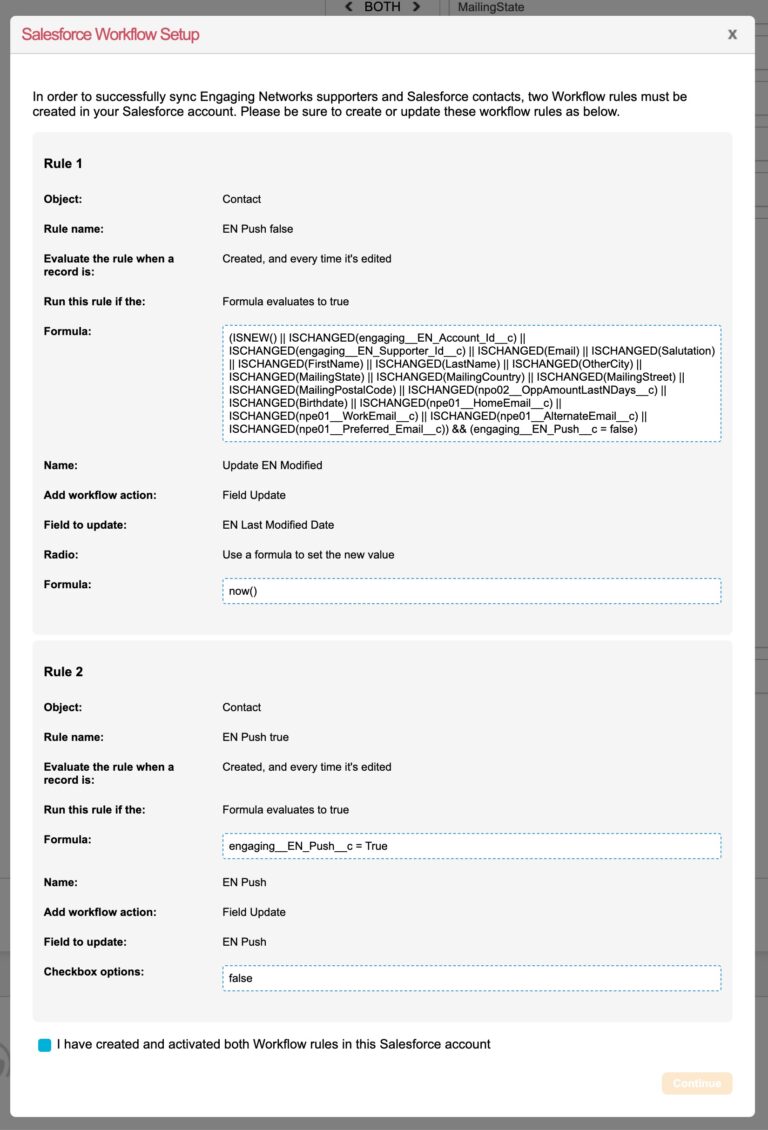
3. Set up Workflow Rules
View instructions for: Set up Workflow Rules
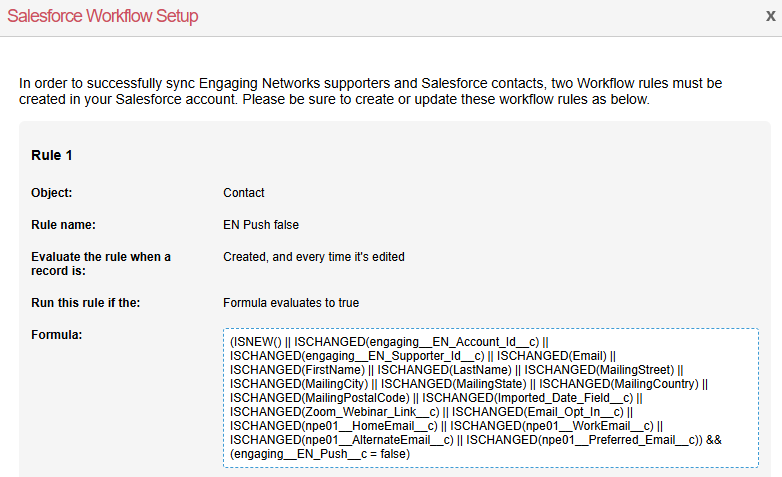
To successfully sync Engaging Networks supporters and Salesforce contacts, two flow rules must be created in your Salesforce account.
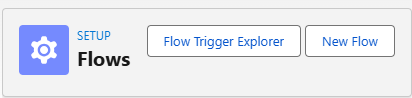
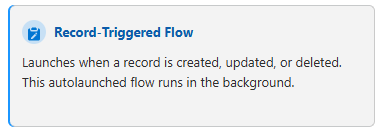
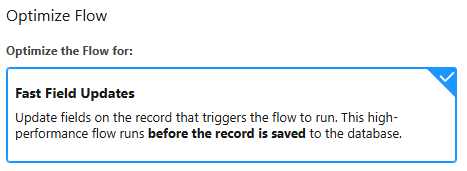
To do this, you'll need to set up two separate Record-Triggered Flow automations using the Salesforce Flow Builder.
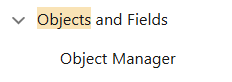
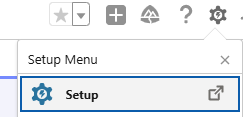
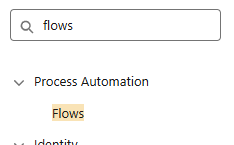
Accessing Flow Builder
|
|
||||
|
|
||||
|
|
||||
|
|

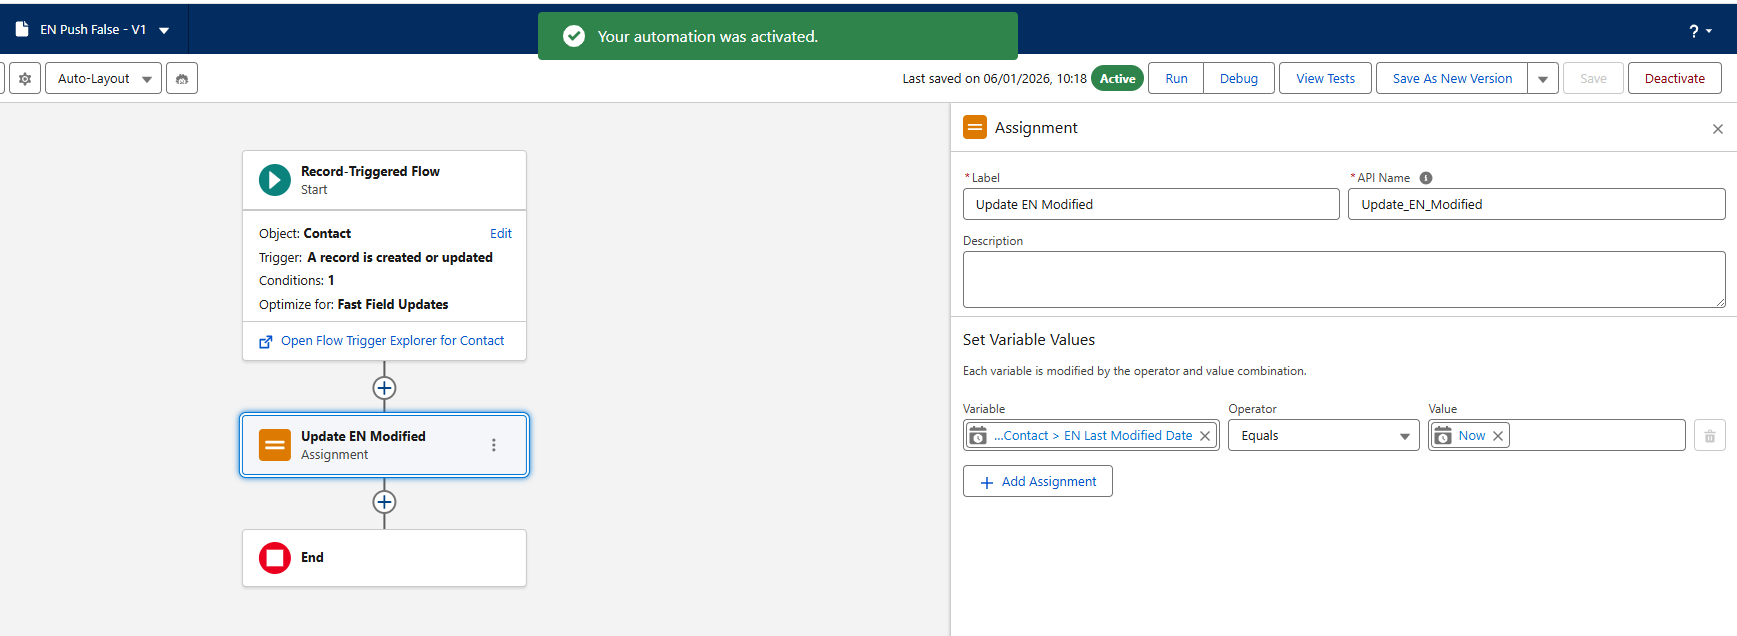
Rule 1: EN Push False
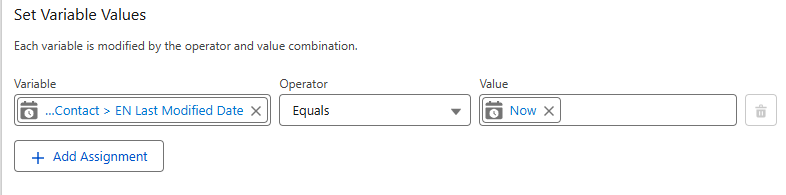
This Flow updates the “EN Last Modified Date” field on the Contact to tell Engaging Networks which Contacts have been updated since the last pull.
|
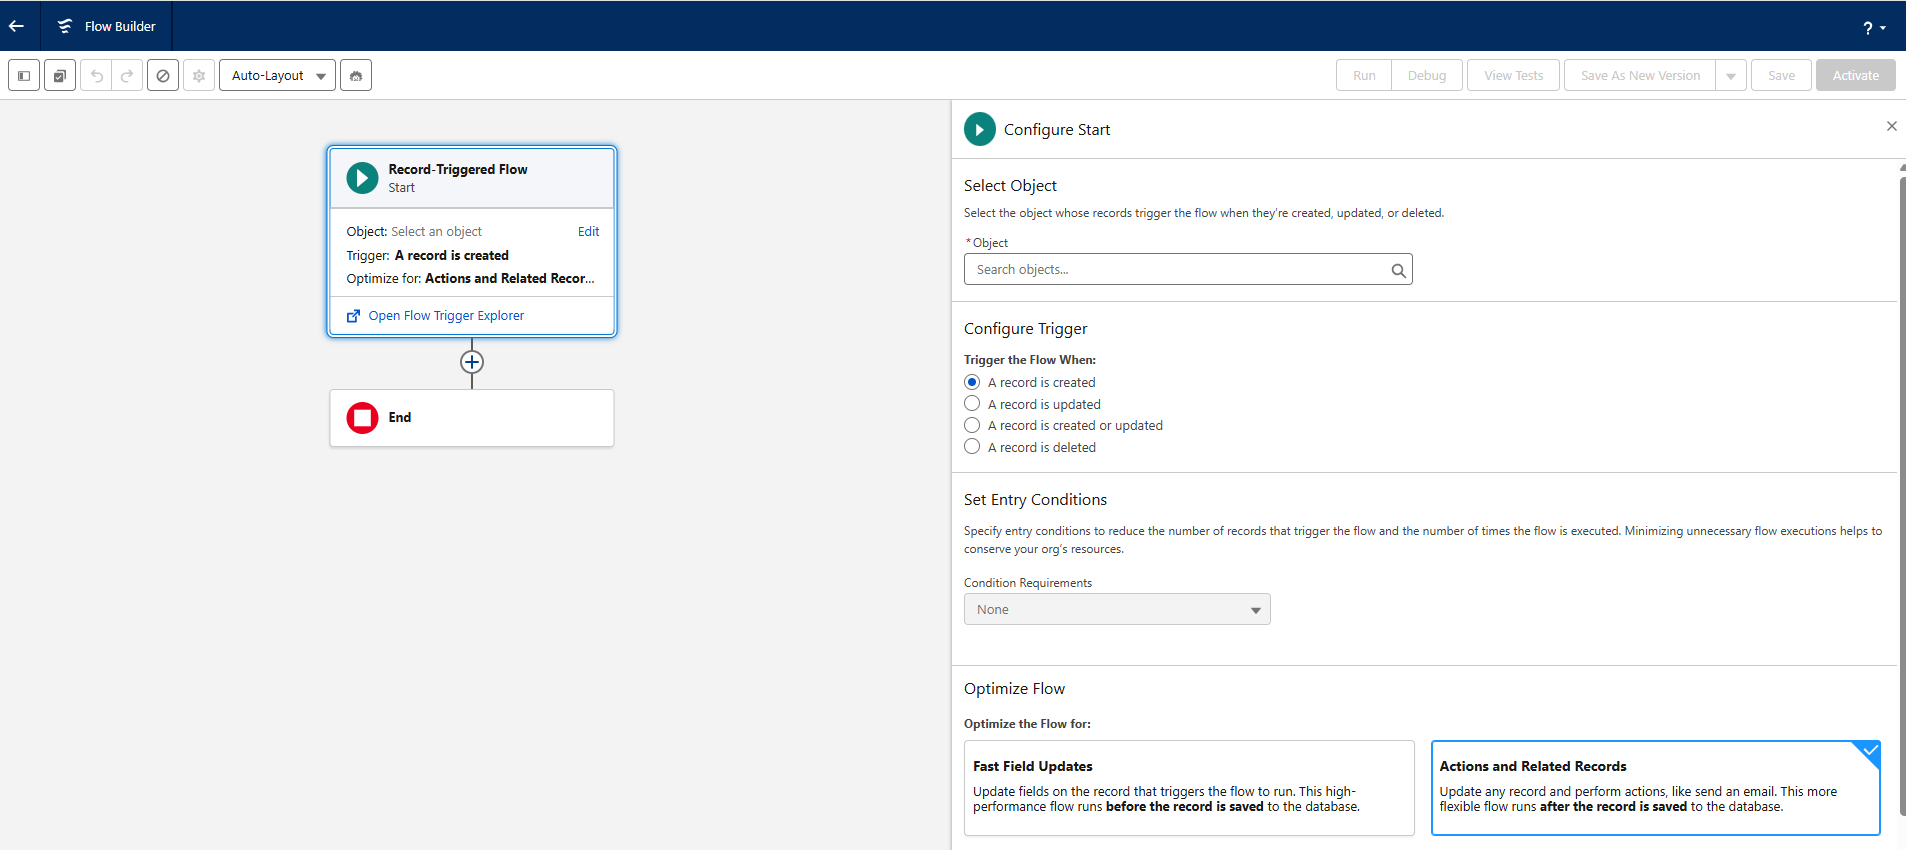
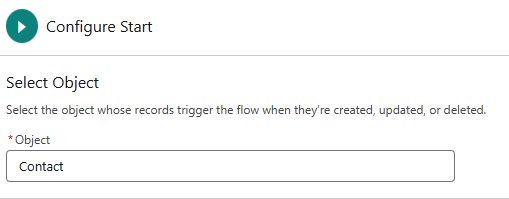
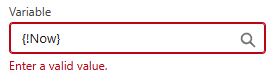
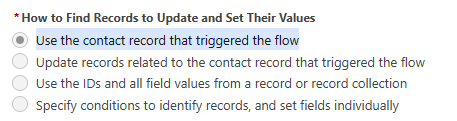
Configure Start:
|
|
||
|

|
||
|
|
||
|
|
||
|
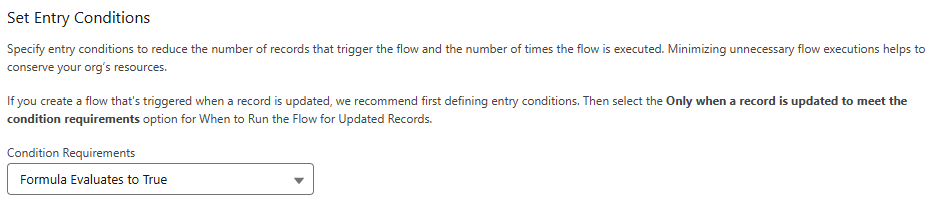
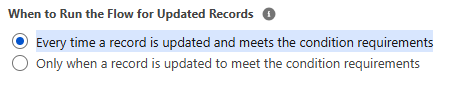
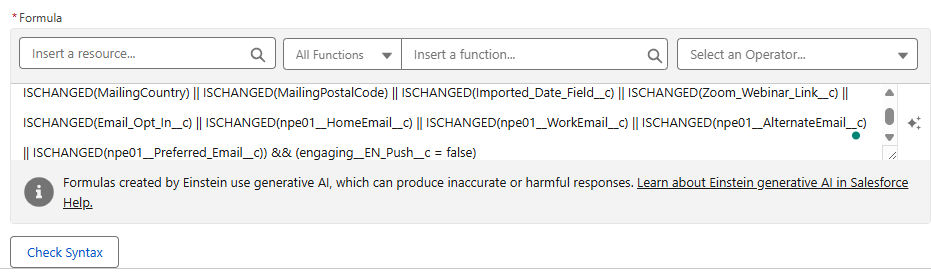
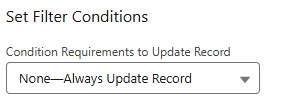
Engaging Networks generates the conditional block dynamically, based on the fields on the Contact Mapping rule. You can add fields to the ruleset if you have additional business rules that fall outside the set of fields that trigger a sync back to Engaging Networks. For complex sync setups with many fields, the generated formula may exceed Salesforce's character limit. In this case, you can use “Custom Condition Logic is Met” and add the individual fields one by one. |
|||
|
|
||
|
|
||
|
Flow Builder:
|
|
||
|
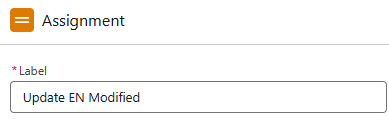
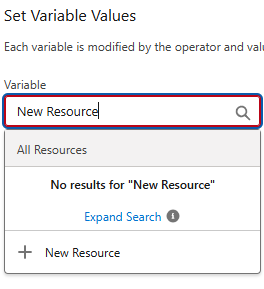
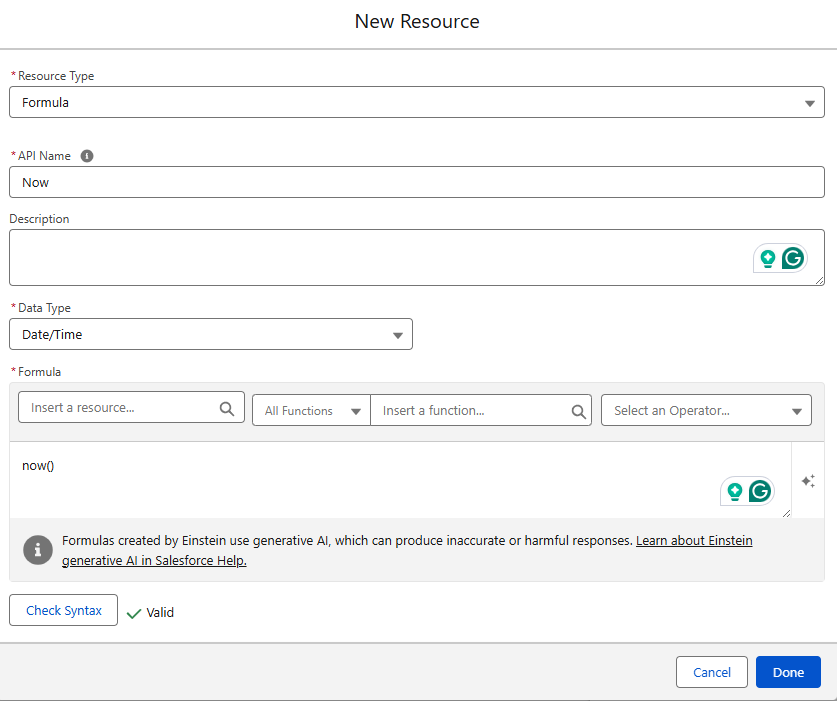
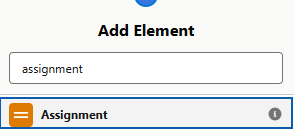
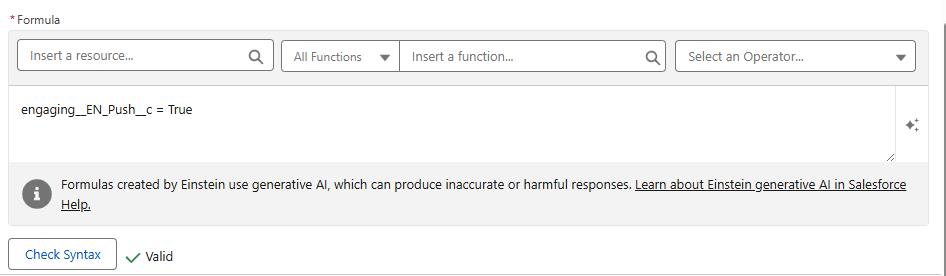
Assignment:
|
|
||
|
|
||
|
|
||
|
|||
|
|
||
|
|
||
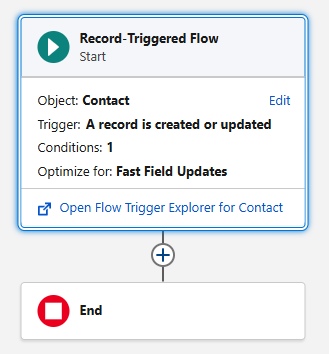
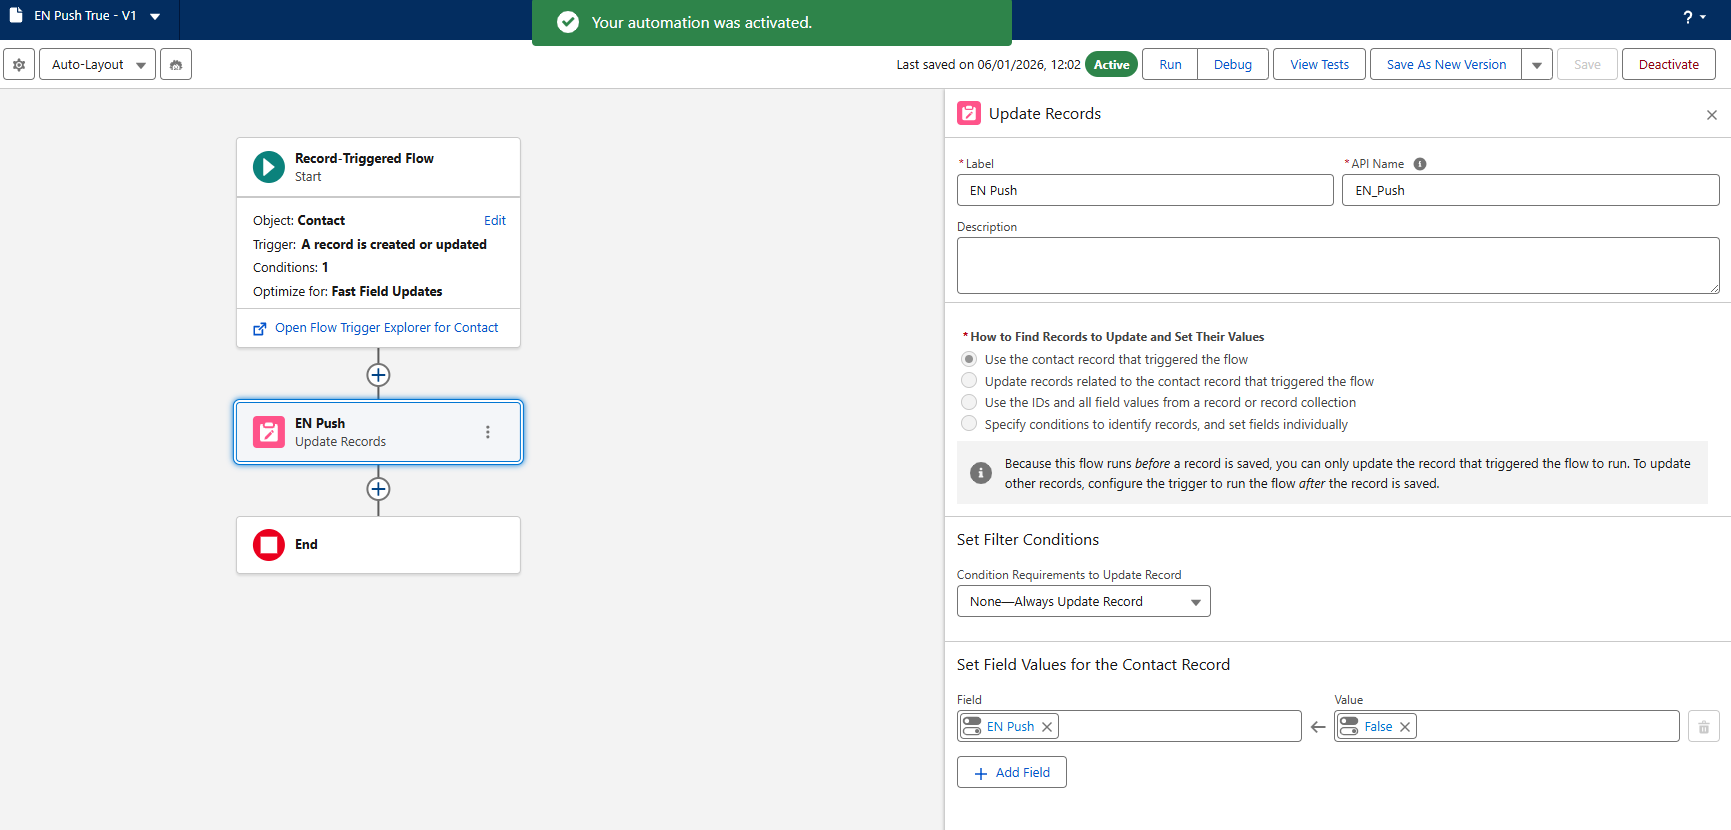
Rule 2: "EN Push True"
During the supporter sync from Engaging Networks to Salesforce, we set the EN Push field to “TRUE”. This means these updates won’t trigger the EN Push False workflow rule, thus preventing an "echo” of immediately syncing the contacts back to EN. This rule sets the EN Push value to “FALSE” when it is set to “TRUE,” allowing contacts to requalify for the previous flow.
|
Configure Start:
|
|
||
|
|
||
|
|
||
|
|
||
|
|
||
|
|
||
|
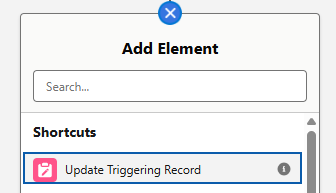
Flow Builder:
|
|
||
|
|
||
|
|
||
|

|
||
|
|
Confirm that the Rules are in place.
Once you've completed the setup of both rules:
-
Return to the Salesforce Workflow setup screen in Engaging Networks > Check.

I have created and activated both Workflow rules in this Salesforce account >
Continue
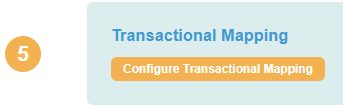
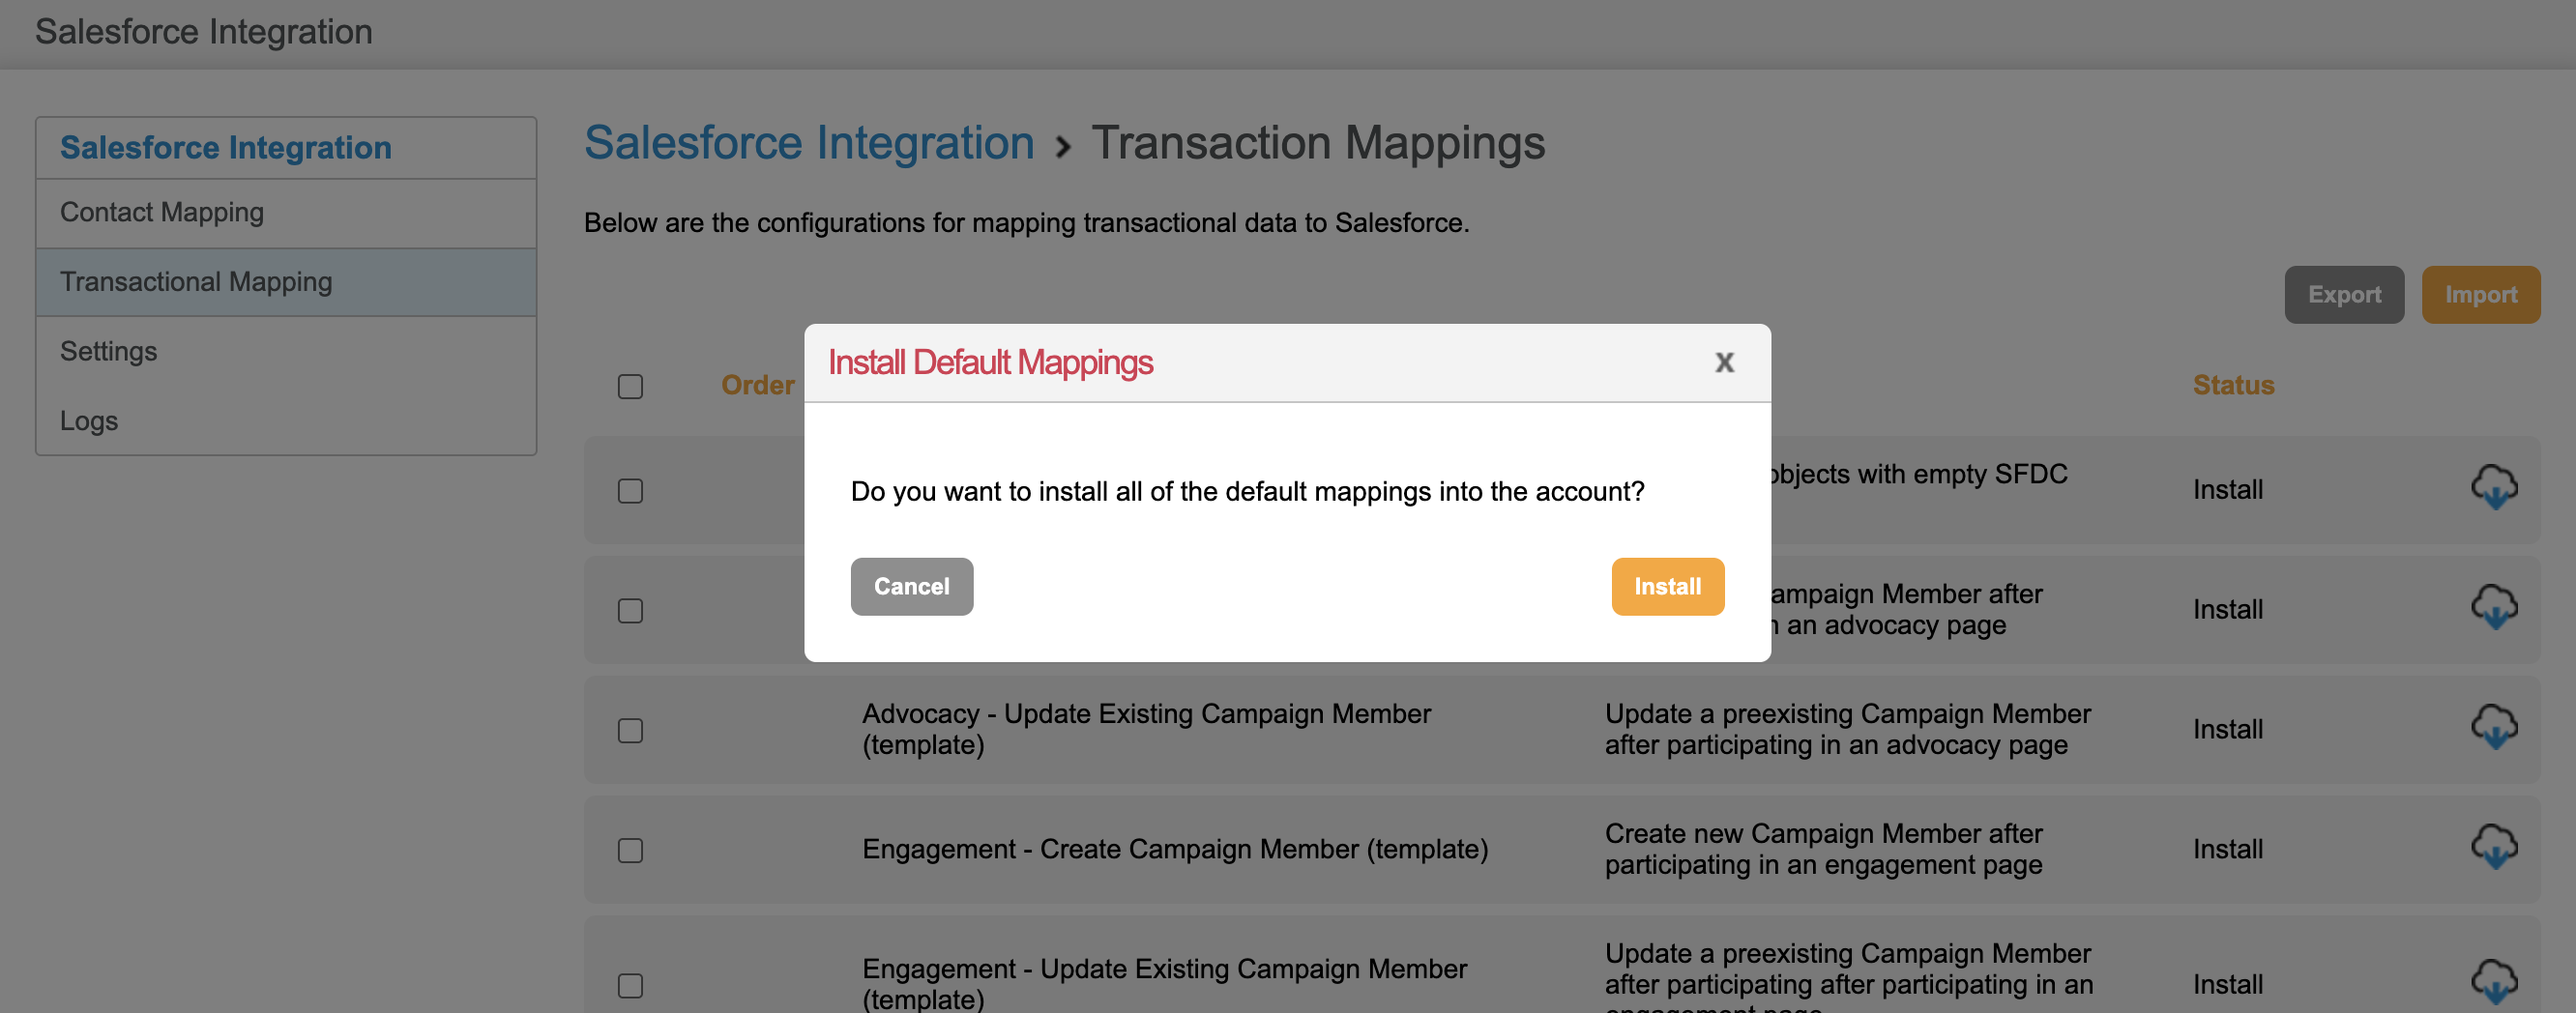
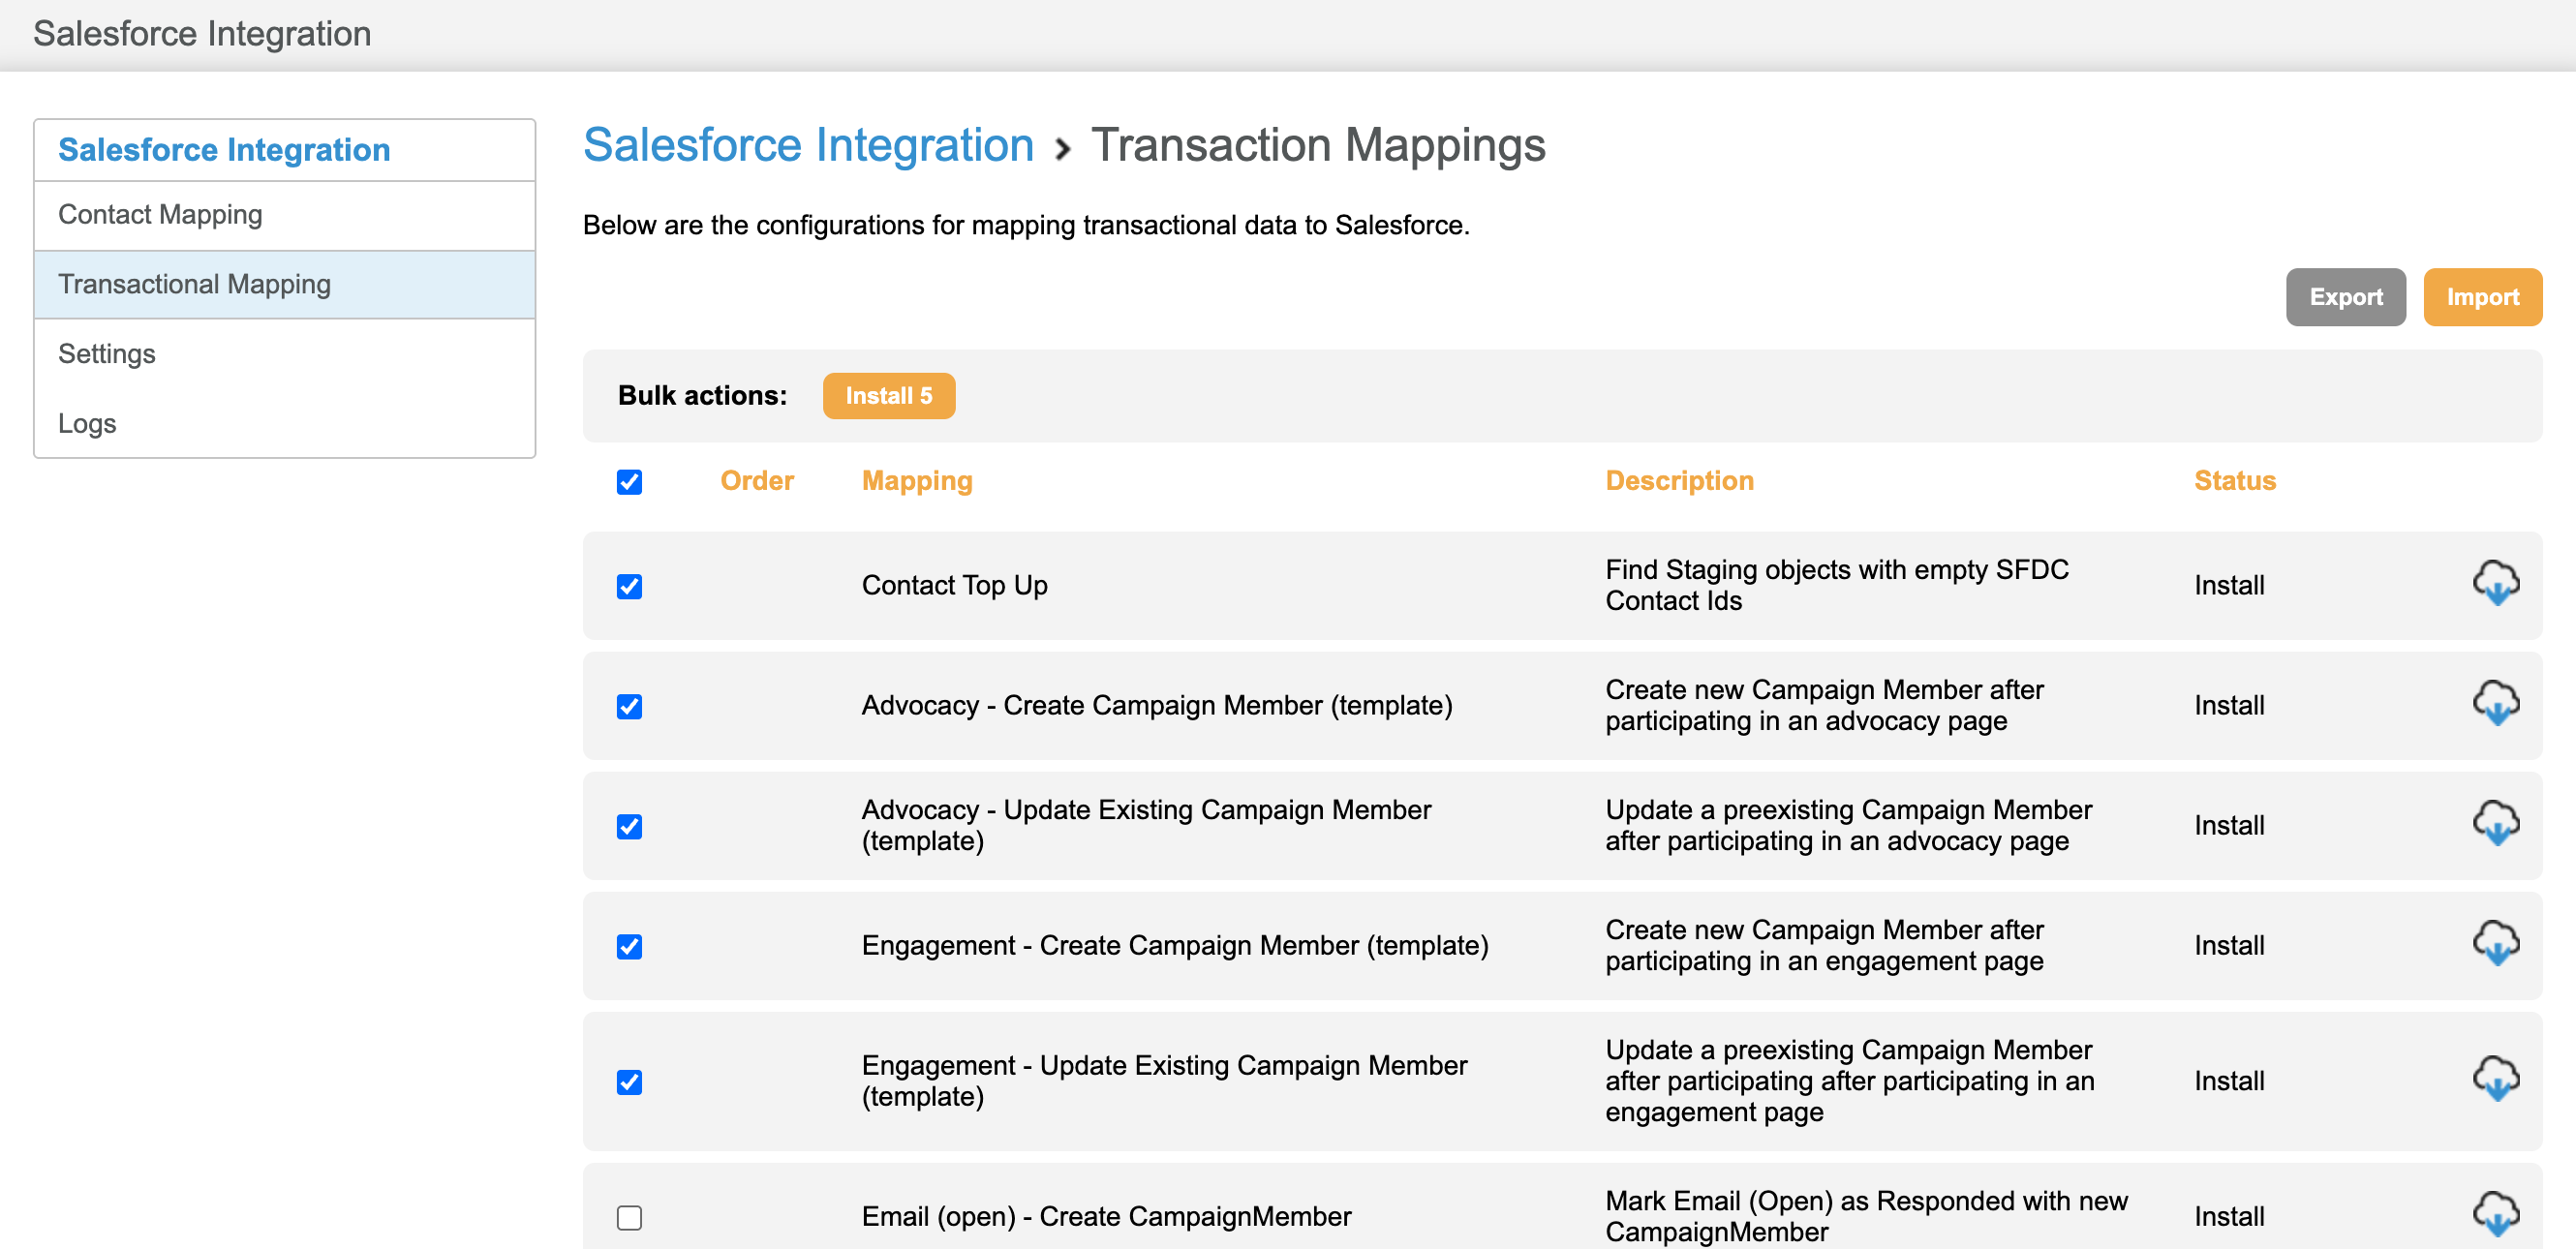
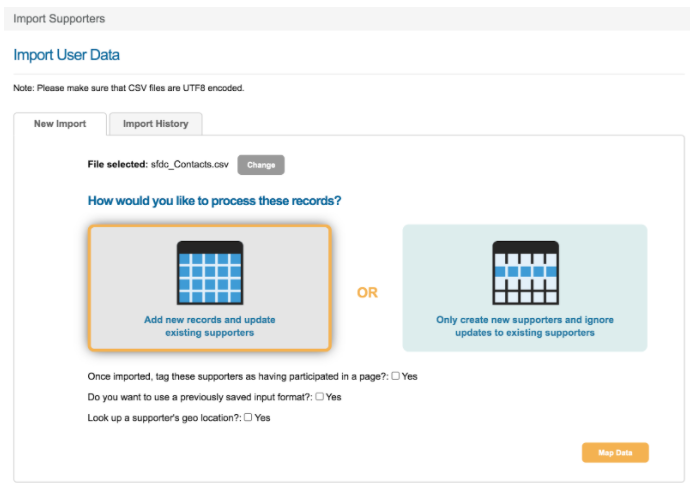
4. Set up Transaction Mapping
View instructions for: Set up Transaction Mapping
Once your contacts are syncing, the next step is to set up how Engaging Networks supporter actions are displayed in Salesforce.
|
|
||
|
|
||
|
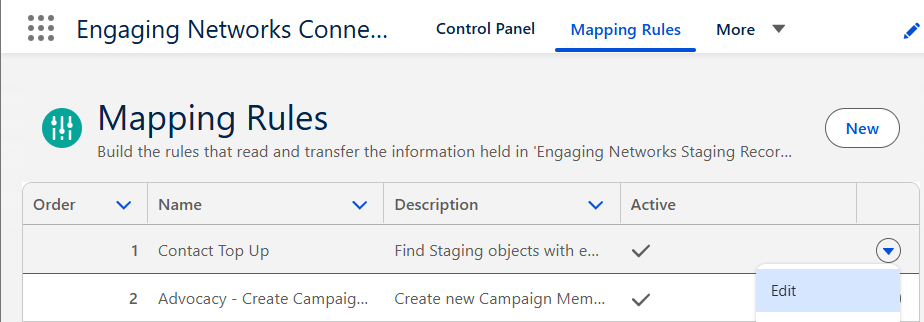
*Mapping rules can also be viewed and edited in Engaging Networks by selecting the pencil icon next to the relevant rule. |
||
|
|

5. Sync Settings
6. Additional setup items and considerations
View instructions for: Additional setup items and considerations
To help manage the Engaging Networks <> Salesforce integration, the following should be actioned:
|
Set the SFDC Campaign ID as a Campaign Reference
|

|
||
|
Receive Contacts and Transaction push notifications:
|
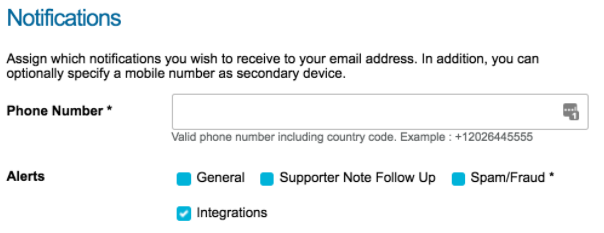
|
||
|
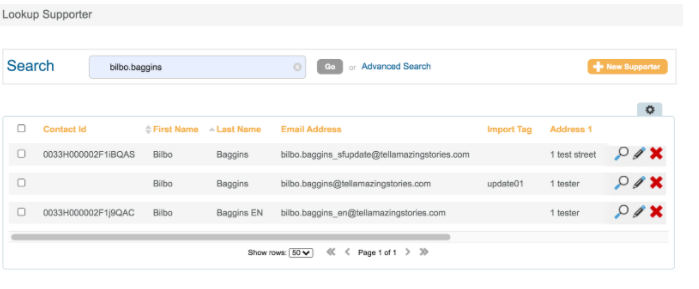
Expose Contact ID under Lookup Supporters: This allows users to view and/or update the Contact ID that references the supporter to Salesforce. When using the search function, the Contact ID will also be displayed in the first column.
|
|
|
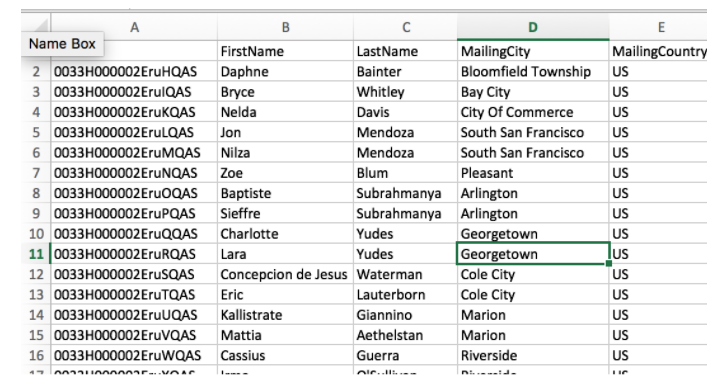
Export Contacts and Importing Contact ID:
|
|
|
|
|
|