Email Templates - more
Email Classic will be deprecated in July 2026; please migrate to Marketing Tools before then.
You can create a repository of email templates that can be used as a design base for your broadcast emails. When you go to create a new email campaign, the templates you have saved in your account are available to be selected.
Depending on your supporter approach strategy, you could consider creating a variety of email layouts to cater to different tasks used to address your supporters lists. They could be based on the amount of content you would like to send out (single or multiple stories) or your content layout:
Each story accompanied by an image on the left- or right-hand side.
Stories displayed in a two-column layout.
Main story taking full email width and two shorter stories displayed side by side below the main story.
Here are some examples of different templates based on the type of email:
Monthly newsletter (3-4 stories)
Campaign launch email (1 story)
Campaign update email (1 main story, 2 additional smaller stories)
Viewing your templates
Go to Marketing Tools > Templates (Under Email Classic) to view the current templates you have.
Note that from November 2017, we have a new email template editor, which operates in a similar way to the page-builder, with the ability to edit content by hovering over it, or moving components by dragging.
Templates made before the November 2017 update will use the “legacy” editor, which offered rich text and advanced html tabs.
Templates created after the November 2017 update will use the new editor.
Legacy and new templates can be identified by their symbol in the templates list.
 | New style template – will use the new editor |
 | Legacy template – will use the old editor |
Creating email templates
To create a new template go to Email > Templates and click on the “Create template” button 
Enter the New Template Name. Your template’s name should describe what the template is for so when email campaigns are created by choosing it from a list, it is clear what the template looks like. Click Create to continue.
Three ways to create a new template
The next screen offers several options:
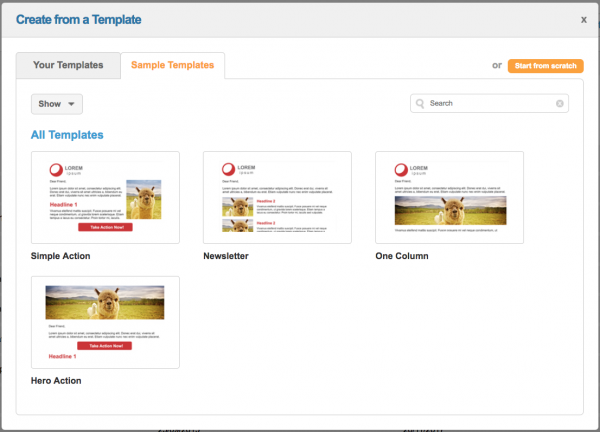
You can Start from scratch. This allows you to paste in HTML if you have been given some to make into a template
You can use one of your existing templates under Your templates
You can use one of the Sample Templates. They are mobile-optimised and built to best practice so that they display your email as intended in different devices, browsers and apps. You can click on them to view more information about the templates.
The template editor
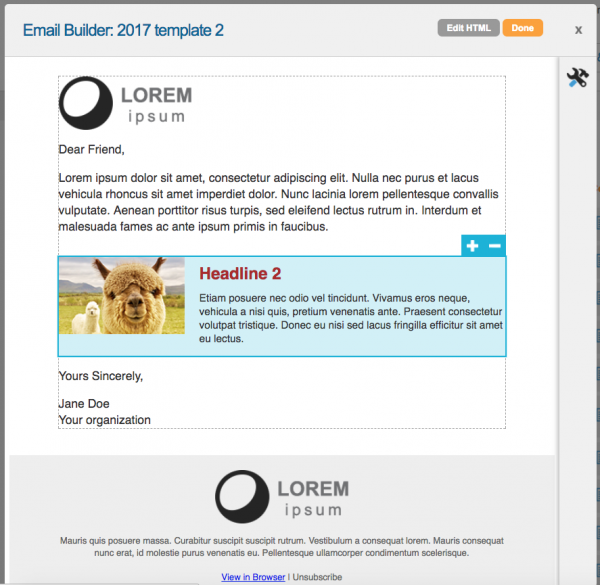
The email template editor works in a similar way to the page-builder editor. It displays a visual representation of your email which you allows you to hover on components to amend them, or drag in new ones from the right-hand tool bar.
Any blocks you add to your template will be editable when creating a new email.
If you use one of the sample templates you will see this in action. But if you start from scratch, you will not have any of these components yet, and will need to mark up your HTML to allow for these components to be droppable. More on this here.
Editable regions
Editable regions help you create great looking emails, which non-technical users will find easy to use. You can set only some parts of the email to be editable, and others to not be viewable only, so for example you can’t accidentally change the header.
You can also mark some regions to be repeatable, for example for a newsletter where the number of stories that changes each time.
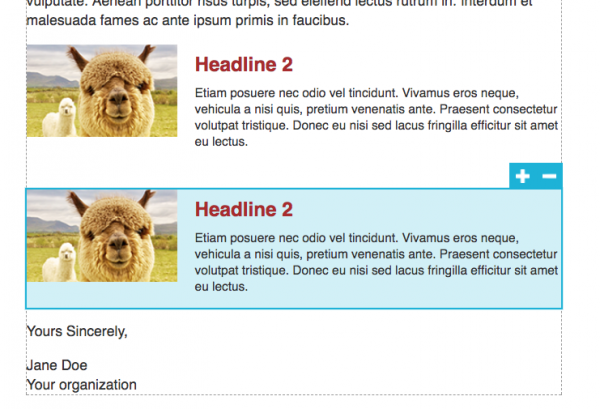
You can add editable regions by including text and image blocks in your template. Note that you cannot add new blocks to a template via the toolbar if your template has nothing marked as “droppable”. Read more about how to do that here.
Text blocks
Text blocks hold text, including placeholders for things like first name. They can also be used to insert tables, images and other design elements.
A text block is editable within the template, so when a user creates a new campaign they can hover over the text block to make changes. Therefore, if you don’t want an area to be editable (for example in the footer), then you will need to add the HTML manually in the HTML editor or remove the classes that identify it as editable.
You can hover over an existing block to edit it to bring up the text block editor, or drag in a new text block from the right-hand tool bar.
Note: only templates that have an area marked as “droppable” will have access to the toolbar
When you edit or create your text block you’ll see the text block editor:
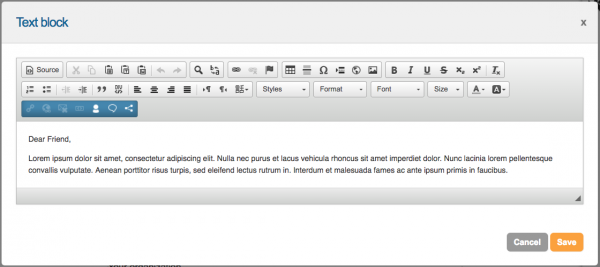
You can use the editor to visually create your email like you would a Word, Google or Pages document. If you wish, you can switch to the HTML by clicking the Source button.
In addition to the standard buttons, you also have the blue Engaging Networks WYSIWYG tools, which allow you to insert dynamic data:

Once you make your changes to the text block, click Save to save your changes or Cancel to disregard them.
Image blocks
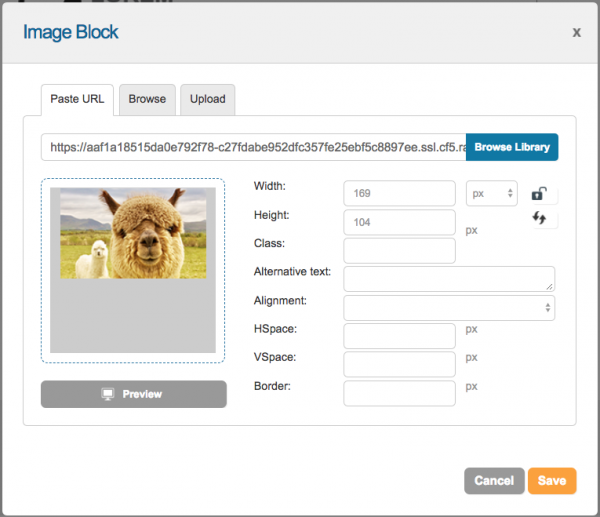
You can use image blocks to insert images in your template. Note that text blocks can also hold images. You can set the width and height of the image here, either in pixels or percentage (%). Percentage is useful if you want your image to respond to the device’s shape rather than have a set size.
You can browse for existing images in your file library, or upload new ones.
Email Banner Image Size
For an email banner width, the ideal size is 600-700px wide on desktop, and 320-385px wide on mobile.
Editing HTML
You can switch to the HTML of your email instead by clicking Edit HTML and then back again by clicking Edit Visual. For legacy templates, click on the Advanced HTML tab.
Deleting existing templates
To delete an existing template simply click on the red “X” on the “Manage Email Templates” page.
Creating and building emails
To begin creating emails with your templates, click here.
