Images and Files Library
There might be situations when you will need to add images or links to PDF/Word documents on your action pages or in emails you send out. You can either store these resources on your organisation’s servers and link to them directly or you can use the Engaging Networks account library to host them.
It is recommended you host all your images and files used on your pages and emails with our library for faster, local loading.
Supported file types
Supported file types are listed below along with their size limits. Files are automatically scanned for vulnerabilities as part of the upload process. The following file types have these size limits:
File Type | Size Limit |
|---|---|
.css | 1MB |
.csv | 1MB |
.doc / .docx | 1MB |
.eot | 1MB |
500KB | |
.ico | 100KB |
.js | 1MB |
.jpg / .jpeg | 1MB |
.mp4 | 1MB |
2MB | |
.png | 1MB |
.svg | 1MB |
.swf | 1MB |
.tiff | 100KB |
.ttf | 1MB |
.xls / .xlsx | 1MB |
.webp | 1MB |
.woff | 1MB |
.zip | 1MB |
You can also embed externally hosted videos from sources like YouTube or Vimeo on your pages.
Uploading new files
Go to Pages > Components and then Images and files on the left
Click on the Upload button to upload a new file. You can then simply drag and drop them into the box, or click on the Select Files button to pick them from the local filesystem.
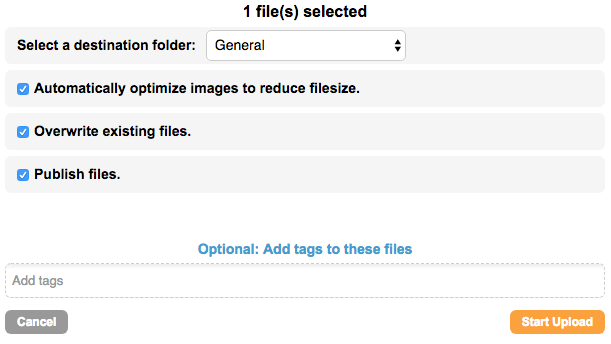
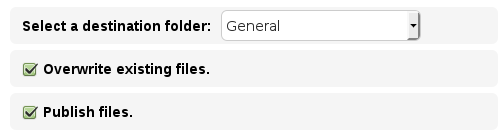
Choose the destination folder, optional optimization, if you’d like to overwrite an existing file of the same name, or if you want to publish the file
Add any tags you would like for categorizing
To start the upload, select some files and once the progress bars show they have been successfully uploaded simply click Done.
The following characters are not supported in the file name: { } | ^ [ ] ` @ % ^ & * ( )
Publishing a file
In order to use a file that has been uploaded to the library, you first need to publish it. This makes the file accessible in the drop-down insert menus in copy block editors and the email tools. If you didn’t select the Publish file option as you uploaded, you can publish individual files by clicking on the image preview and choosing Publish at the top. Multiple files can be bulk published by ticking the checkbox next to each file.
When you publish a file, it will be distributed across our Content Distribution Network (CDN), and a new link will be created which will be used to access the file. This means that your supporters will get a more localised and faster loading copy of the data depending on where they are located, as the CDN will always try to pick the most efficient location to download the file from. The correct link to the file will be inserted automatically when you use the image tools in a text block or within marketing tools editors.
Managing existing files
When you first open the Images and Files Library, you will get an overview of the files currently stored in the Library. The following screenshot shows the contents of the HOME folder. We only allow one level of hierarchy in the folder structure, so clicking on Home will bring you back to the root folder.
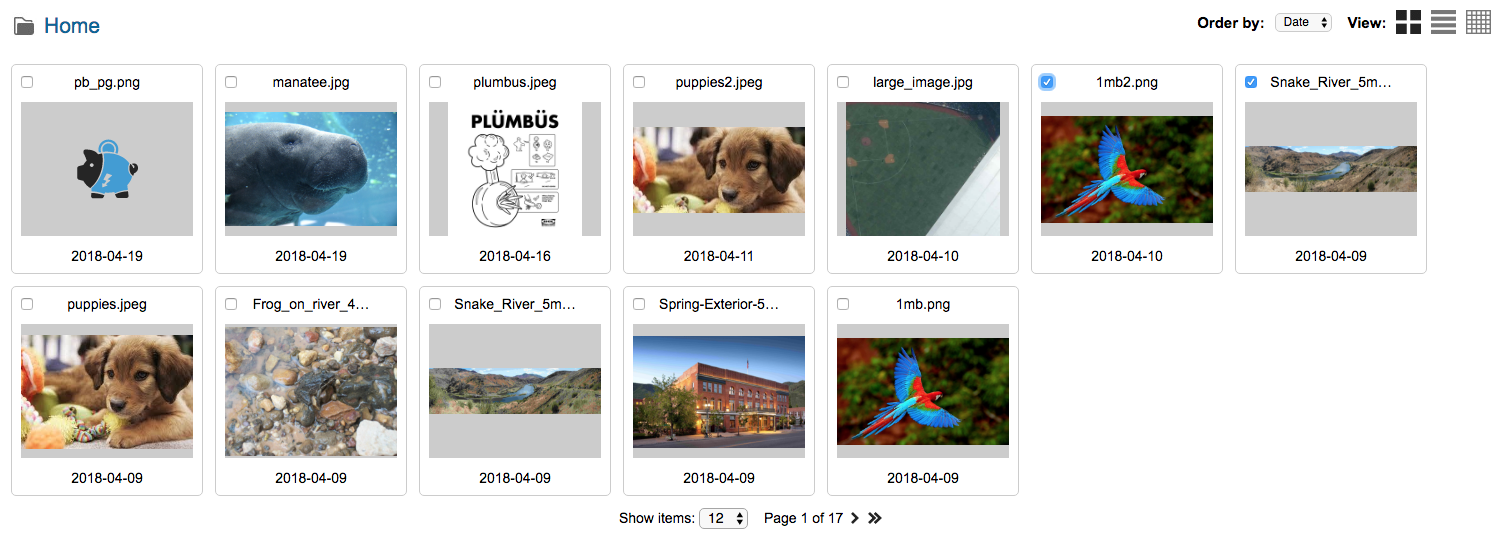
The drop down menu allows you to perform actions on selected files (select a file with the tickbox next to the name), and you will then be able to Move, Delete or Publish the selected files. You can also delete individual files by clicking on the Delete icon on the right hand side of the screen.
You can change your library view to grid, list, or image wall by clicking the “view” icons in the top right.

Editing a file
If you need to edit a file, categorize it, or get the URL for a file, you will need to click the magnifying glass icon to open the editor.
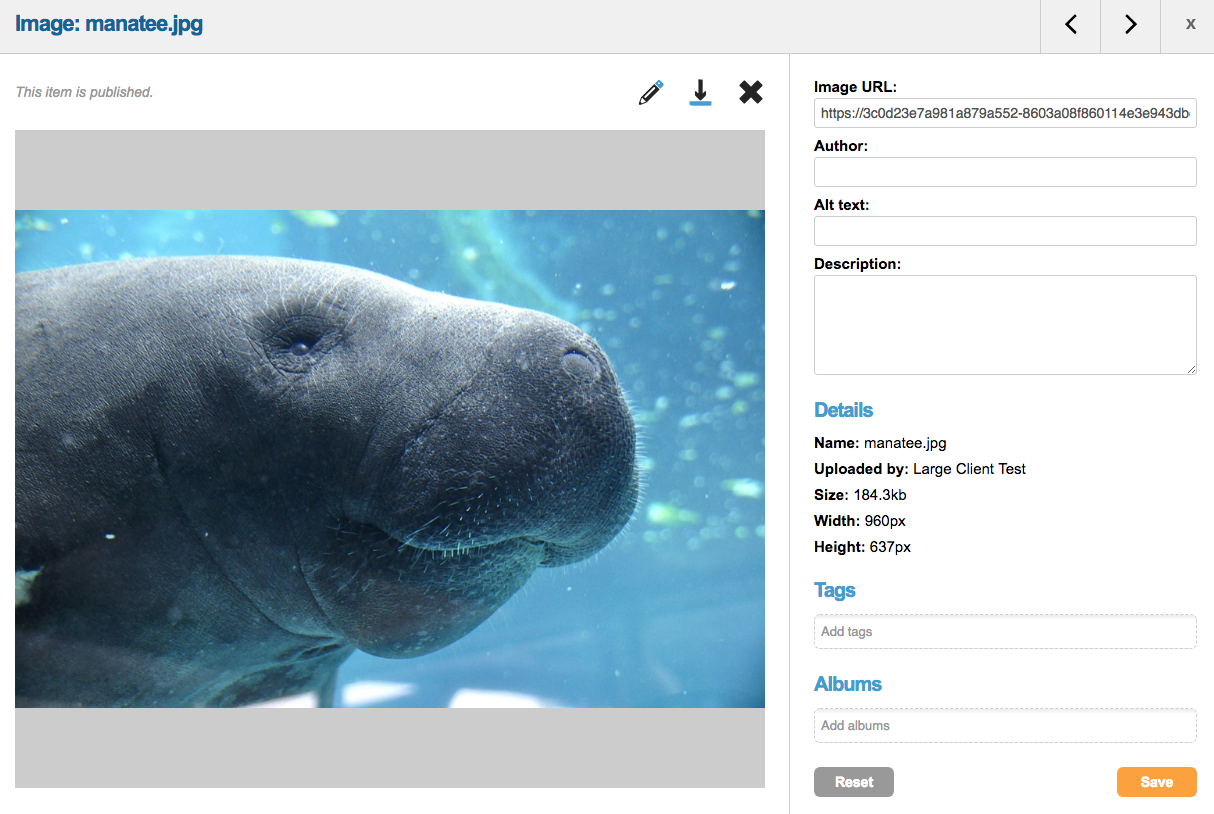
Image URL | The published URL of the file. If not URL is present you will need to publish first. |
Author | The name of the file author if applicable |
Alt Text | Alternative text for the file |
Description | A description of the file |
Tag | Keyword(s) for categorizing your files |
Album | The name of the album, if applicable, you want the file to belong to |
To edit the image you can click the pencil icon. From the editor you can crop, resize, touch-up, or add filters to your image with the WYSWIYG.
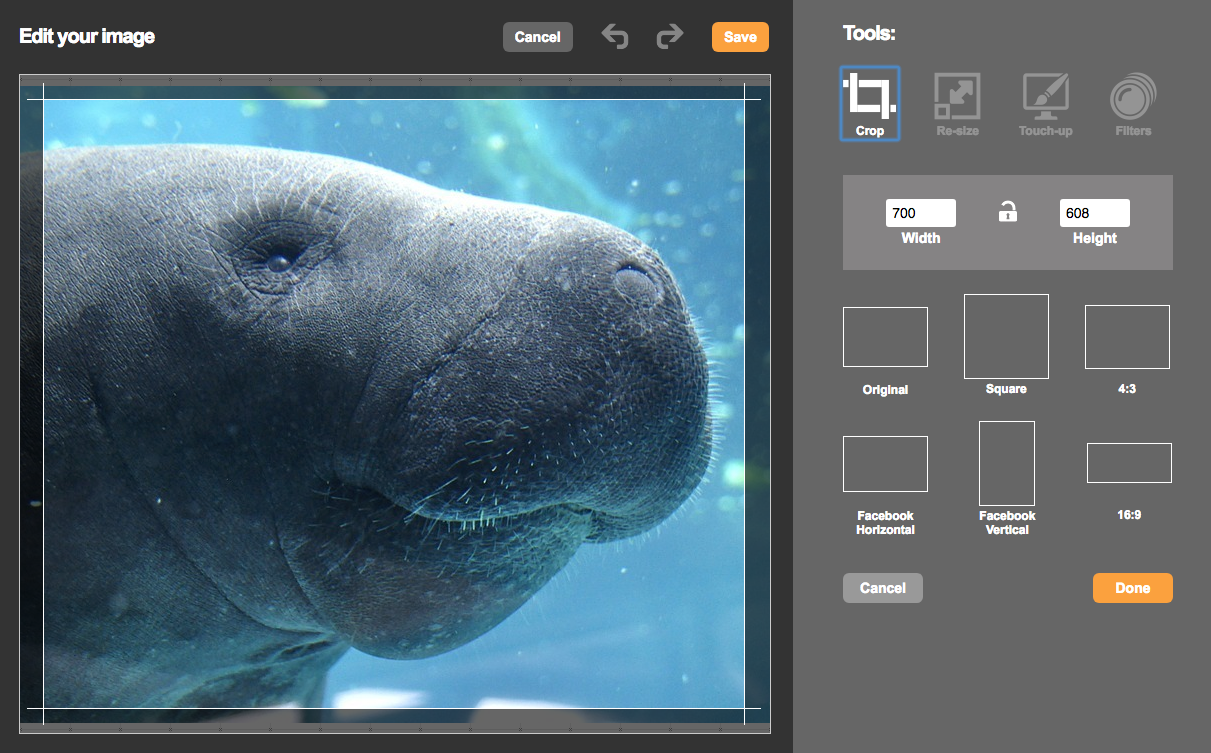
When you are finished editing just click SAVE to store your changes.
Updating files
If you need to update an already existing file, make sure that you tick the Overwrite existing files. checkbox before you start the upload. The file will replace your existing file.
When you upload a file, the filename is altered to include a version number in the form of a timestamp. For example, if your file was called 2_varadero_lizard.jpg it will have a version number appended as a timestamp once it’s published, and become e.g 2_varadero_lizard.jpg?v=1468599470000. To force loading of a newly updated file, simply change this version in your so it is different from the previous – for example, previous number + 1.