
1. Setup
Once you have navigated to Marketing Tools > Messaging > Broadcast, you will be ready to set up your first broadcast:
View instructions for: Creating a new broadcast or copying an existing one.
After sending your first broadcast, you will find there are two approaches to consider when starting your broadcast process:
|
When copying existing campaigns, you will need to give the duplicate a name; when you start editing, you will skip the setup and audience steps and go straight to the message step. So, if required, go back to these sections manually. |


|
|
|
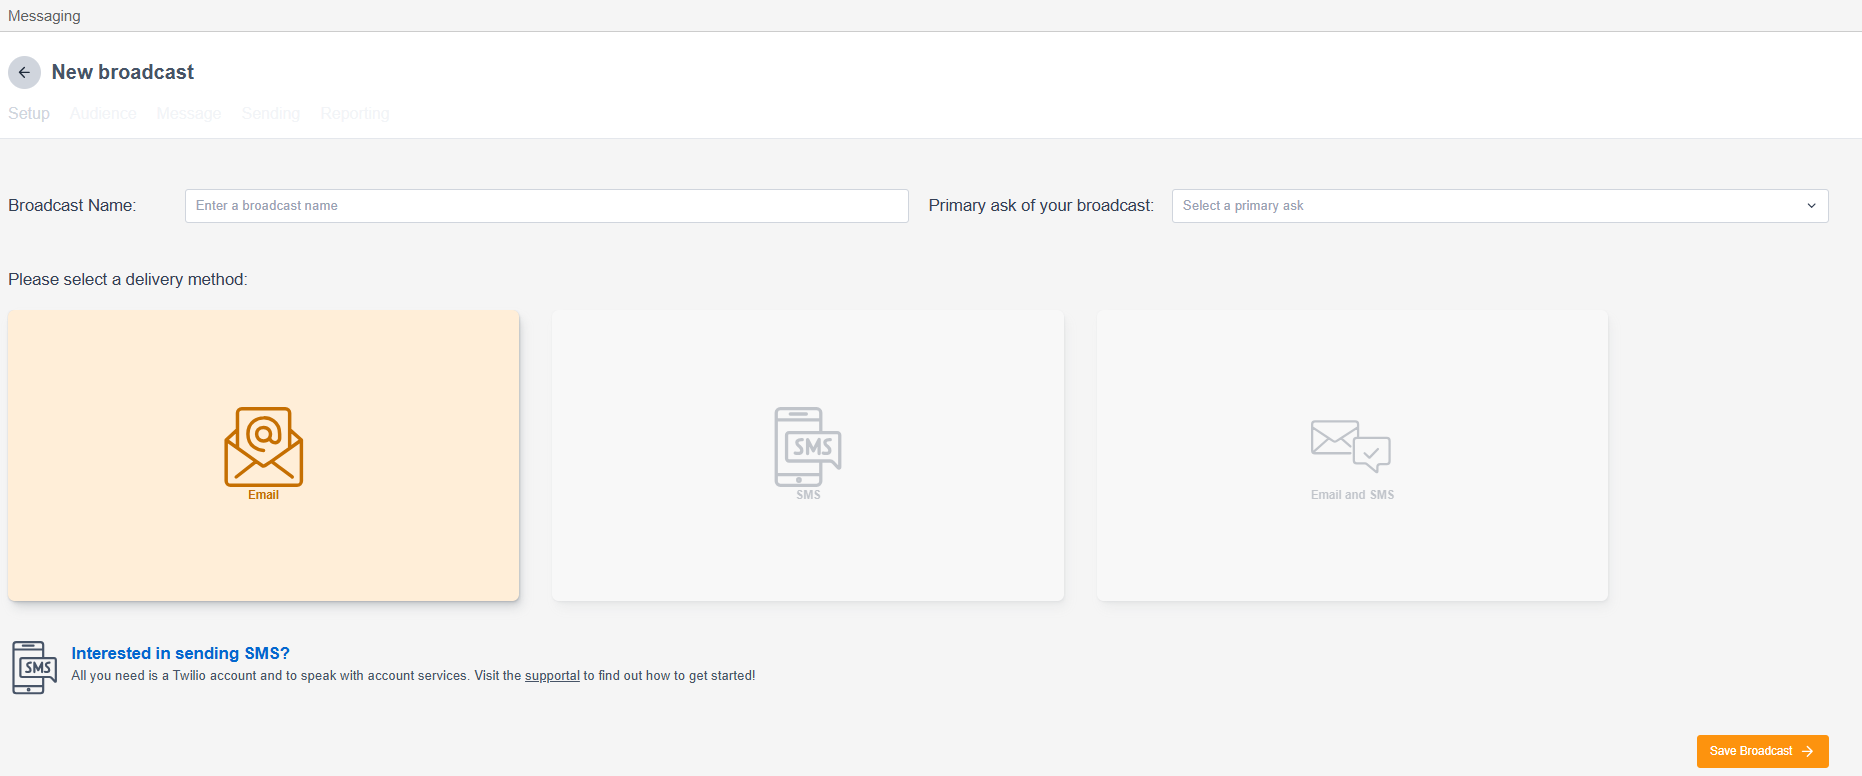
Broadcast Name |
This is the name of the broadcast campaign. Note that messages within the campaign can be named differently |
|
Primary ask of your broadcast |
This is used for reporting. The available options are Advocacy, Engagement, Fundraising or Newsletter |
|
Please select a delivery method |
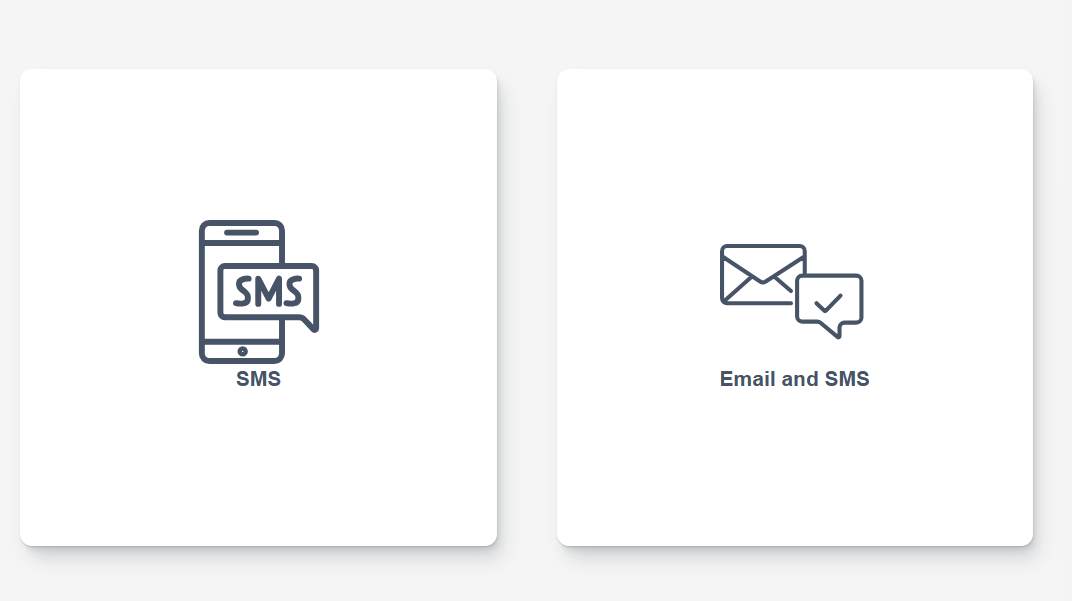
Choose Email, SMS or Email and SMS. Email will send emails only to the selected audience. SMS will send only text messages to valid phone numbers in the selected audience. You will need to set up a Twilio Integration to use this channel. Email and SMS will send messages to valid phone numbers. So it is possible for a supporter to receive both the email and the SMS message if they are opted in to both channels and have an E.164 formatted mobile number. |
|
Sender |
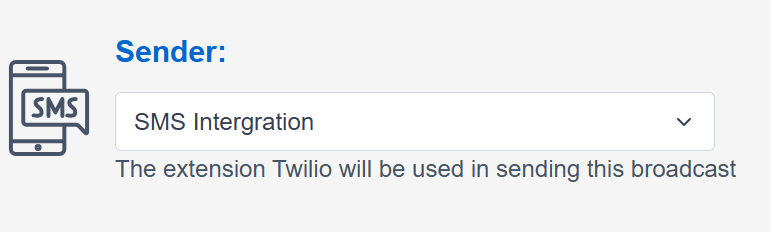
If you choose SMS or Email and SMS as the delivery method, you will see an SMS Sender dropdown to choose which phone number to send from. |

2. Audience
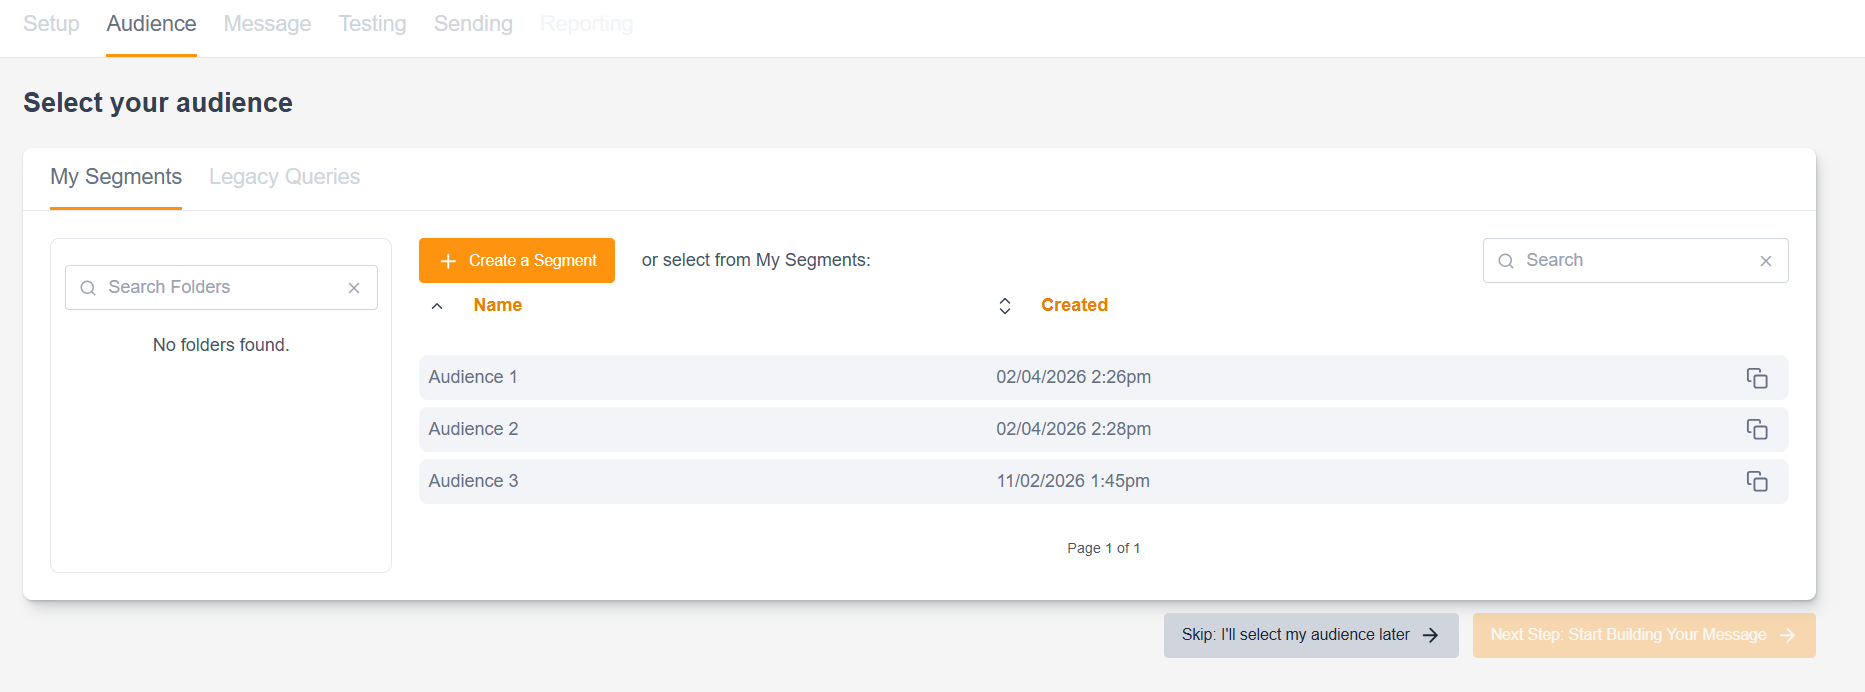
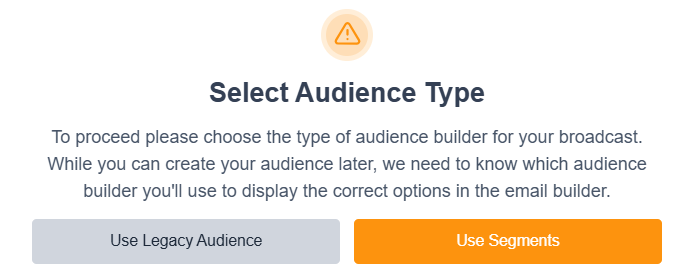
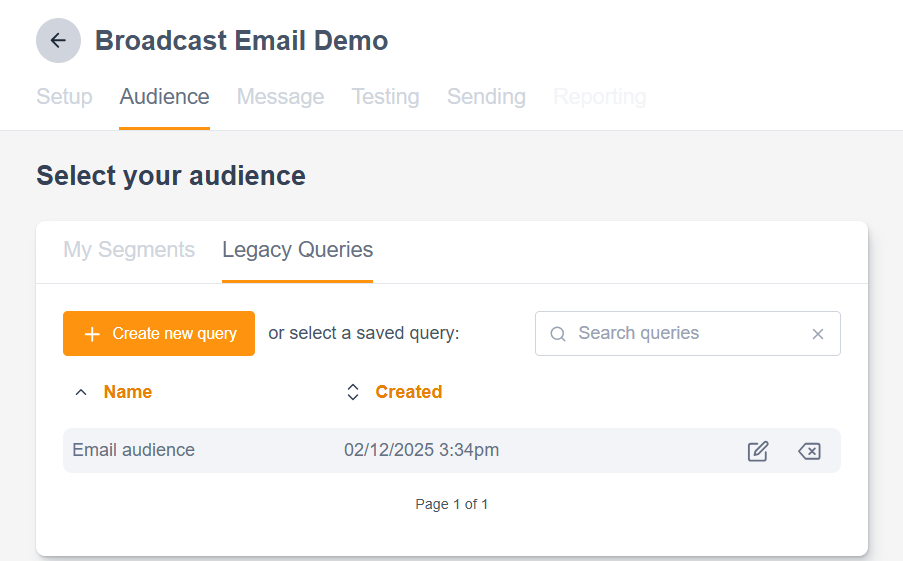
After completing your setup, you will have two approaches to consider when building your email audience: My Segments or Legacy Queries.
Because these run independently, remember that if you’ve historically used one over the other, it could affect your ability to duplicate emails or use conditional content.
View instructions for: Selecting your audience and audience building tool.
|
|
|
|
|
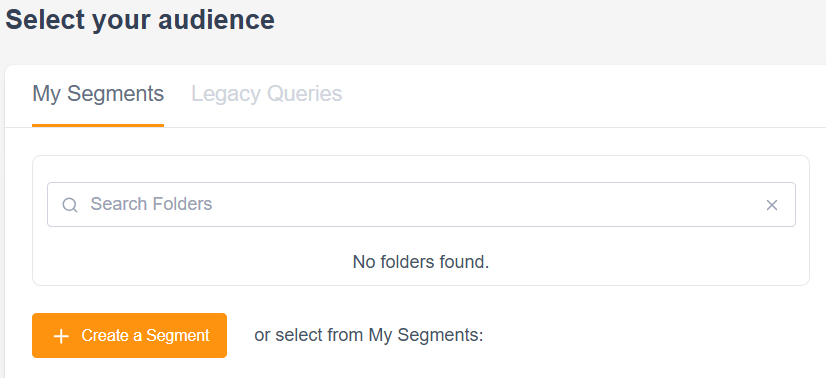
My Segment: Allows you to use segments as your audience selection tool and select previously saved ones. Create a Segment: Allows you to create a new segment. |
|
|
Legacy Queries: Allows you to use the query builder as your audience selection tool and select previously saved ones. Create a Query: Allows you to create a new query. |
|

3a. Message
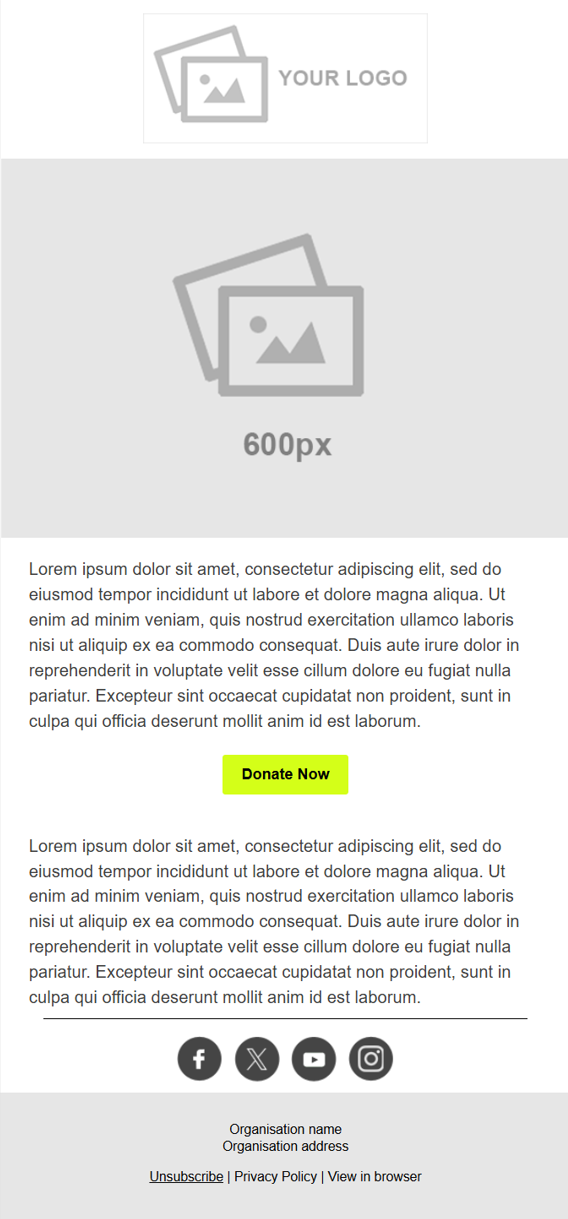
Before you build your first email, we recommend familiarising yourself with marketing tools, templates, and blocks, as these will form the foundation of how you use marketing tools, broadcasts, and automations. Engaging Network’s advocates for clients have one fully tested template containing all the necessary blocks you may require, which can then serve as the basis for all future campaigns, either by duplicating it or by deleting and adding more blocks as required.
View instructions for: Starting to build your message.
Navigating the message screen
When opening the message screen, you will notice 3 distinct areas:
|
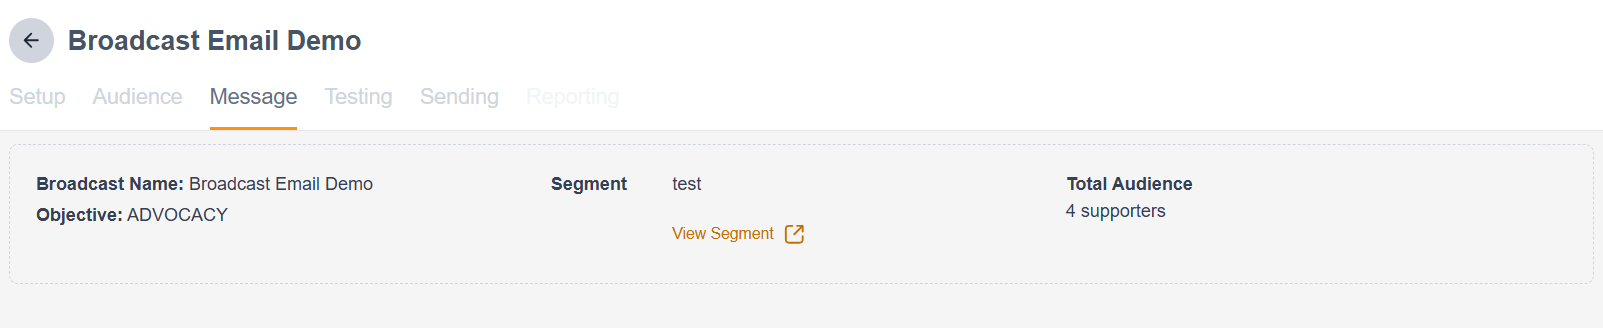
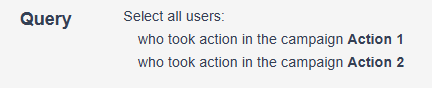
Summary Section: Contains the Broadcast Name and Objective (set in 1. Setup), your selected Query or Segment (set in 2. Audience), and the counts of your Total Audience and suppressions (if not already excluded in your audience selection), based on your data selections.
|
|
||||
|
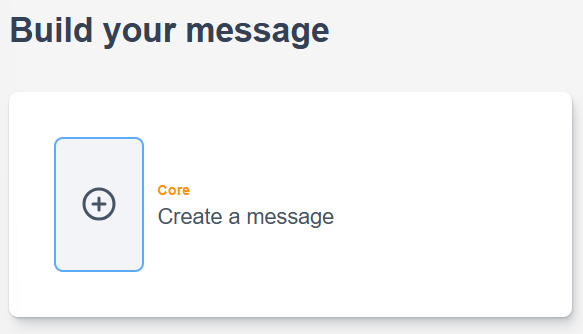
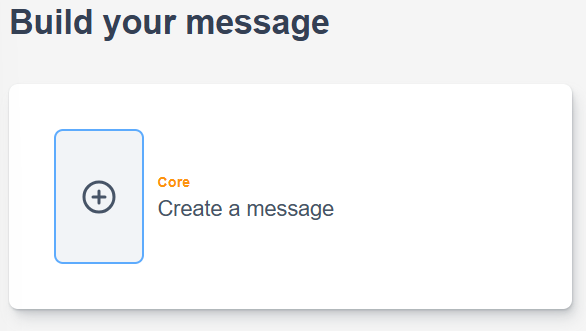
Build Your Message: Use this area to begin developing the core message(s) for your email campaigns. |
|
||||
|
Audience Segments*: Audience segments will become available once you have saved a core message and will allow you to send a completely different design or style of message to a profile or segment. This feature can also be useful for more closely monitoring the behaviours of different audience groups. *Audience Segments is different to the
|
|
||||
Build your message
|
|
||||
|
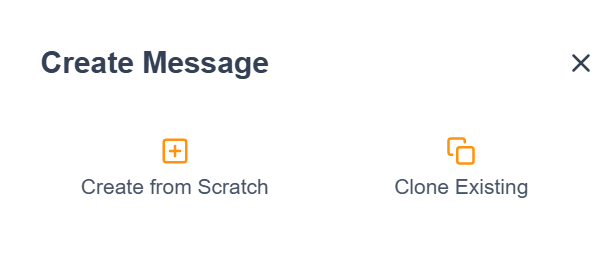
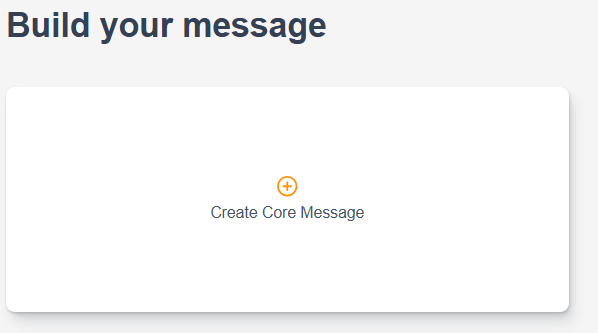
2.a. Email only: Select either:
|
|
||||
|
2.b. SMS only: select either:
|
|
||||

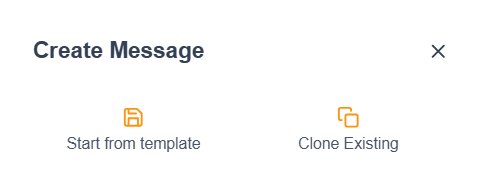
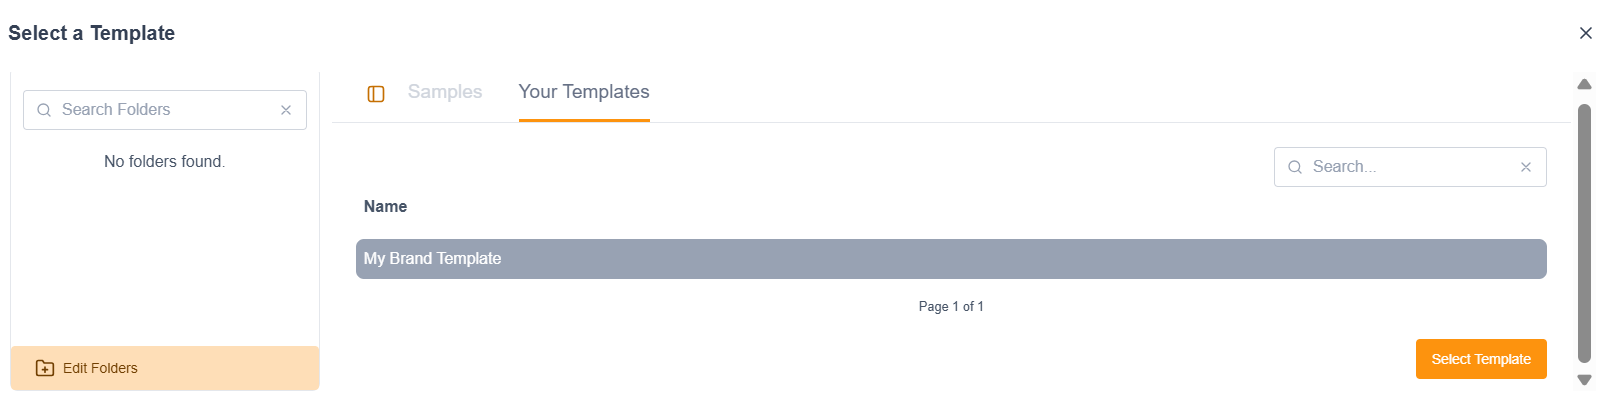
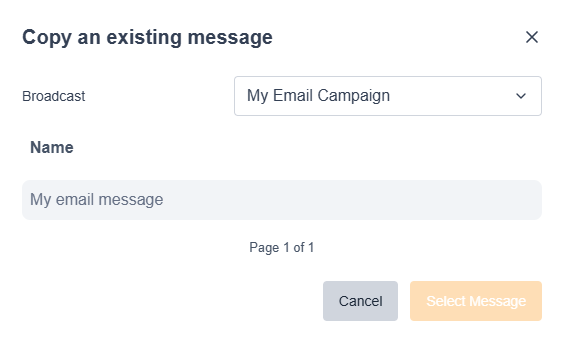
3b. Email Builder
Once you’ve selected your template or email to duplicate, you will open the email builder:
View instructions for: Navigating the email builder.
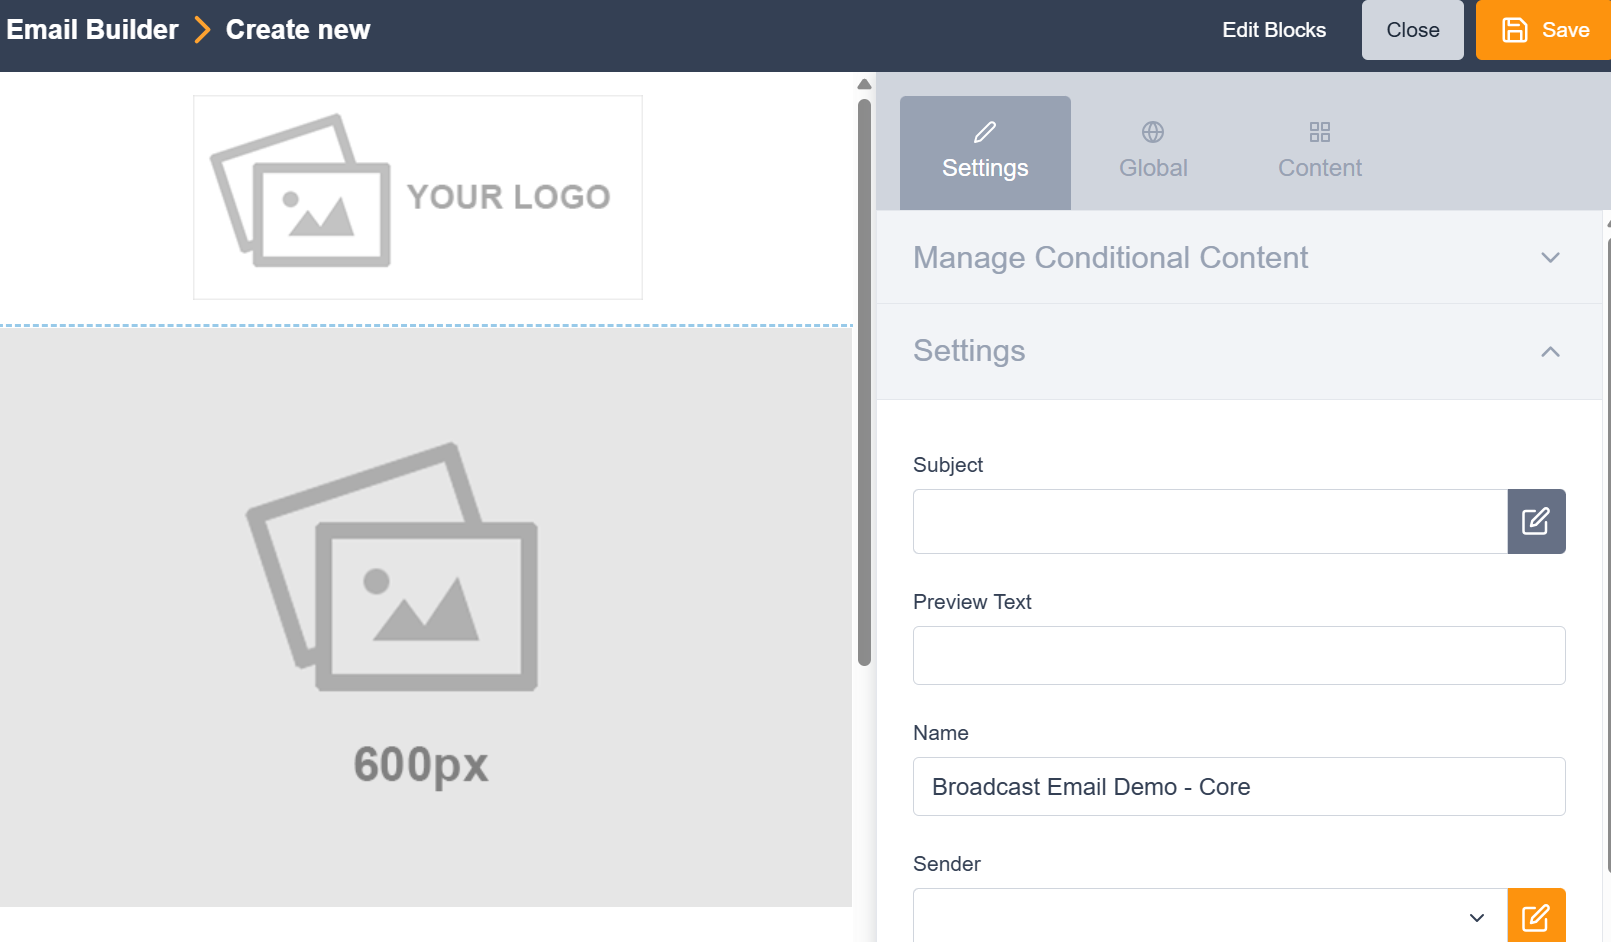
Email builder > Create New
|
Through the email builder, you will:
|
|
||
|
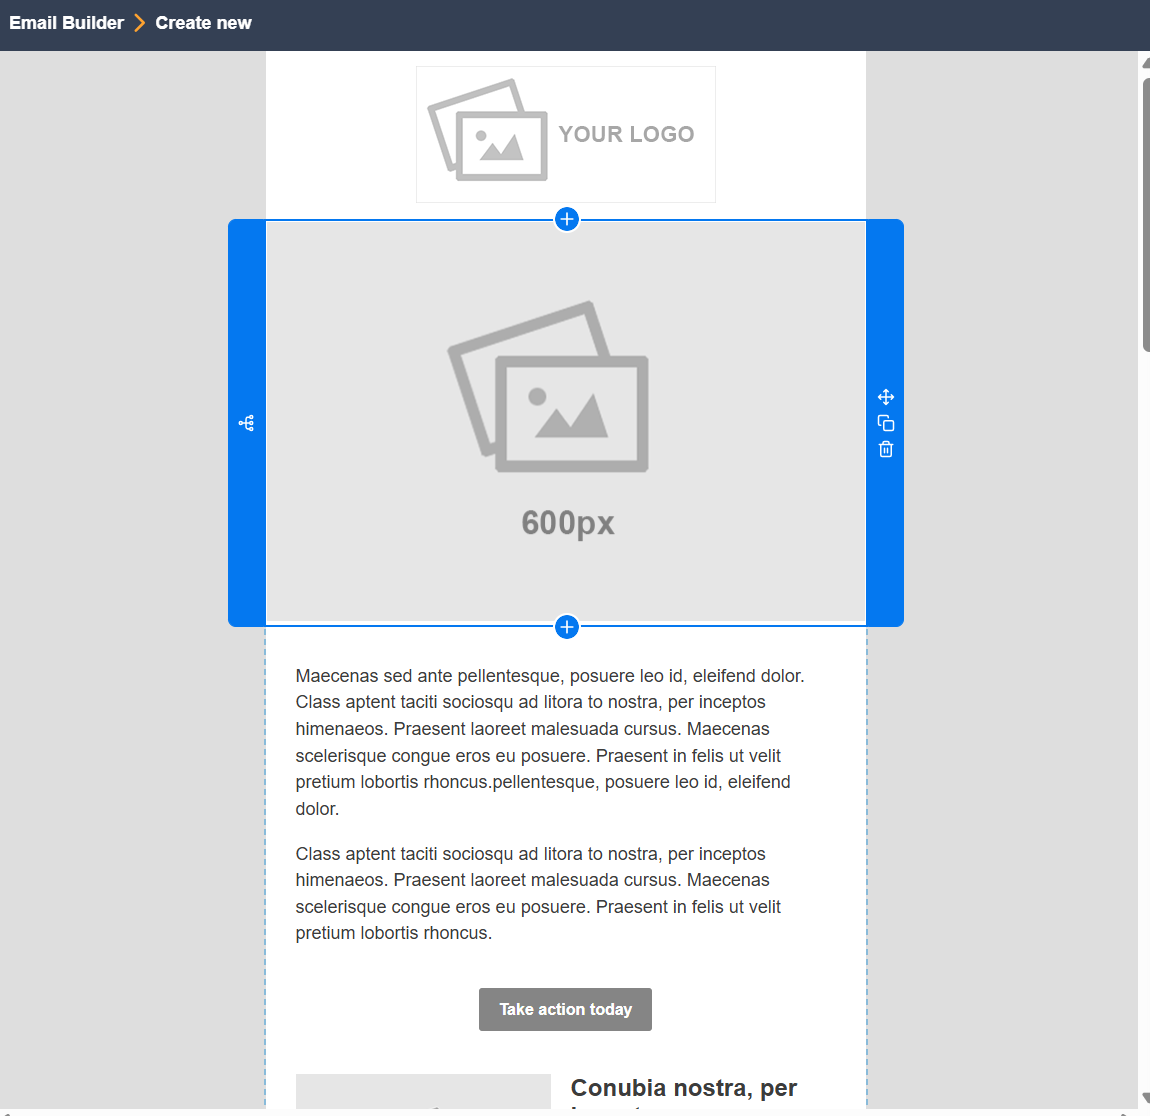
The builder has two sections.
|
|
||
Edit blocks, close or save the message
Above the right section, there are three additional options: |
|||


Email Builder - Settings
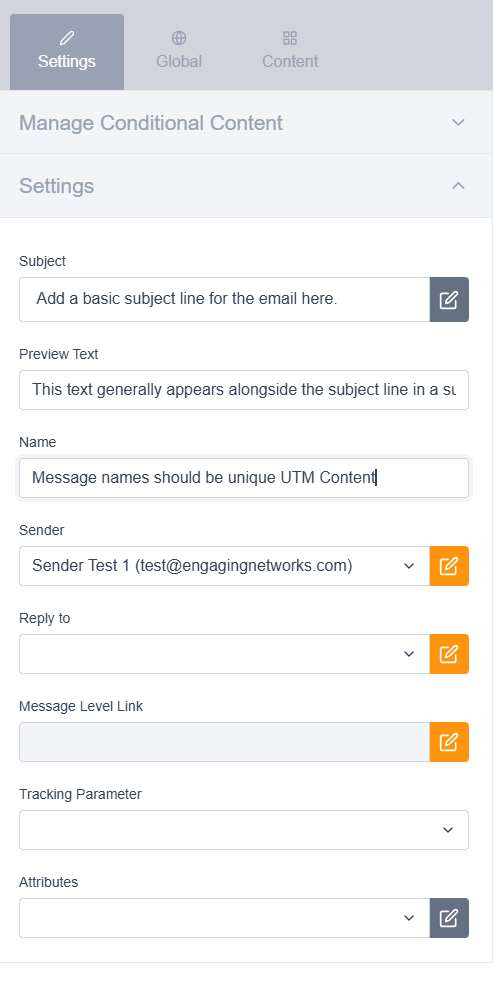
The Settings tab is where you need to set:
|
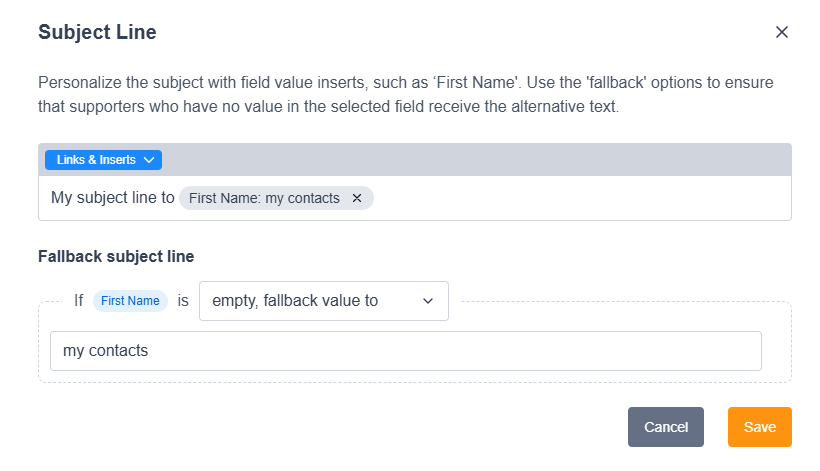
Subject: Add a basic subject line for the email here.
|
|
||
|
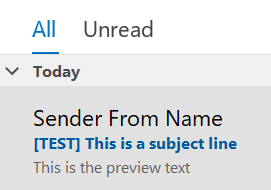
Preview Text: This text generally appears alongside the subject line in a supporter's inbox. Name (UTM Content): To save, message names must be unique, as they’re used for internal reporting and querying and as the UTM content parameter in Google Analytics. We'll add the suffix Core to your first main message. |
|
||
|
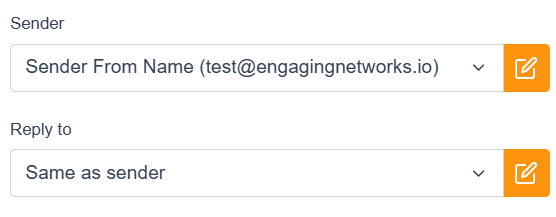
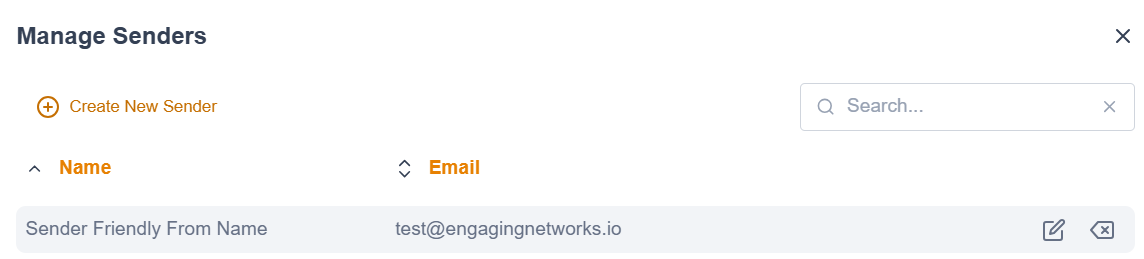
Sender: Choose from the drop-down list or edit the friendly-from name for your message and email address. Reply to: Will default to the sender's address, but a different email address can be selected. In test sends, the sender and reply to are always the same. Broadcast Email Sender can also be edited via |
|
||
|
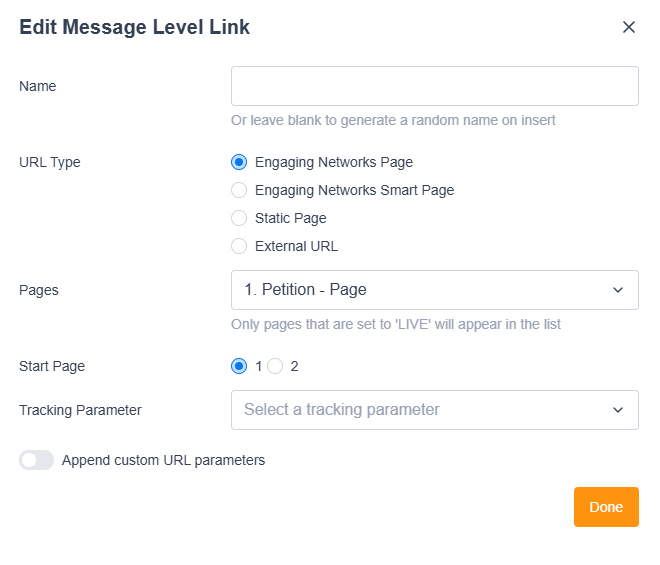
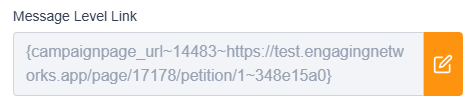
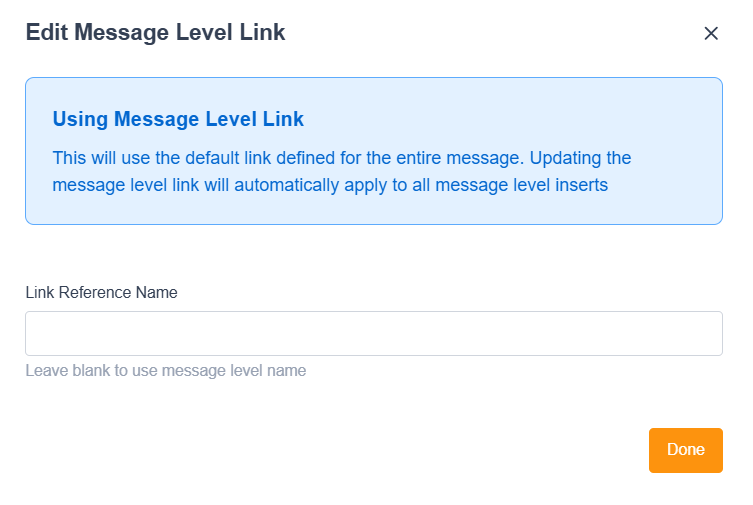
Message Level Link: Allows you to set a global destination link at the email message level, so that, if required, all your main calls to action can be directed to the same place. It also allows you to define a single destination URL (page, appeal code, and direct gift parameters) that applies across the entire message.
|
|
||
|
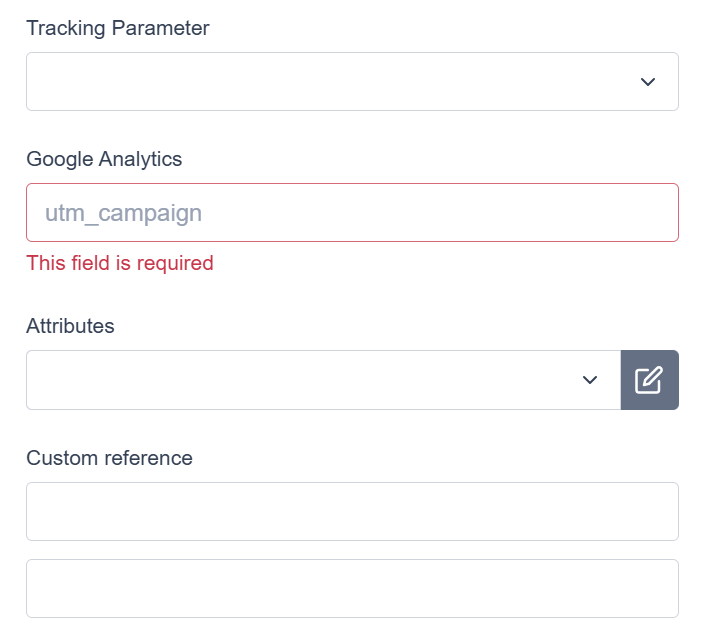
Tracking Parameter: Set the default tracking parameter for links in your message. Campaign links with a tracking parameter of “inherit” will use this value, meaning you can change several links in one go via this setting Attributes: Descriptive tags applied to pages and emails you build in the software. Google Analytics (UTM Campaign): If enabled, this section allows you to set the Campaign references: Appear here if enabled. |
|



Email Builder - Global
Global settings are fields (known as replacements), grouped into categories, that allow you to change certain aspects of the email template, for example, its background colour.
What you see here depends on which template you used to create the email and how the template designer intended it to work. In our Sample templates, you will see elements such as Logo URL, image, alt text, and alignment, as well as other design options. In your own templates, you will see whatever settings are available (you may not even see anything).
Email Builder - Content (Editing Blocks)
|
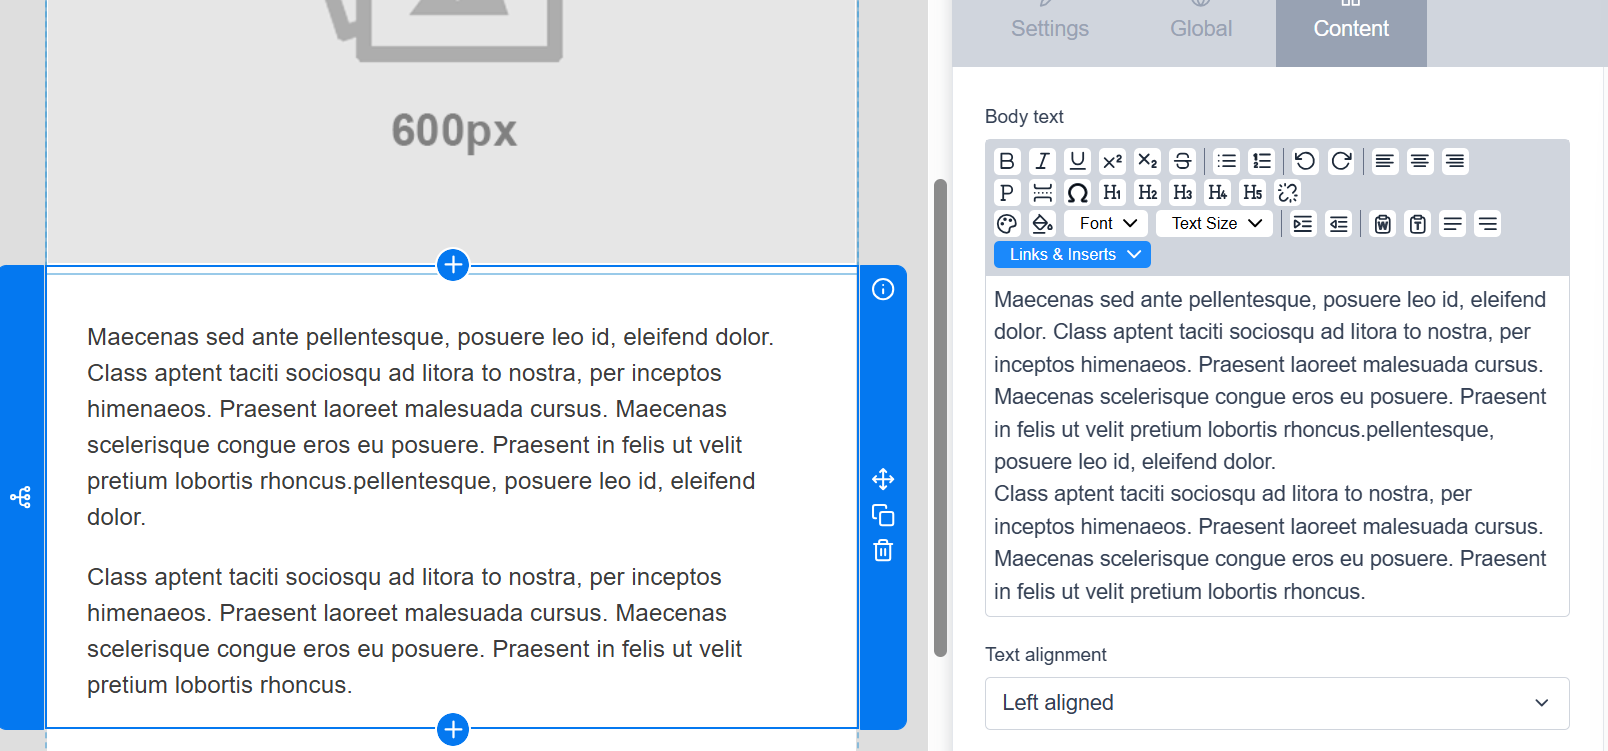
The Content tab appears when you select a block to edit the email. The editable content that appears here depends on how the block is designed as a component. |
|
||
|
When you hover over the email, editable blocks are bordered by a blue box: Once selected, the block will be highlighted, and the following functions will be available:
|
|||
|
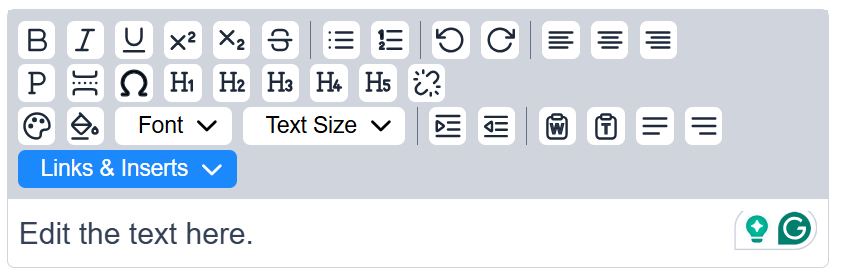
Editing the content tab using the rich text editor: The rich text editor includes many of the features you’d expect from a WYSIWYG (What You See Is What You Get) editor, allowing you to easily edit and format text. |
|
||
|
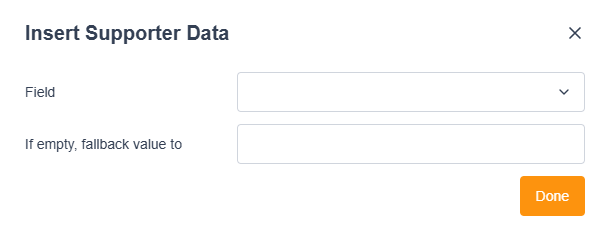
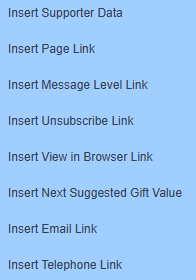
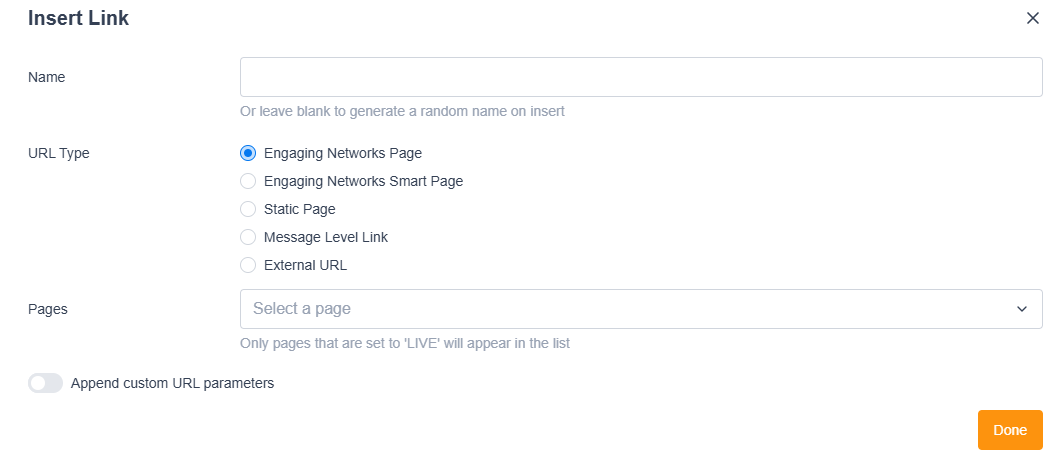
One key function of the rich text editor is the ‘links & inserts’ button, which offers the functionality to:
|
|
||
|
|
||
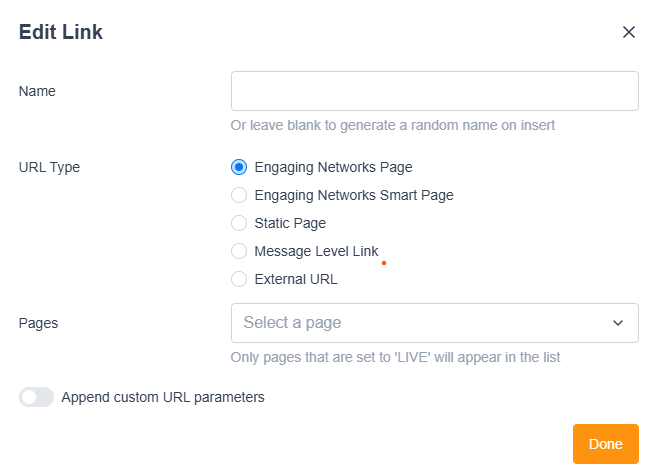
Edit Link:
Link Encoding: Make sure your links encode correctly. To do this, check your Allowed Domains: Hello > Account Settings > Allowed Domains to ensure the first and second domains/subdomains point to our servers. If there are domains/subdomains that are not pointed to our servers, your links will not encode correctly and will fail in a live email. |
|||
|
|
||
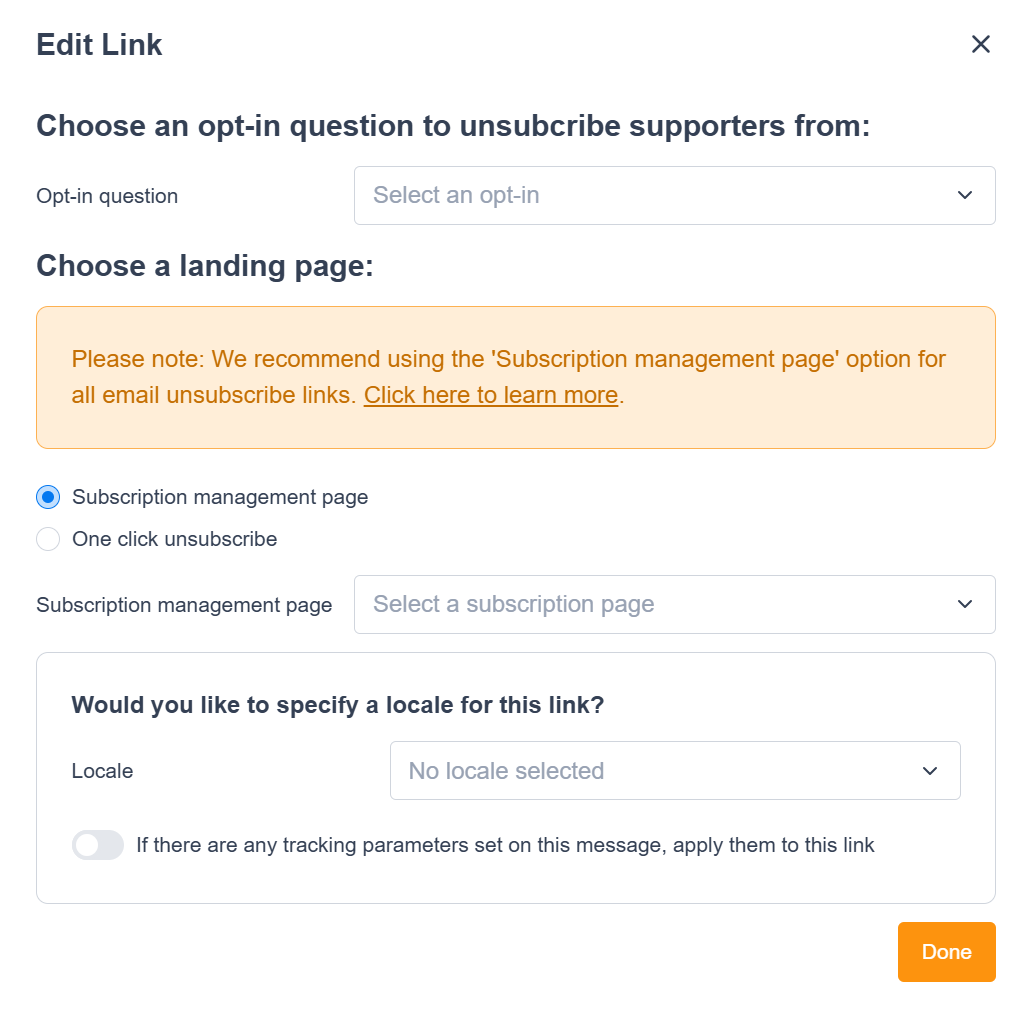
Engaging Networks recommends using the 'Subscription management page' option for all email unsubscribe links, as some email security systems can open emails, scan all links, and inadvertently opt out supporters. |
|
||
Unsubscribes
List unsubscribe features can send multiple unsubscribe requests through at once. Meaning it can sometimes appear as though a supporter has unsubscribed multiple times in a short period.
|
|||
|
|||
Editing other types of blocks:
Some blocks have multiple values you can change. For example, our sample button block, when selected, lets you change the button’s link, text colour, and text.
|
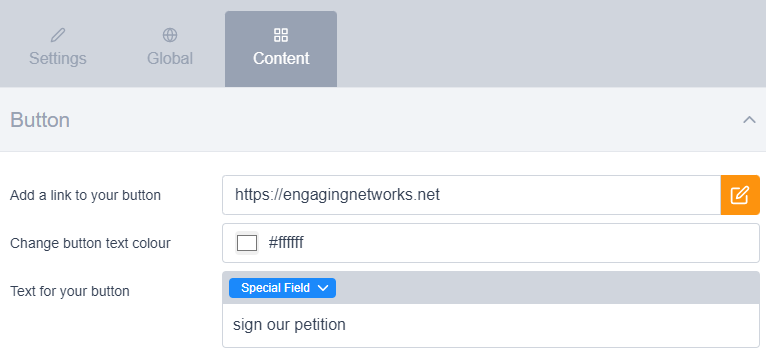
|
||
|
A block containing an image lets you add an image from the Image Library, along with an Alt tab and a link. Some blocks may contain a mixture of images and text, which is managed by the designer who has created your template and blocks. |
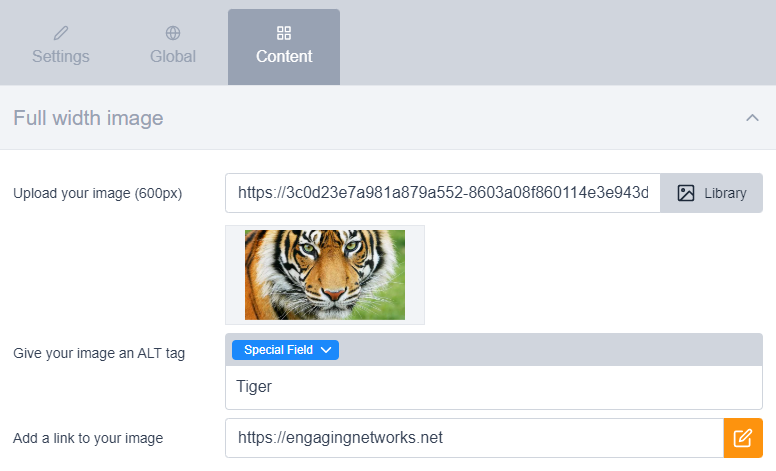
|
||



3c. SMS Builder
If you are planning to send an SMS, you will open the SMS builder:
View instructions for: Navigating the SMS builder.
SMS Setup
|
The SMS Builder is available when you select SMS or Email and SMS at 1. Setup.
|
|
|
You will also select the appropiate sender based on the connected accounts within your Account Settings > Extensions > Twilio. |
|
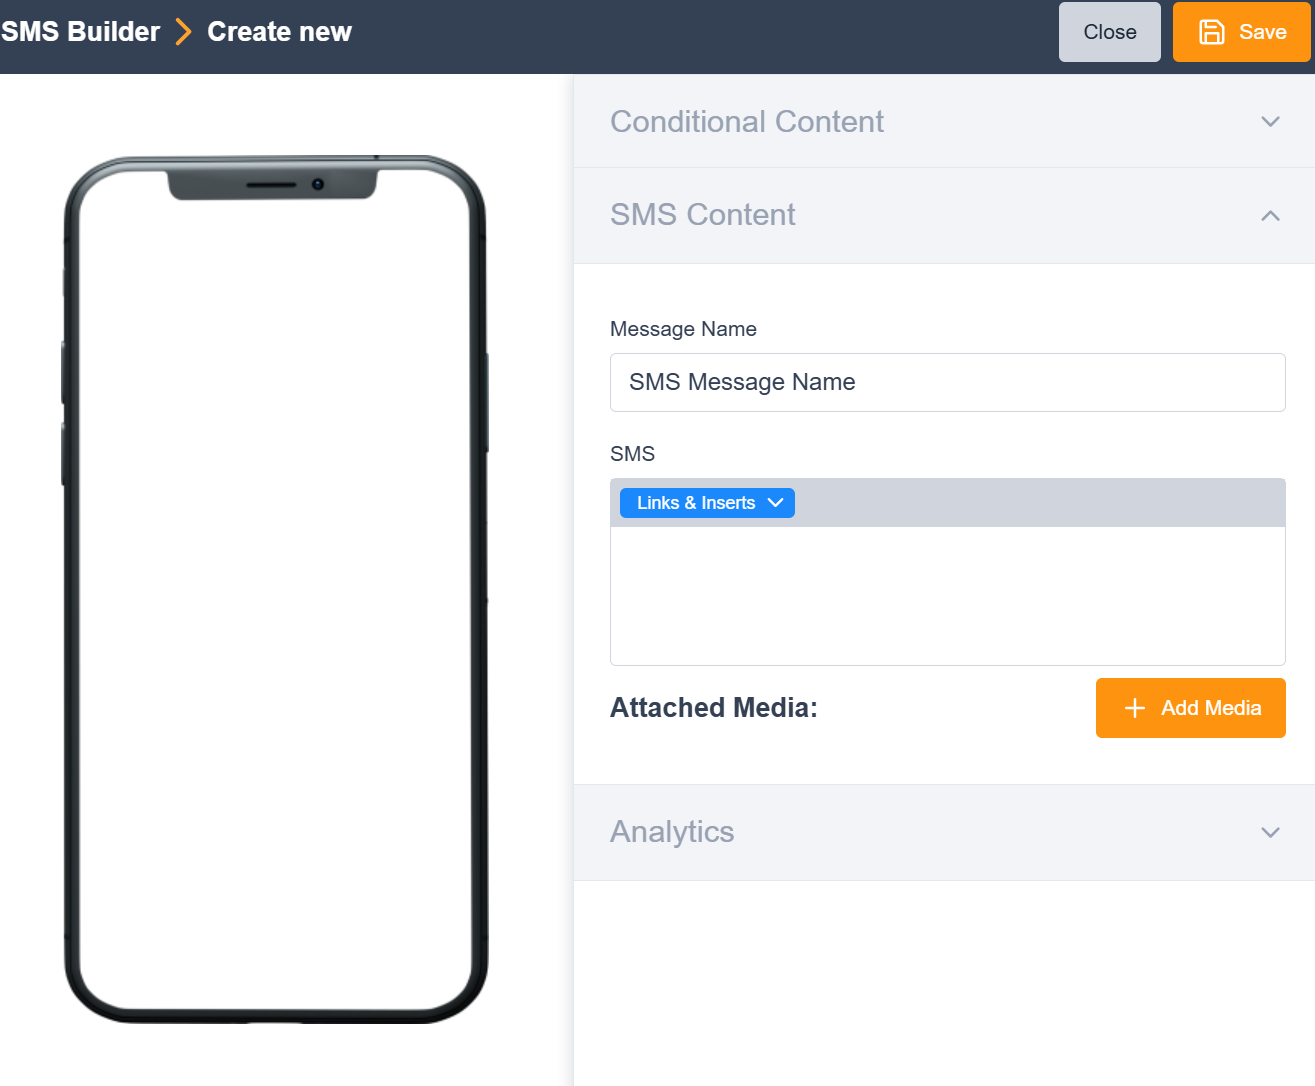
SMS Builder > Create New
|
Message name: An internal name for your message used in queries and reporting. SMS: Type your message into this box. You can add Supporter Data and links using the blue Links & Inserts button. The approximate message length will be counted underneath the SMS box. If it is more than one segment, Twilio will count this as additional messages. Please refer to their pricing for more information. The opt-out text, set in your Twilio extension (Account settings > Extensions > Twilio > SMS), will be automatically appended. One key function of the rich text editor is the ‘links & inserts’ button, which offers the functionality to:
Attached Images: Use this to add images if supported by your Twilio account. Analytics: If you are using Google Analytics (set under Email Settings) or Campaign References, then they will appear under this tab |
|
|
The SMS character limit is 500 characters (4 segments). Links and inserts, such as first names, create additional characters through the merge fields that are not included in the approximate character count. |
Twilio will automatically resize supported image file types (.png, .gif, and .jpg) to the necessary size for delivery based on carrier specifications. The total combined request size (message and attachments) must be under 5 MB. Messages with an image larger than 5MB will fail with an error. If you would like to resize your own images, images should be no larger than 600KB. |
Next steps: