
4. Testing
Once your message(s) are ready, you should always send test emails and/or SMS messages before sending them to a live audience. Testing is your opportunity to double-check that all your content and associated user journeys read, behave, and render correctly.
View instructions for: Testing your messages in marketing tools broadcast
About Testing
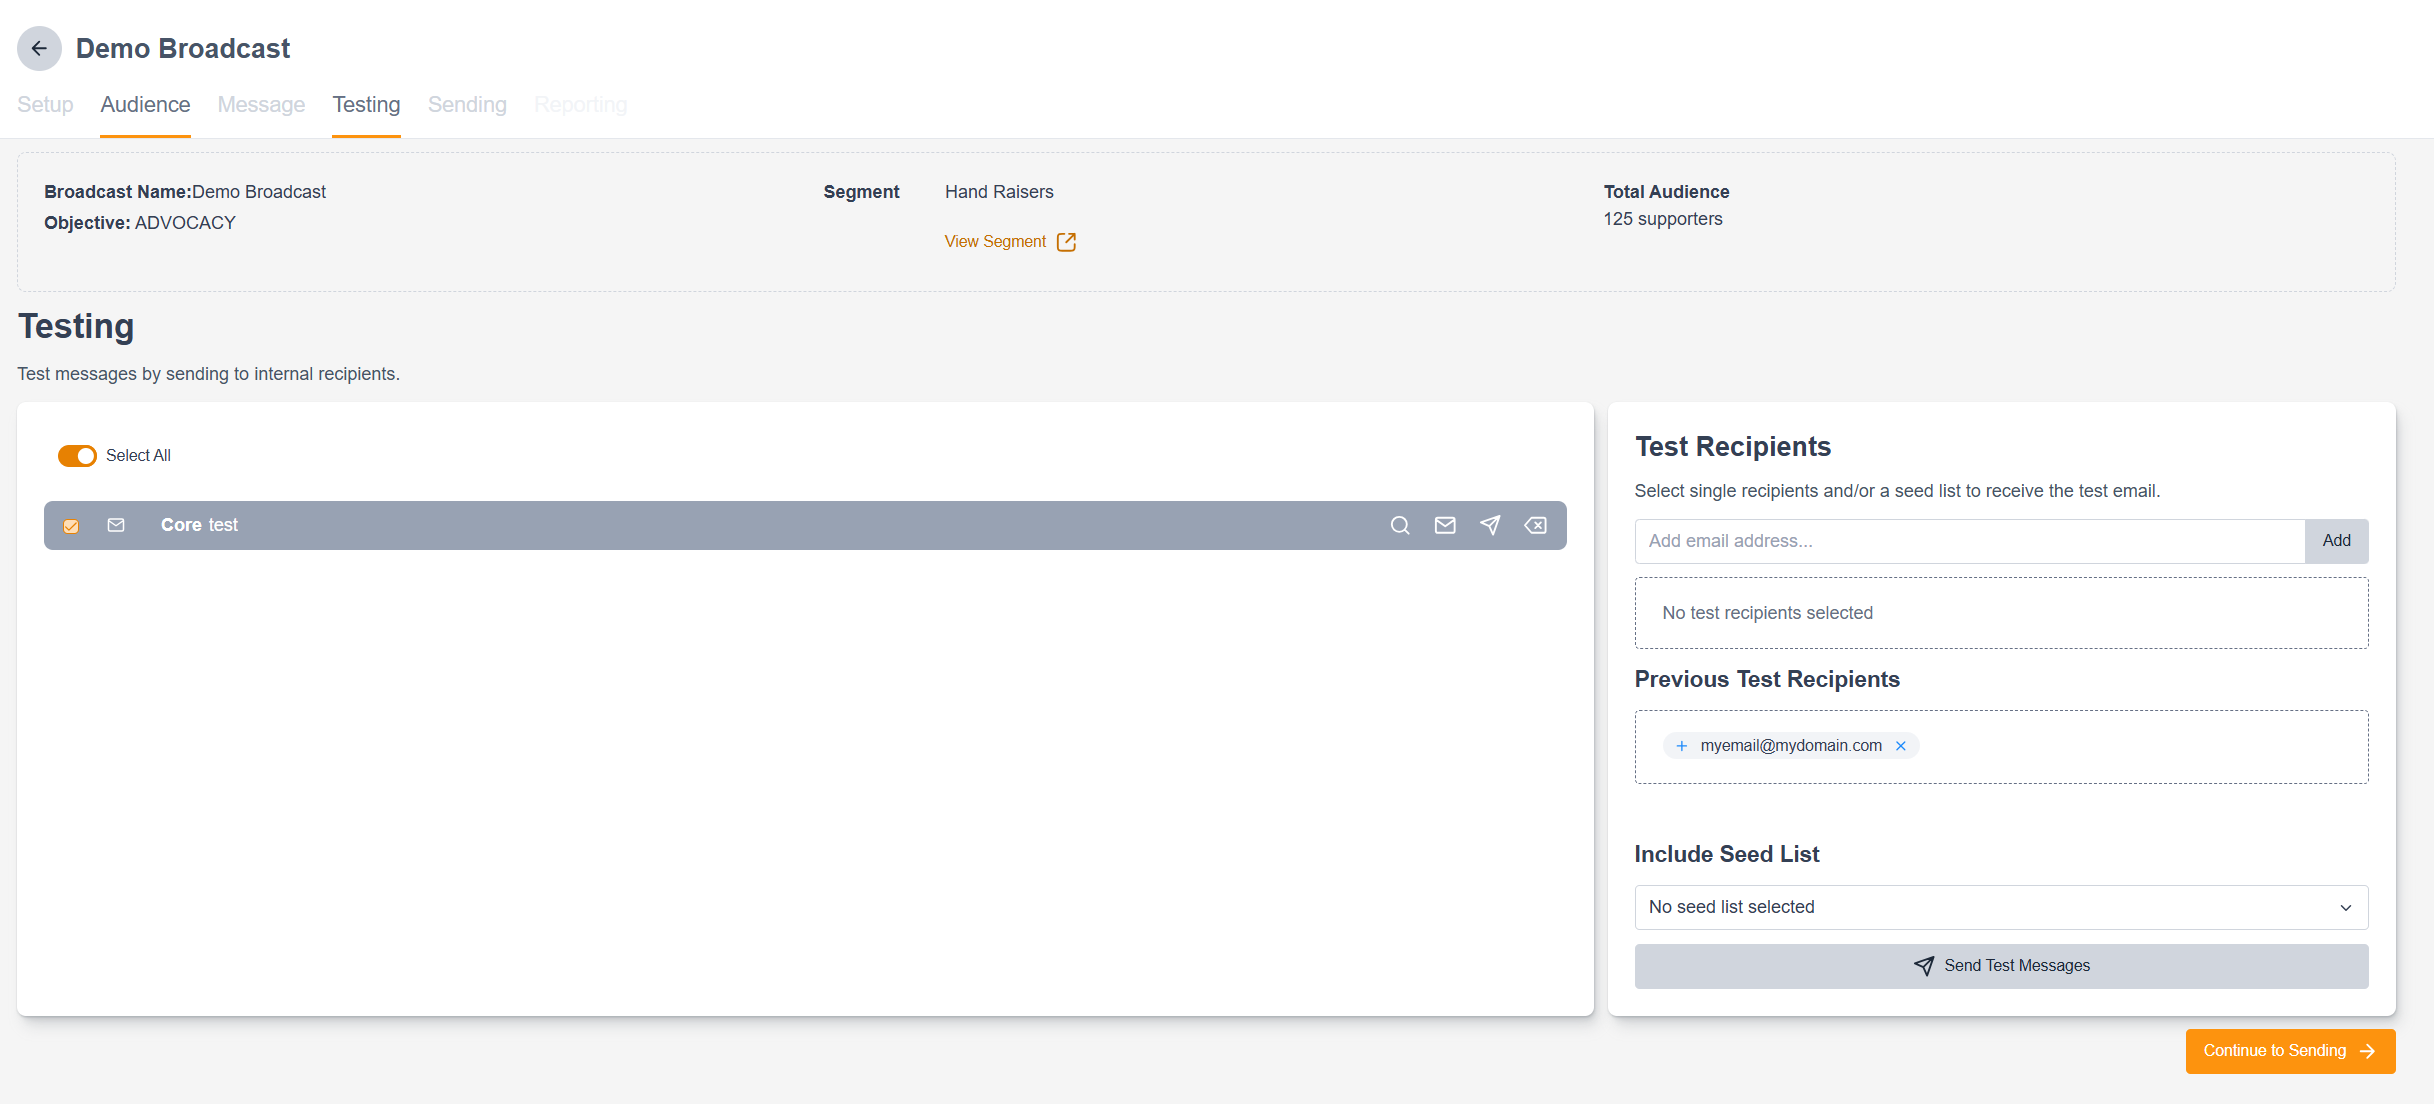
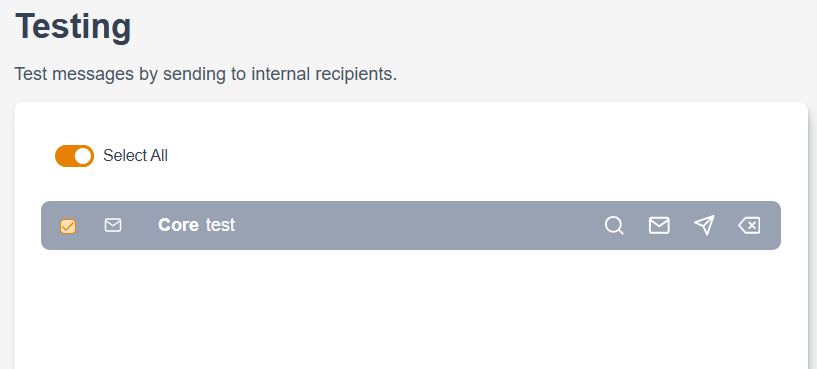
When you reach the testing stage, you will see two sections: the testing screen, which contains the list of emails in your campaign, and the recipients screen, where you select your test recipients. When testing:
|
|
||
Testing Screen
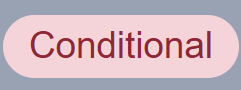
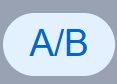
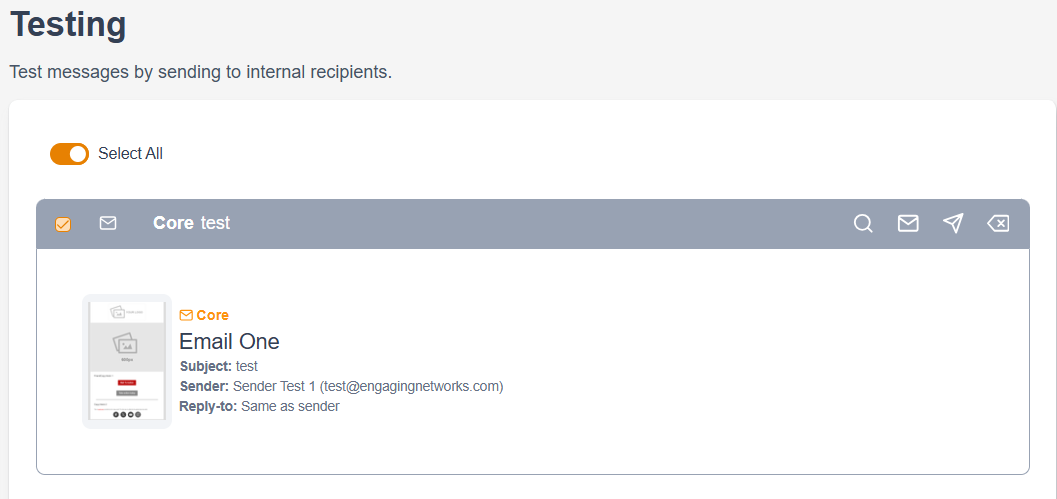
You will see the name of your message(s) in a grey box containing 4 symbols. Selecting the box will reveal a drop-down containing basic information on the message. It will also contain a thumbnail of the email, although be aware this does not always update in real time. Additional notifications may appear alongside the message name when using the relevant functions: When using these functions in your email, toggles allowing you to easily test all variants become available: 
|
|
||
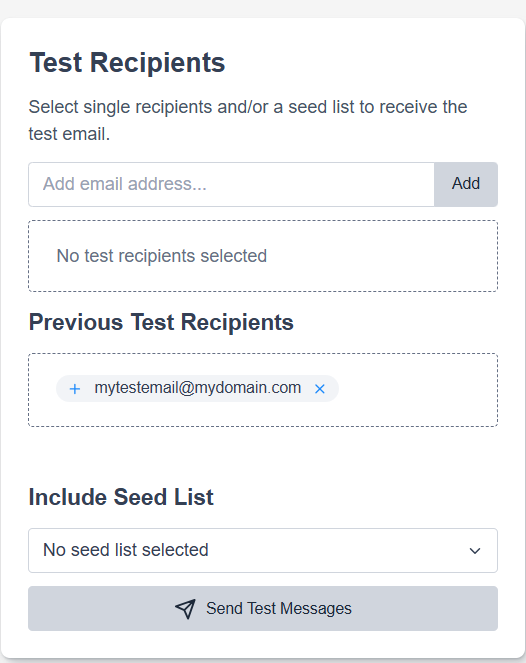
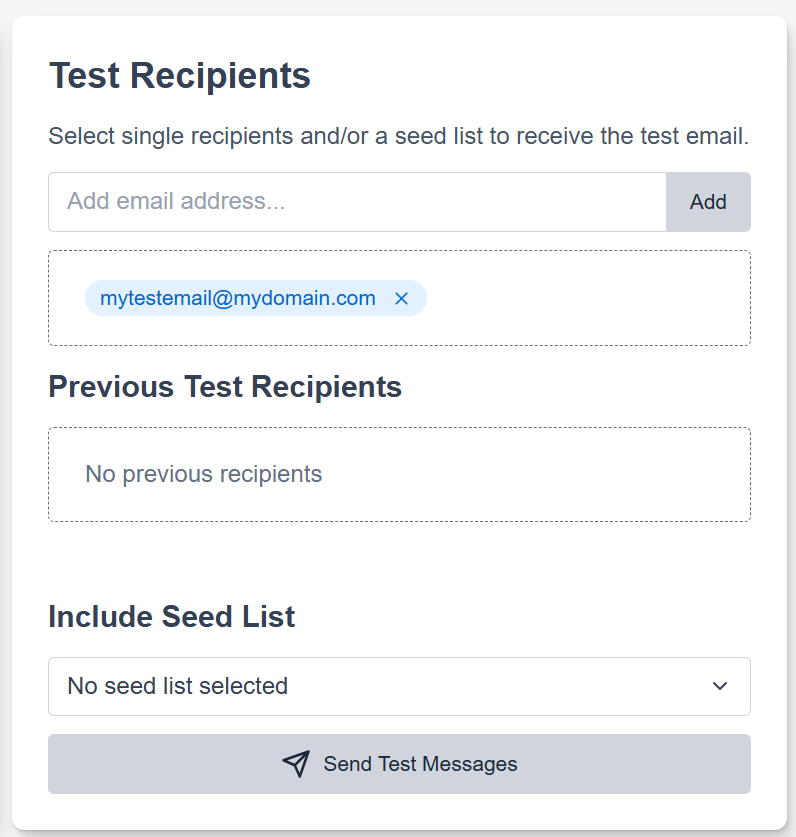
Test Recipients
Here you can add email addresses for testing.
To send the test, press the Send Test Messages button. Remember, for SMS testing, your email record must include a mobile phone number mapped to the tagged field, a second phone number, and follow E.164 formatting. To add a test recipient:
|
|
||
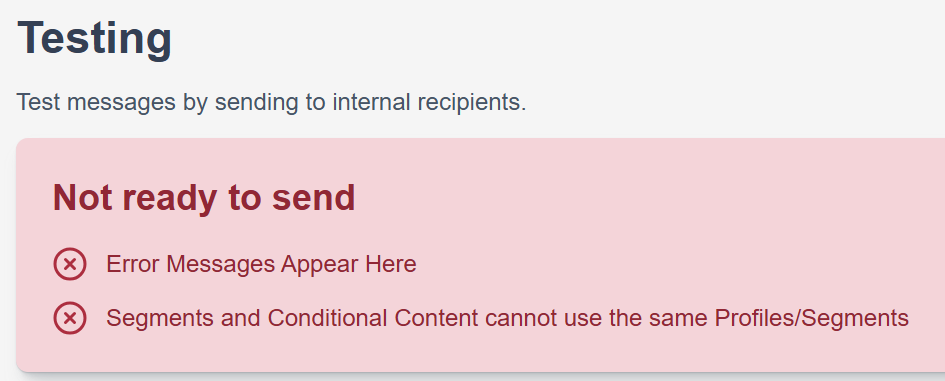
Troubleshooting Testing:
|
|





5. Sending
You are ready to send a broadcast only after you have completed the setup, audience, and message stages and thoroughly tested your campaign.
View instructions for sending a message
Once on the sending campaign, you will be presented with one of two messages:
|
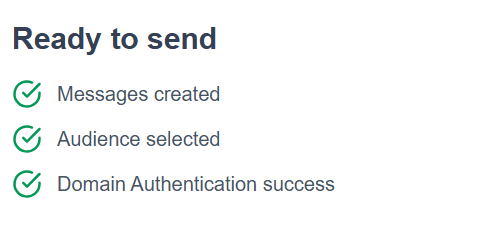
Ready to send: You can proceed to scheduling or sending immediately. |
|
|
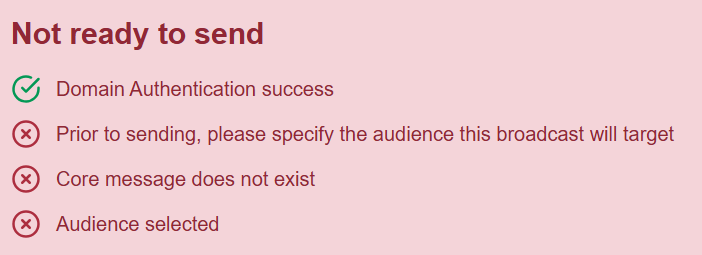
Error Messages: If it is not ready to send, you will see a "Not ready to send" error with an explanation of why the broadcast is not ready. |
|
Send/Schedule Broadcast
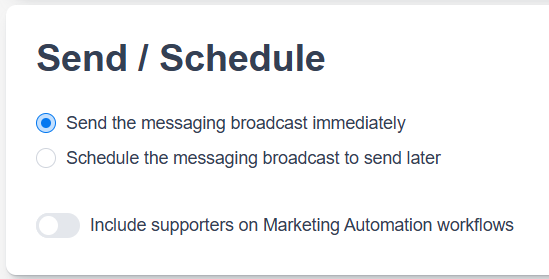
When you are ready to send, you will have two options:
|
|
Rescheduling and Cancelling
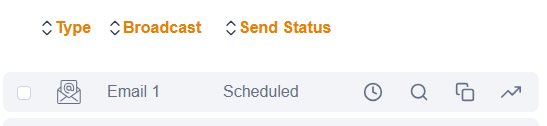
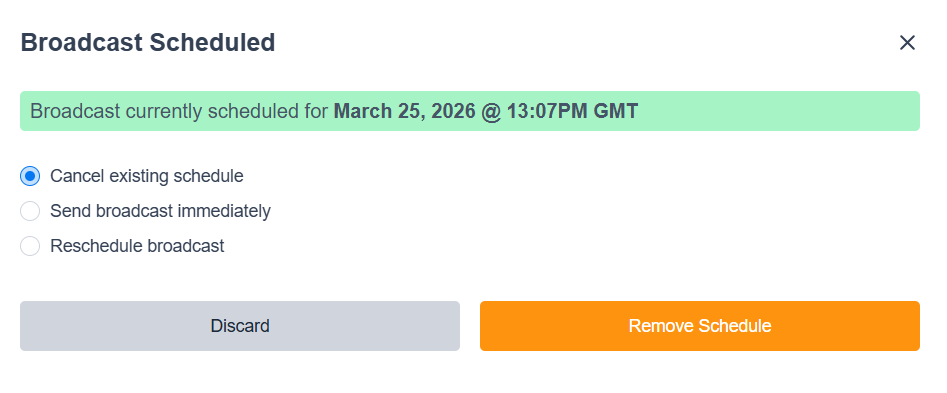
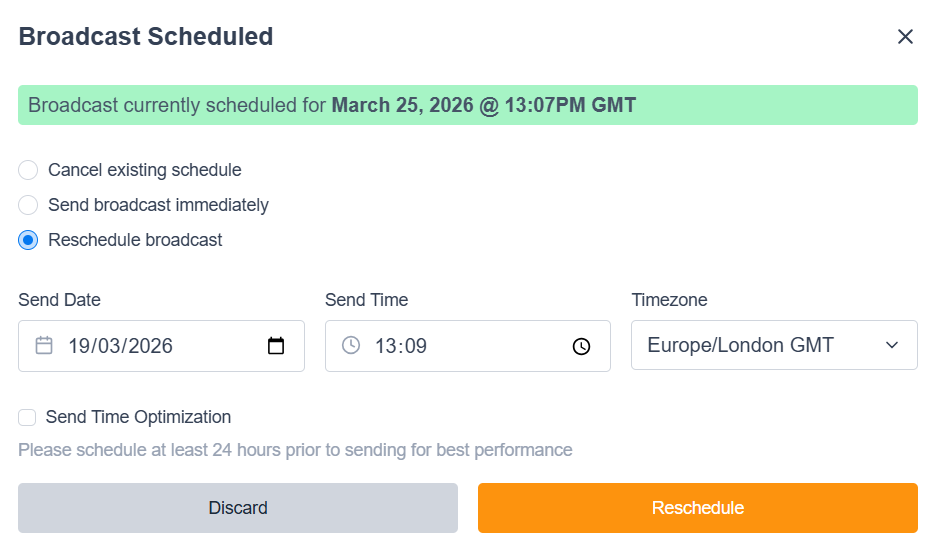
Once the email has been scheduled or sent, it will show as a job in the job monitor. To cancel a scheduled email, delete the job from the job monitor.
|
|
||
|
|
Scheduling for the +1hr or -1hr time changes
Twice a year, the clocks change, and the broadcast scheduling programme automatically adjusts to allow for the spring forward (+1hr) or fall backwards (-1hr) time changes.
|
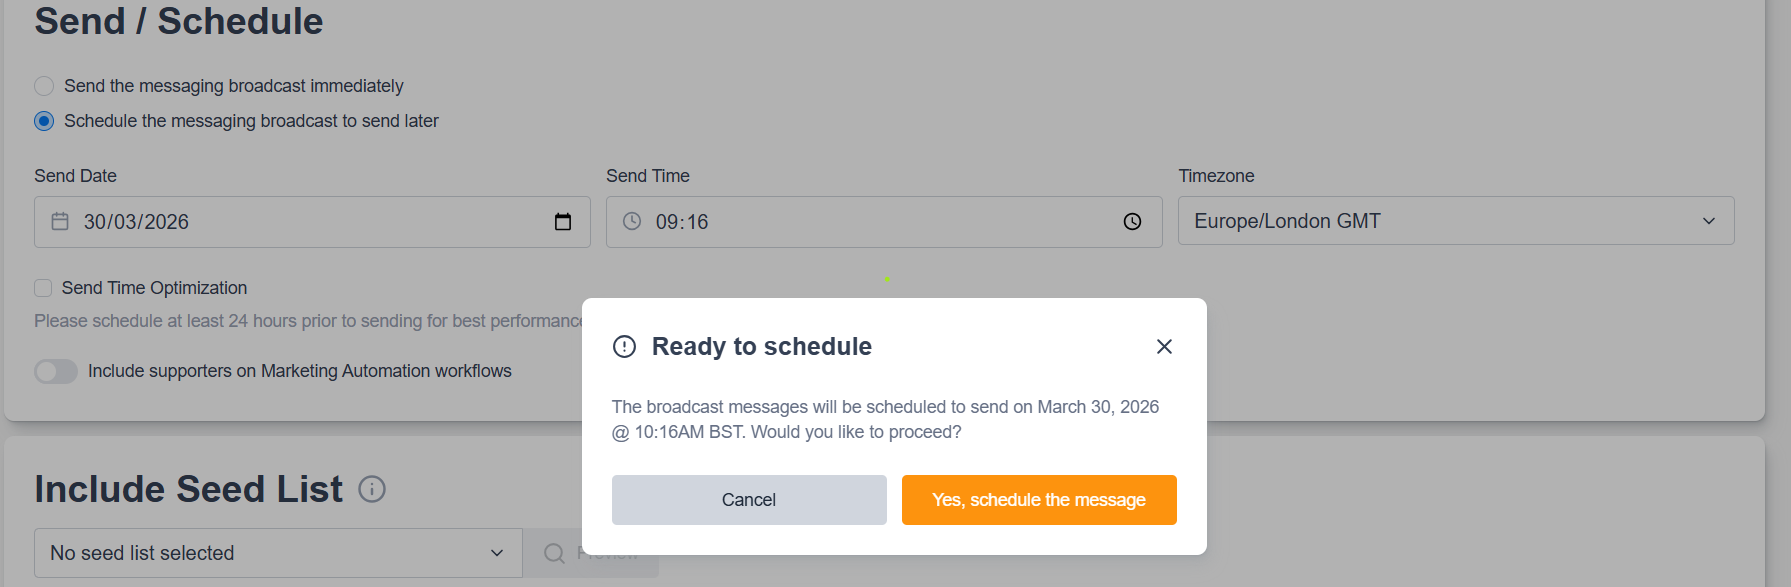
When scheduling your emails for before or after the switch to or from daylight saving time (DST) or British Summer Time (BST), the system will adjust your campaign by +/- 1 hour. Meaning, if you schedule a campaign for 10:00 before the time change, it will send the email +1 or -1 hour, depending on the seasonal time change. Time changes are acknowledged at several points during the scheduling process, so it’s important to double-check your scheduling around these times. |
Example 1: Scheduled at 9:16 AM GMT, confirmation shows as 10:16 AM BST
|
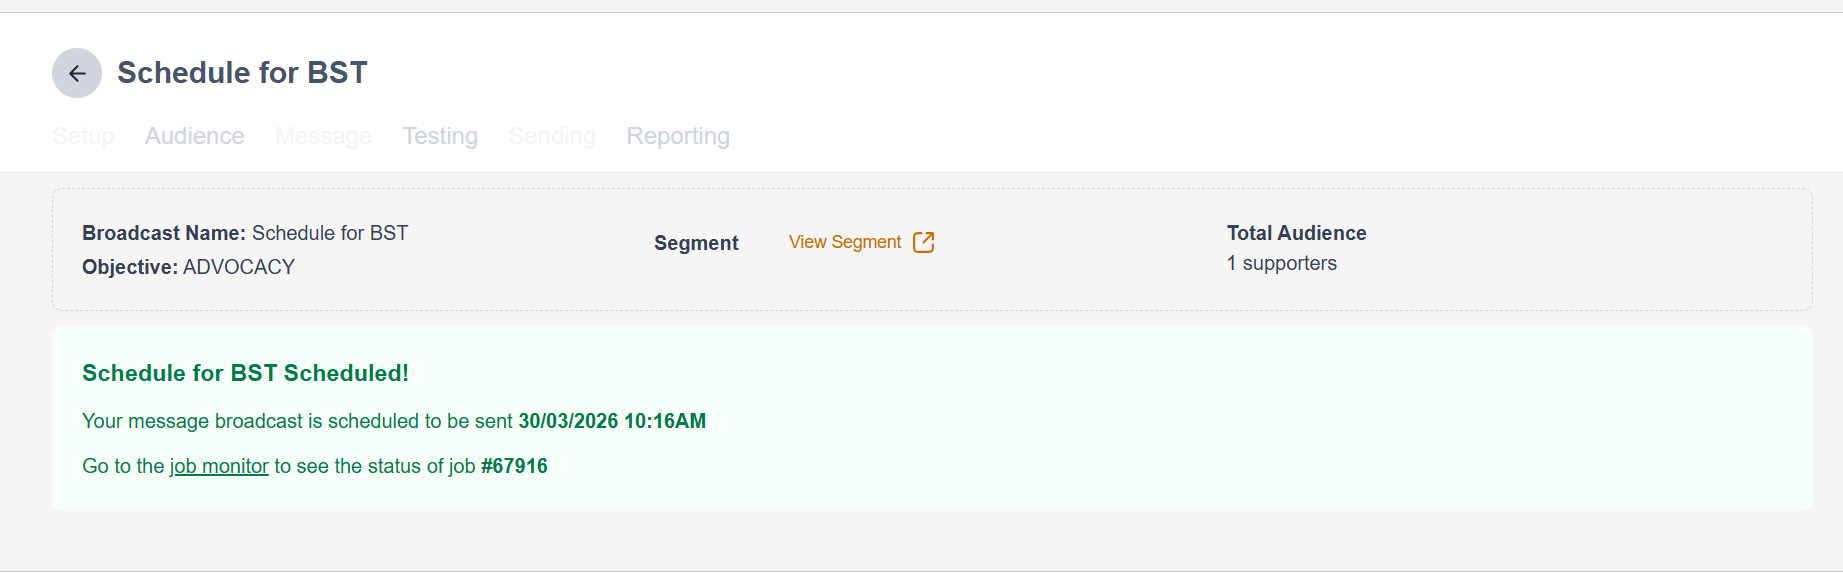
Send Time Optimization
When scheduling the message, you can also choose to use Send Time Optimization. This will attempt to send according to the Send Date and Send Time in the supporter’s timezone, based on data collected from their interactions with your pages.
This can also be uploaded via the Data & Reports > Import tool. You will need at least two columns in your CSV file: the supporter's email address and a column labelled "Send Offset" containing the supporter's time offset from GMT (+00:00). The software supports a range of predefined time zones.
Currently defined zones for send offsets are:
+10:00 +09:30 +09:00 +08:00 +05:30 +03:00 +01:00 -00:00 +00:00 -03:00 -04:00 -05:00 -06:00 -07:00 -08:00
As not all time zones are included in this list of send offsets, some values representing offsets which fall near one of these pre-defined zones will be converted upon import. For example, +04:30, +05:00, +05:45, +06:00, +06:30, and +06:45 are near +05:30 and will therefore be selected as part of this “zone”.
Please schedule at least 24 hours before sending for the best performance
Supporters in Marketing Automations
Depending on your account preferences, the tool might automatically exclude supporters currently in a Marketing Automation workflow from your broadcast. You can override this by switching “Include supporters on all Marketing Automation workflows” on
This is particularly useful if, for example, you have an urgent appeal email to send out and want to reach as many supporters as possible.
To include marketing automation contacts in broadcasts, you need both of the following settings enabled:
-
In your Automation, select: Include supporters on this automation in messaging broadcasts
-
In your Broadcast, select: Include supporters on marketing automation workflows
Sending a Split Test
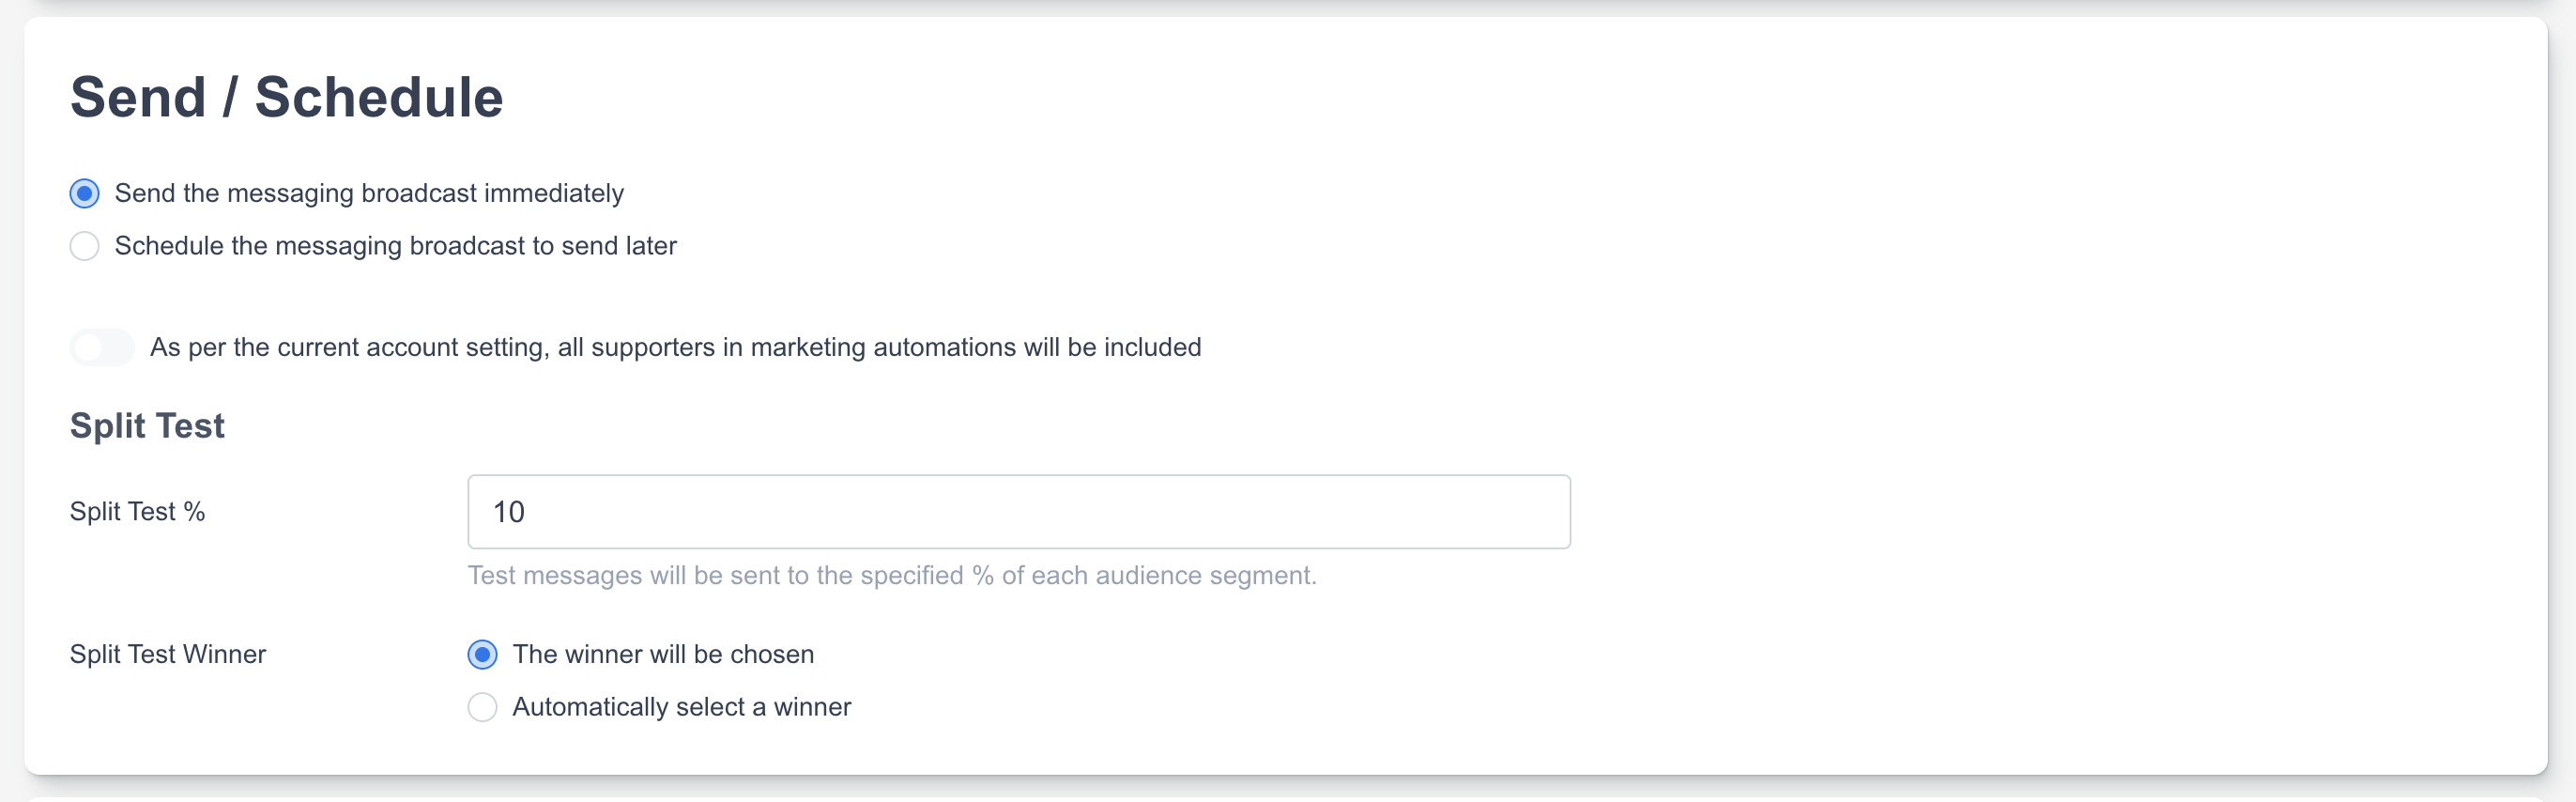
When conducting a split test on your emails, additional sending options will be available
|
Split Test %: Allows you to select the percentage of the audience who will receive the test emails. For example, if the campaign has two messages and you choose 10% of the audience, 5% will receive one email and 5% will receive the other email. The remaining 90% of the audience will be sent the winning email.
|
|
||
|
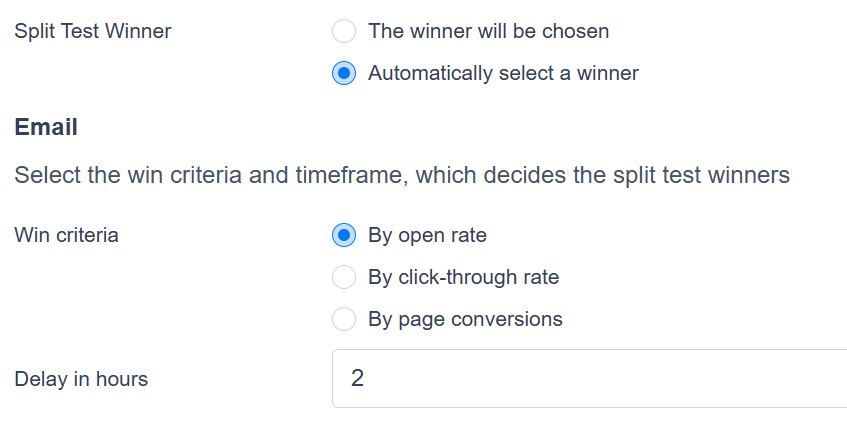
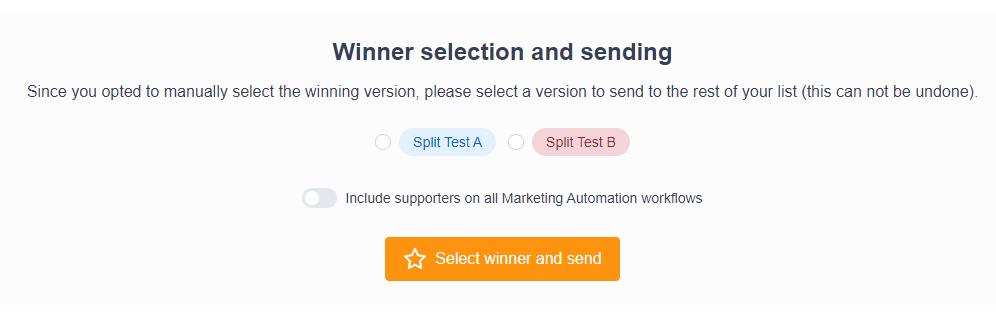
Split test winner: You will be presented with two options here,
|
|
6. Reporting
You can report on a Broadcast by clicking Reporting when editing a broadcast, or by clicking the reporting icon in the list of broadcasts under the Marketing Tools > Messaging > Broadcasts menu. 
View instructions for reporting
|
The reporting screen is split into several areas with different statistics; each supporter will only ever be counted once for each metric: |
|
|
Conversions:
|

|
|
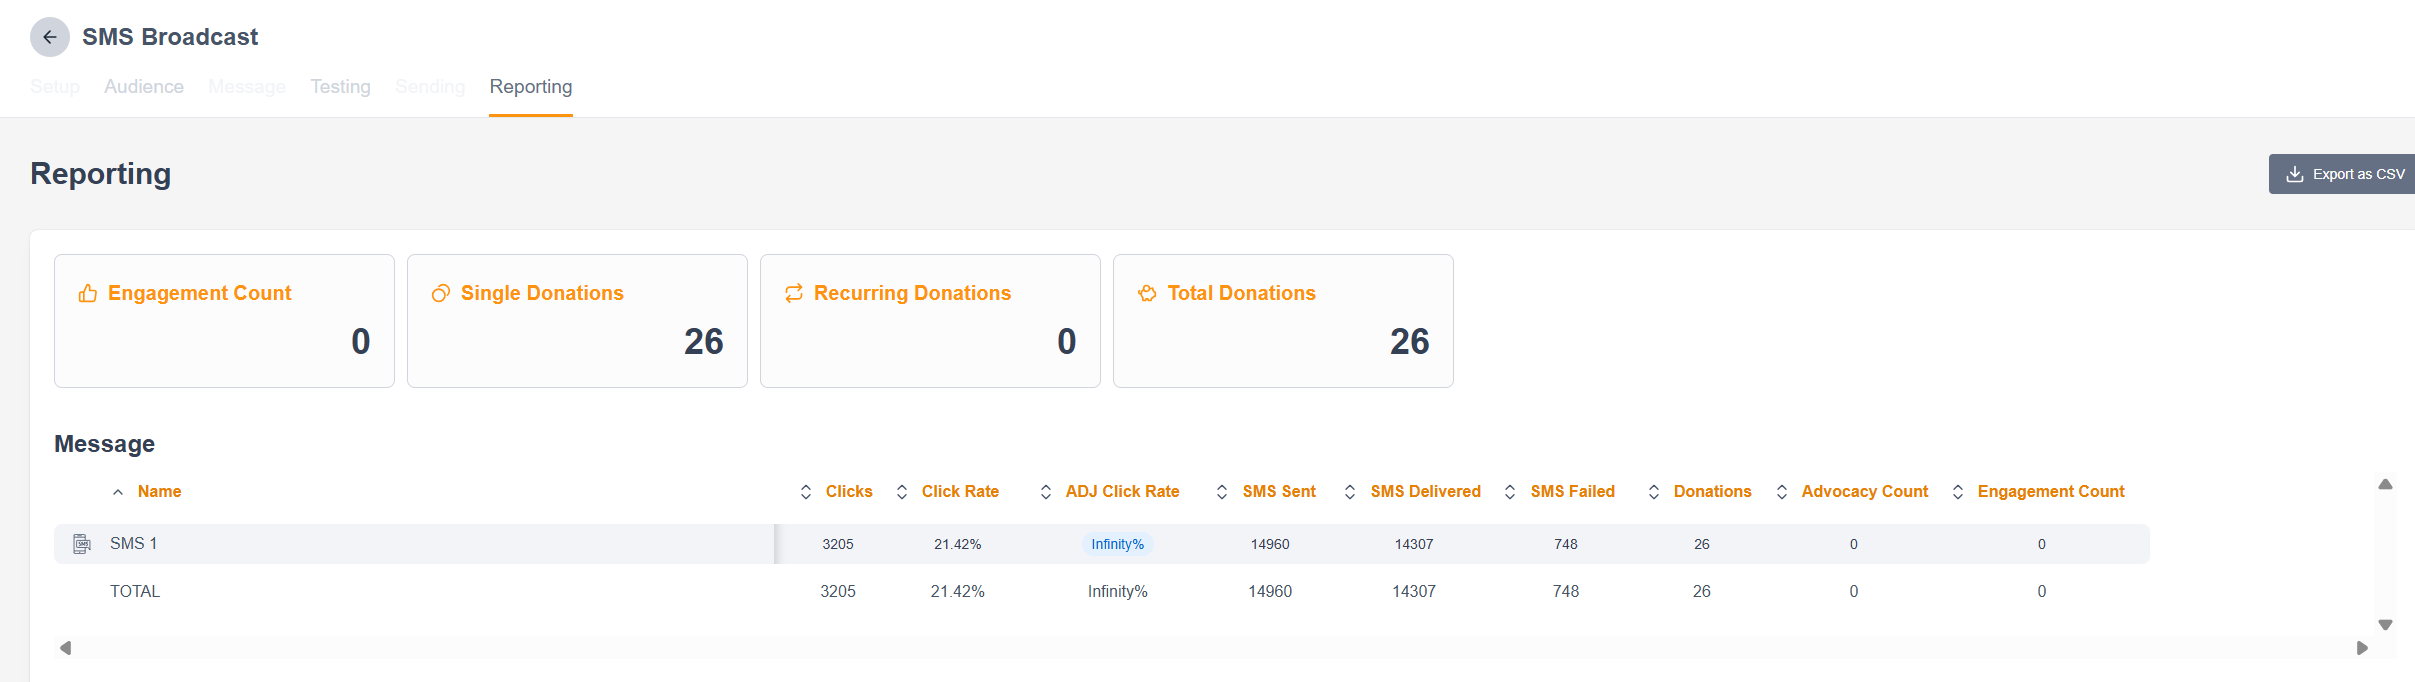
SMS Reporting:
|
|
|
Message list and reporting This contains a list of any messages within the broadcast. You may only have one, but if you have used conditional content or split tests then multiple messages will be seen. |

|
|
Export as CSV
|
|
|
Sent |
The number of supporters sent the message |
|
Opens |
The number of supporters who opened the email (unique) |
|
Open rate |
The percentage of opens |
|
Clicks |
The number of supporters who have clicked a link in your email or SMS (only one click per supporter is counted) |
|
Click Rate |
The percentage of clicks |
|
ADJ CTR |
The percentage of clicks out of the supporters who opened the email |
|
SMS Sent |
Number of sent SMS messages |
|
SMS Delivered |
Number of delivered SMS messages |
|
SMS Failed |
Number of failed SMS messages |
|
Unsub |
The number of supporters who clicked the unsubscribe link (unique) |
|
Unsub Rate |
The percentage of unsubscribes |
|
Bounce |
The number of hard bounces |
|
Bounce Rate |
The percentage of bounces |
|
Spam |
The number of supporters who marked the email as spam (unique) |
|
Donations |
The number of donations made from the message |
|
Advocacy count |
The number of advocacy actions made from the message. Advocacy page types include Click to Call, Email to Target, Petition, and X Post to Target. |
|
Engagement count |
The number of engagement actions made from the message. Engagement page types include Data Capture, Ecard, Email Signup, and Survey. |
|
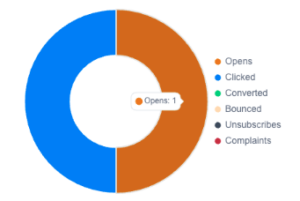
Performance This shows a line graph of opens over time. You can switch to By Hour or By Day It also shows a pie chart of the number of different activity types – opens, clicks, conversions, bounces, complaints. You can hover over the subject to view it: |
|
|
Links (only one click per supporter per link is counted) This will show the link name (as it was named by a User when building the email), the URL, and the number of clicks on the link. Unnamed links will be given a random reference code.
|

|