
The Accounts Hub, previously referred to as the Master Dashboard, is only used by organisations with multiple subaccounts
Data reports in the accounts hub allow you to roll up reporting across all-accounts for a specified period of time. To access the reporting navigate to the the Data & Reports > Reports > Data menu.
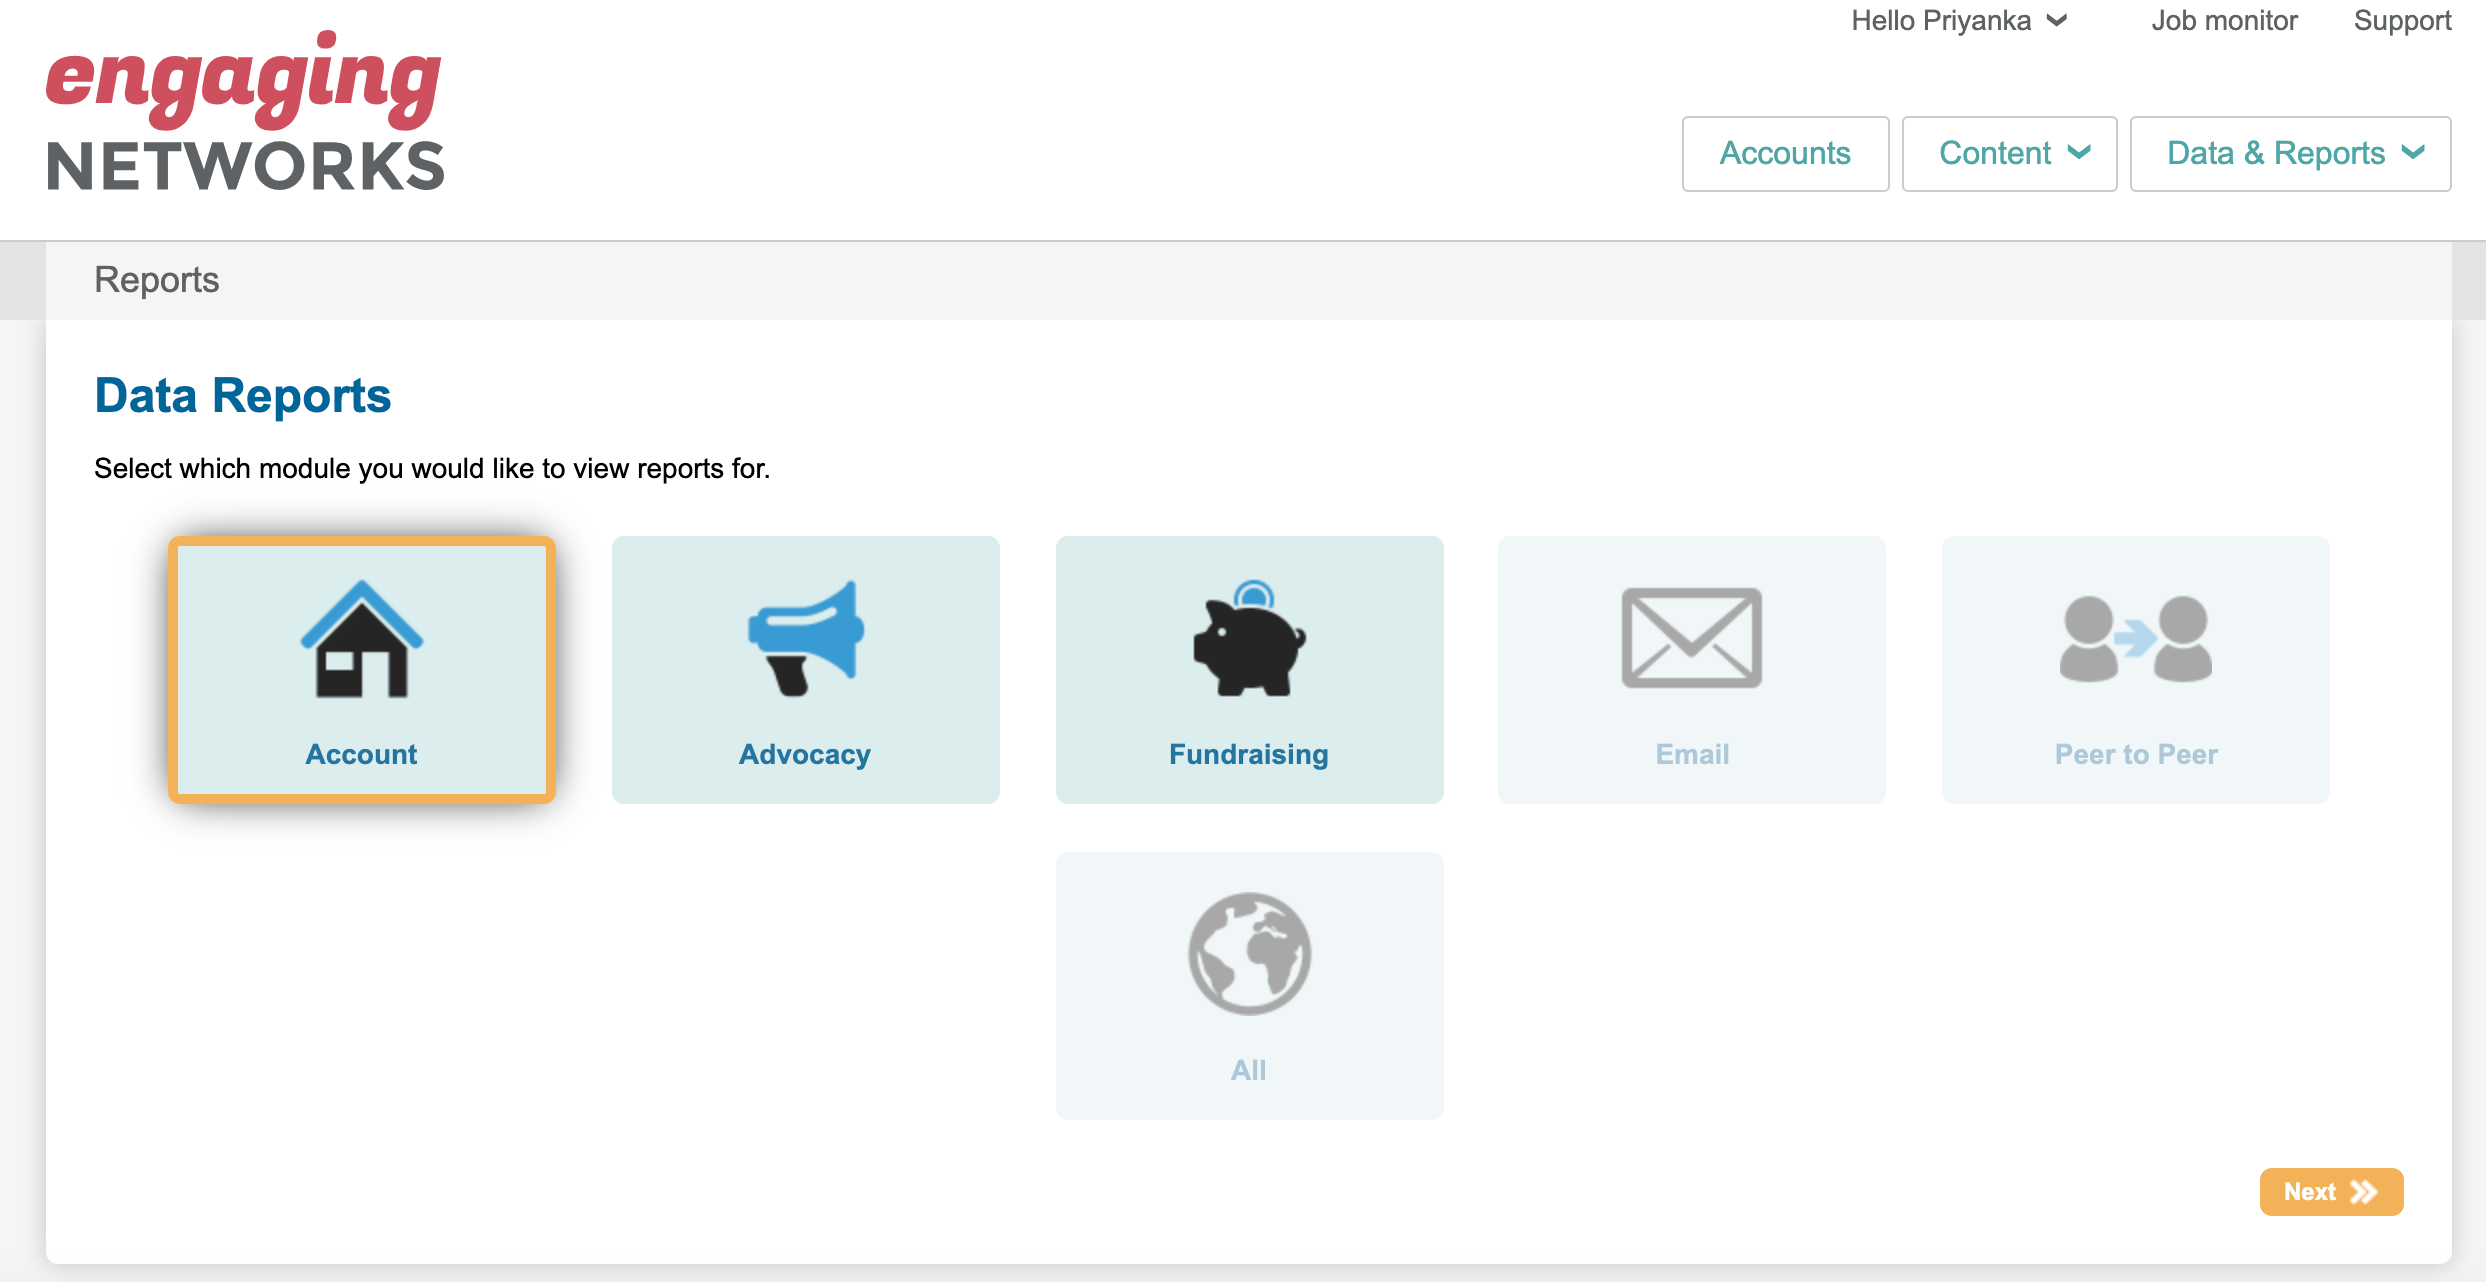
From this screen you can choose which module you would like to review the reports for.
-
Account: A summary of the sub-accounts allocated to your Accounts Hub
-
Advocacy: A summary of advocacy campaigns across all sub-accounts allocated to your Accounts Hub
-
Fundraising: A summary of fundraising campaigns across all sub-accounts allocated to your Accounts Hub
-
Email: A summary of email campaigns across all sub-accounts allocated to your Accounts Hub
-
Peer to Peer: A summary of peer to peer campaigns across all sub-accounts allocated to your Accounts Hub
-
All: A summary of all the above reports
Select the appropriate icon and click Next to access the reports page.
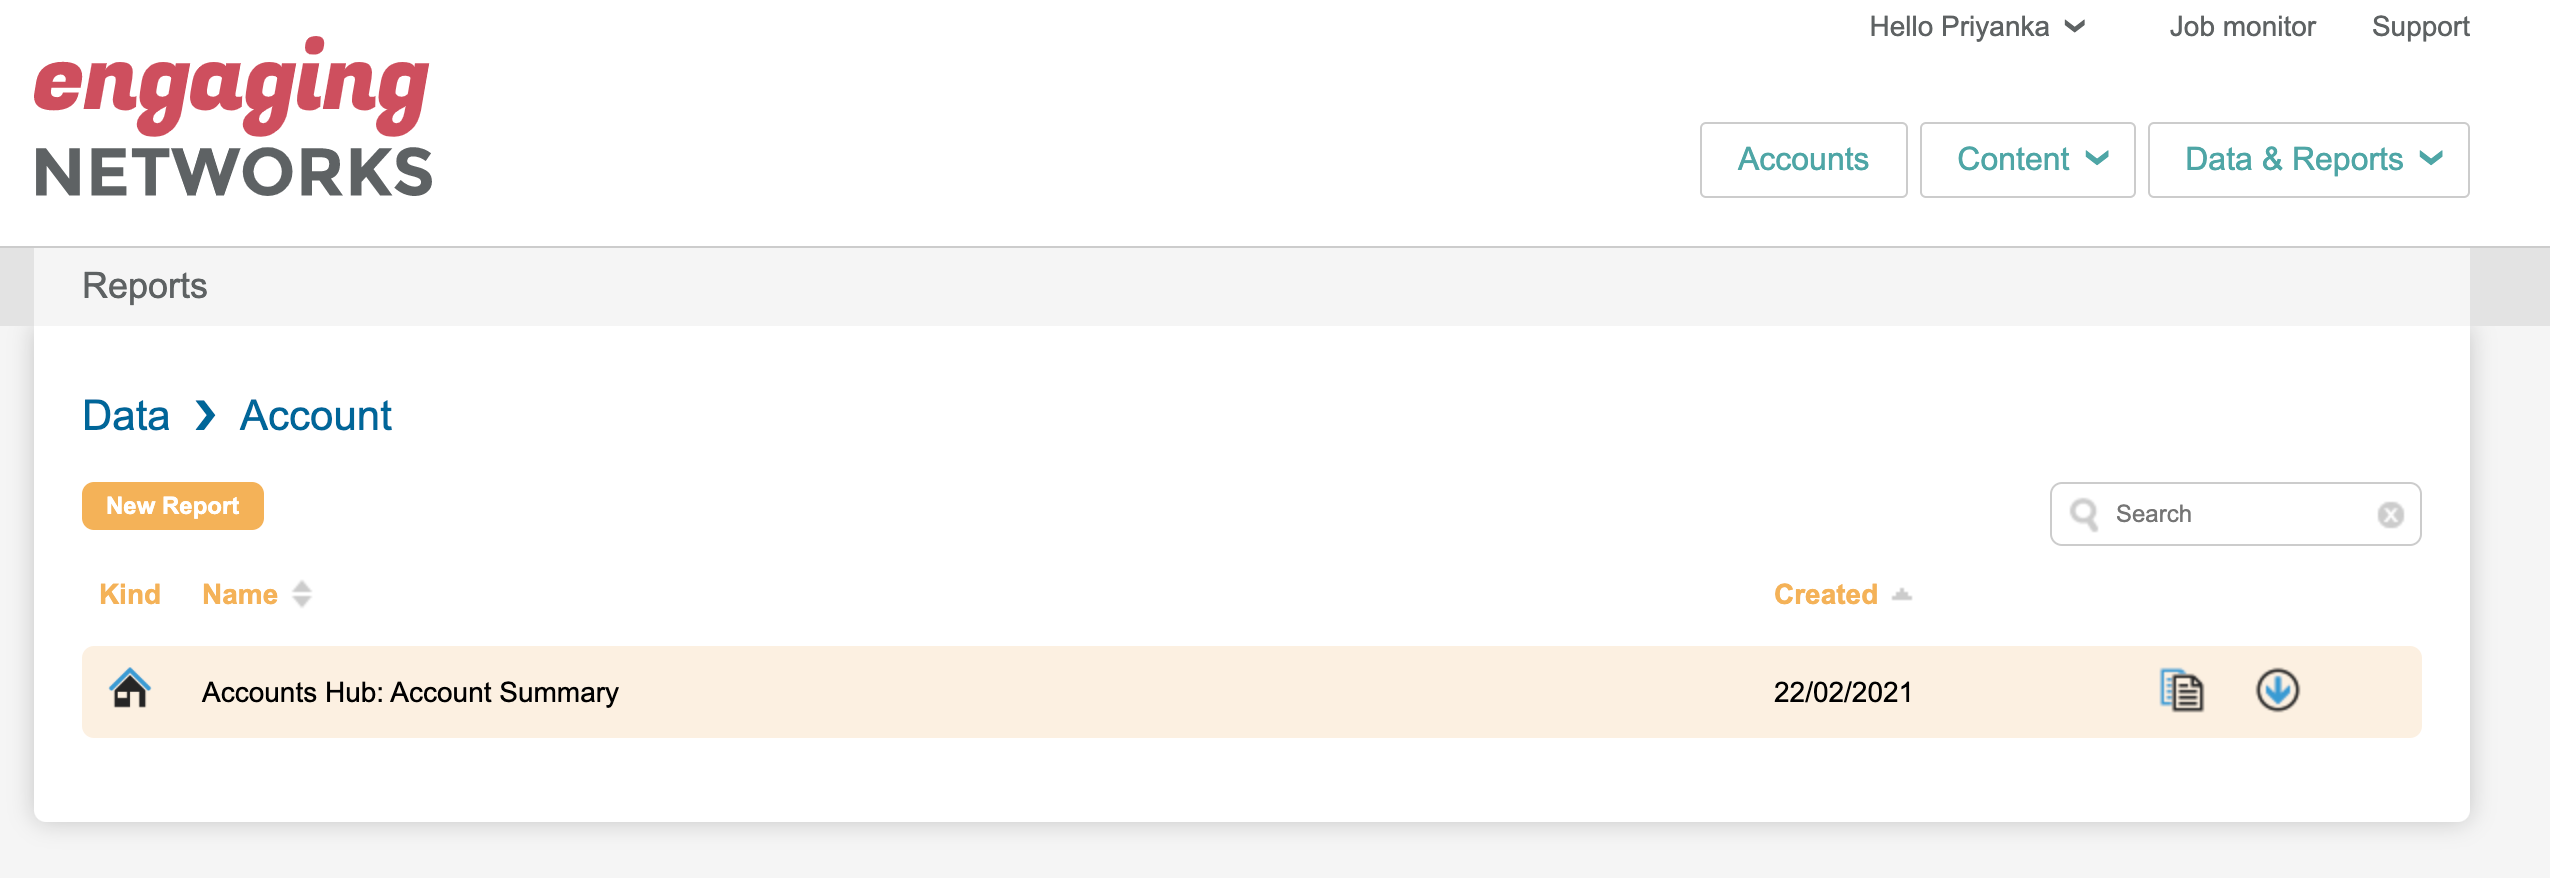
Creating a new report
To create a new report click the 
Step 1. Type
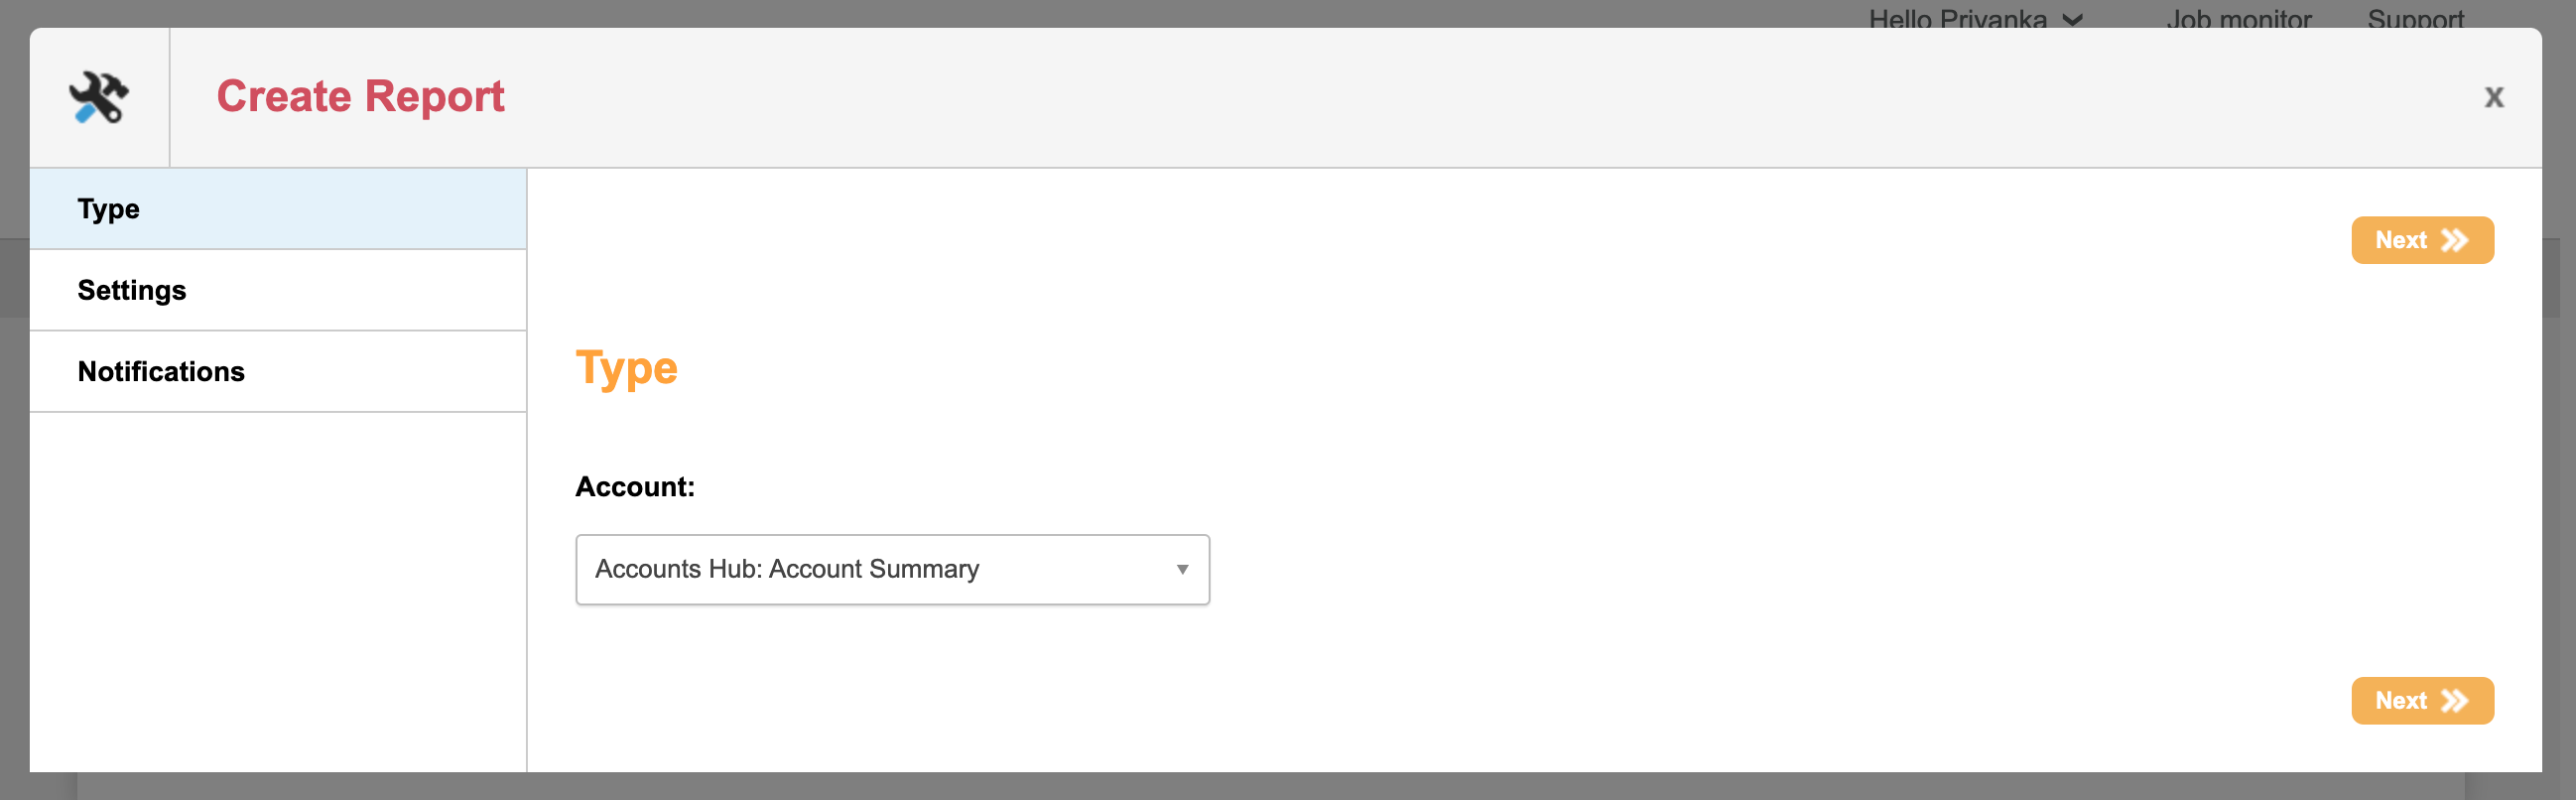
Choose your report type from the drop down menu and click next.
Step 2. Settings
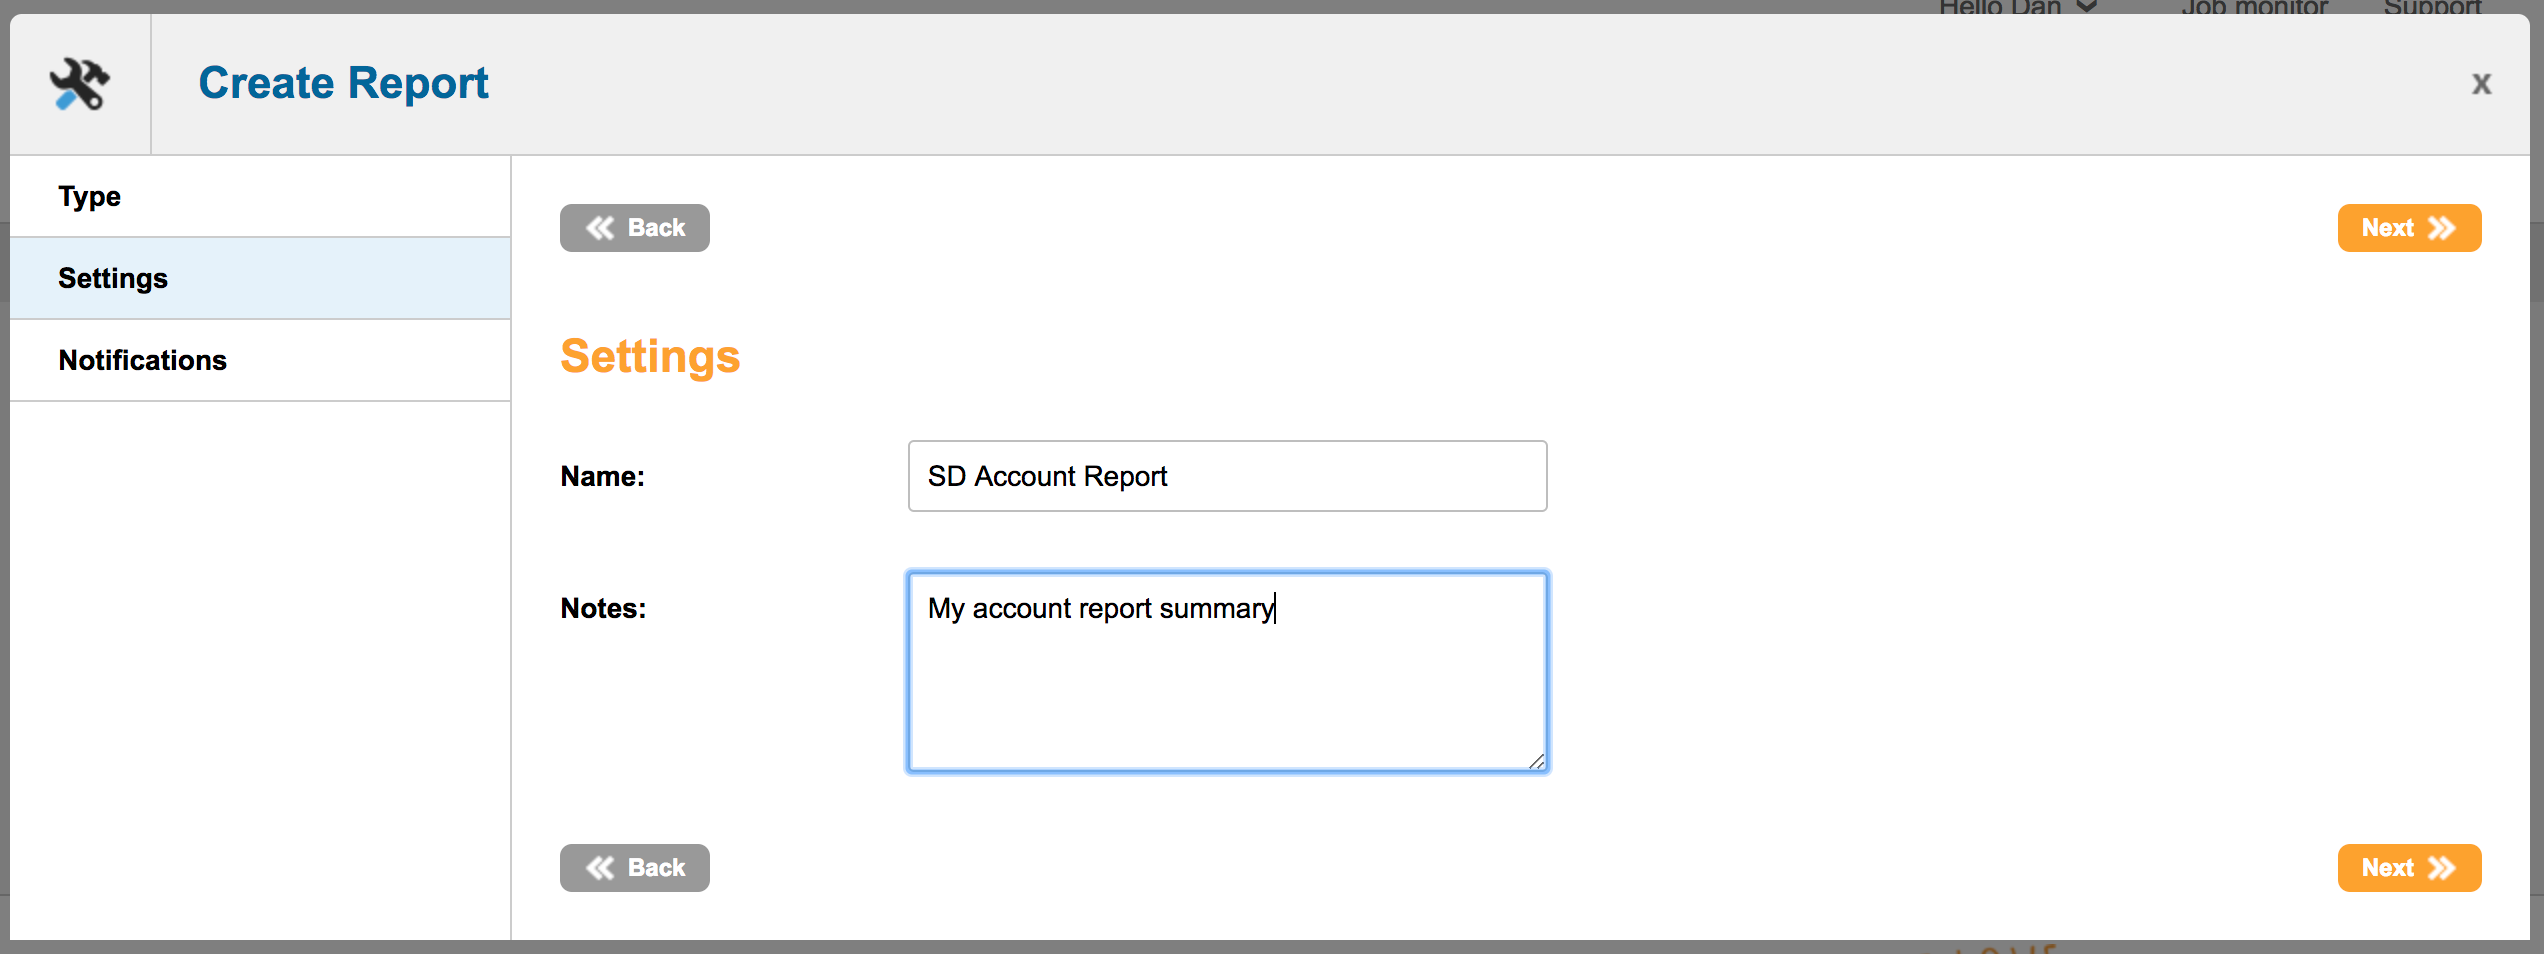
Choose a name for your report, and enter any notes about the report on the Settings screen then click Next.
Step 3. Notifications
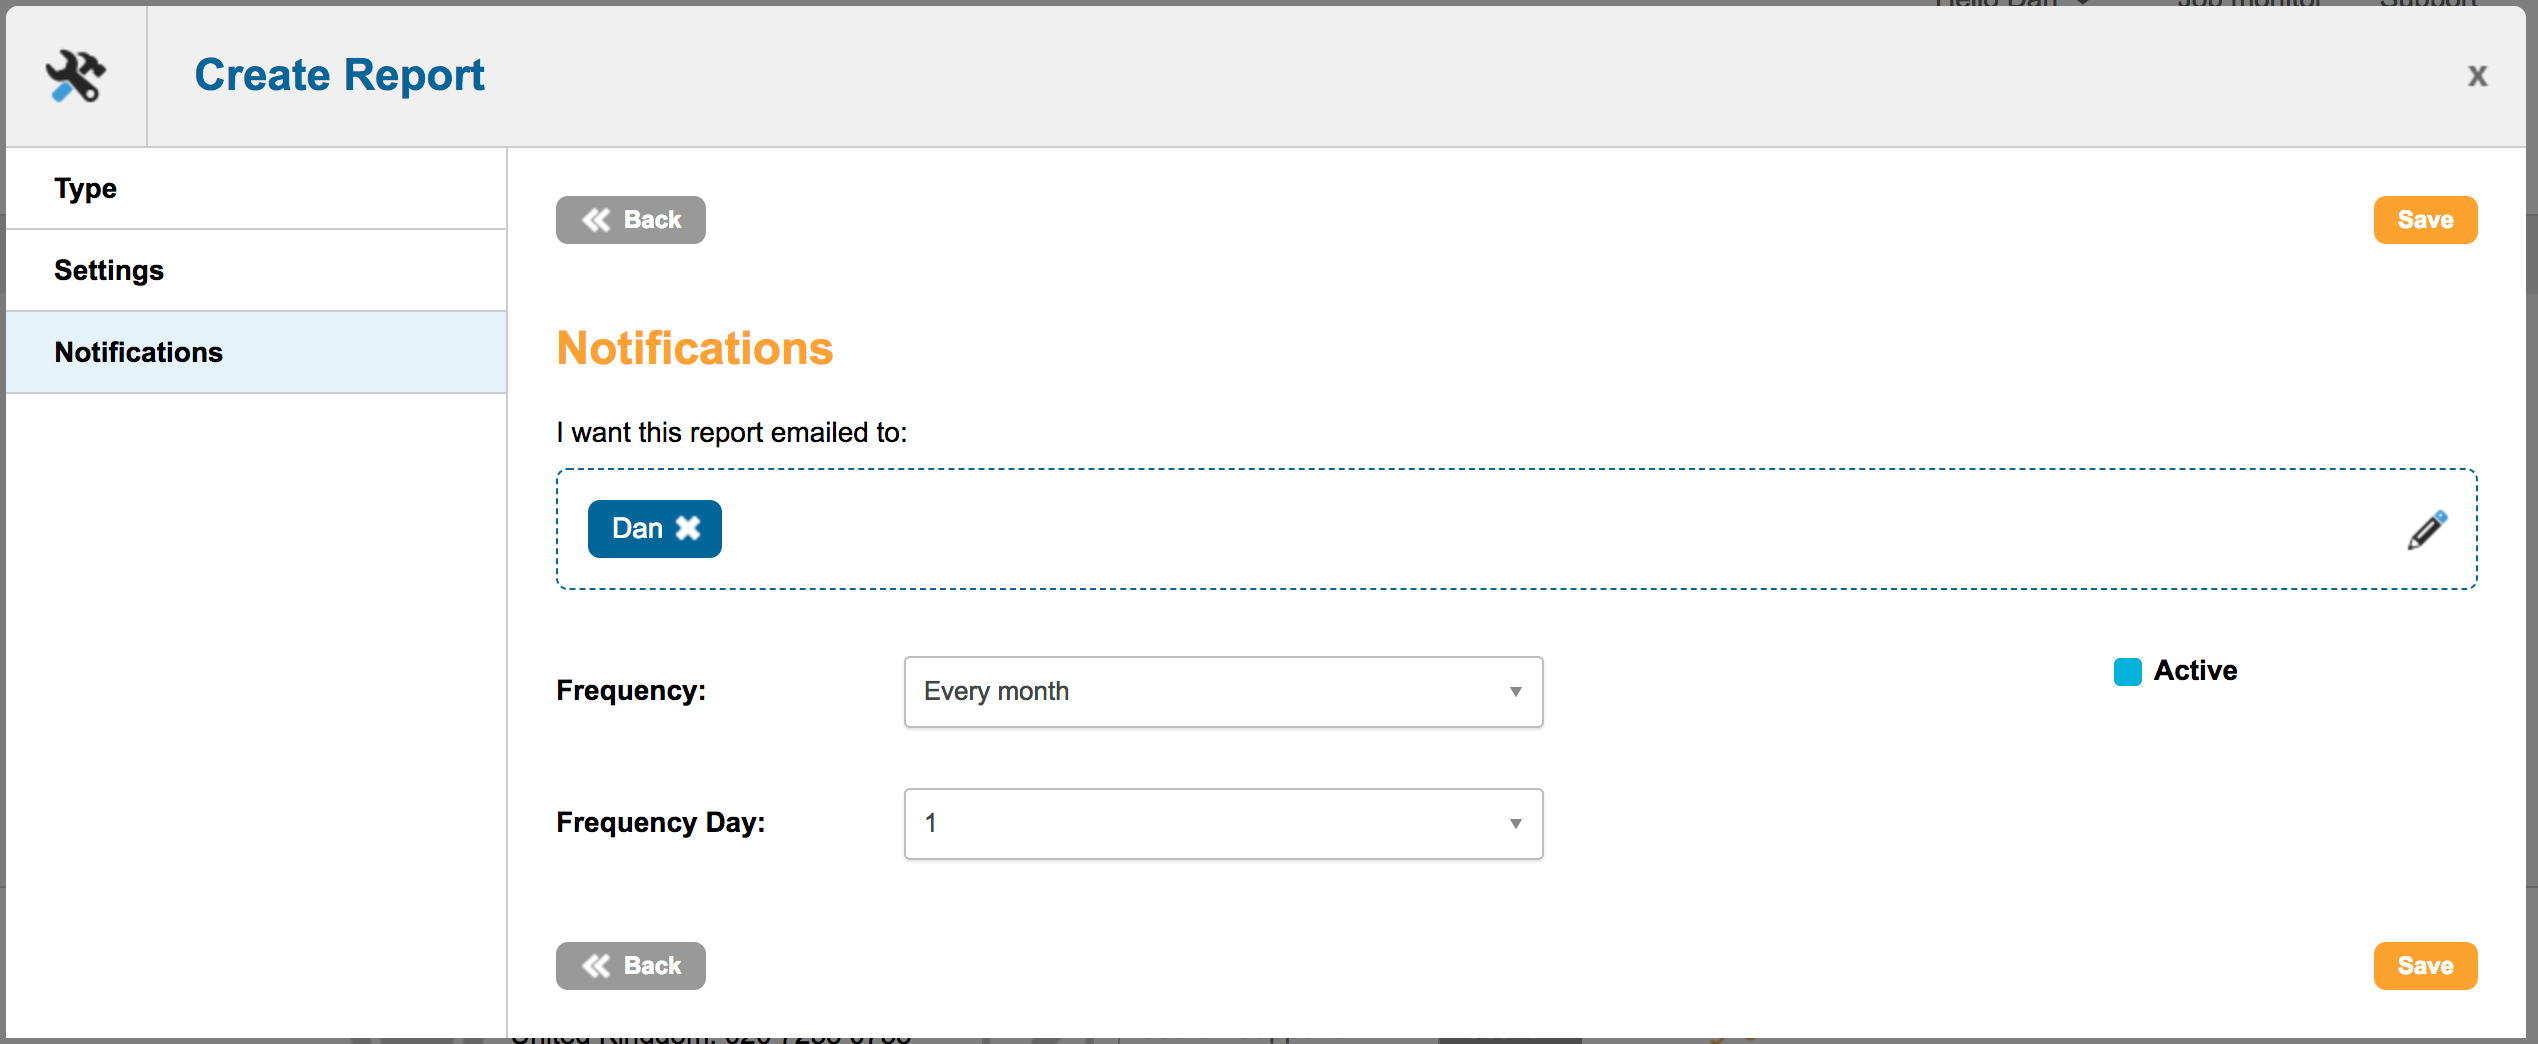
Reports can be emailed to specified recipients on a selected frequency. Click the pencil icon to choose the recipients from the list of Accounts Hub users.
-
Frequency: Choose the frequency of the reports. Currently we support Monthly.
-
Frequency Day: Choose the day of the month recipients should receive the report.
-
Active: Make the notifications active. You can suspend the notifications by unchecking this option.
Click Save to finalize the report settings and your new report will be added to the reports page.
Updating Reports
To update a report navigate to the Data & Reports > Reports > Data menu and click on the name of the existing report you would like to update from the list.
On this page you can update the recipients of the report.
-
Click the

-
Click the

-
Click the

Generating manual reports
Click the 
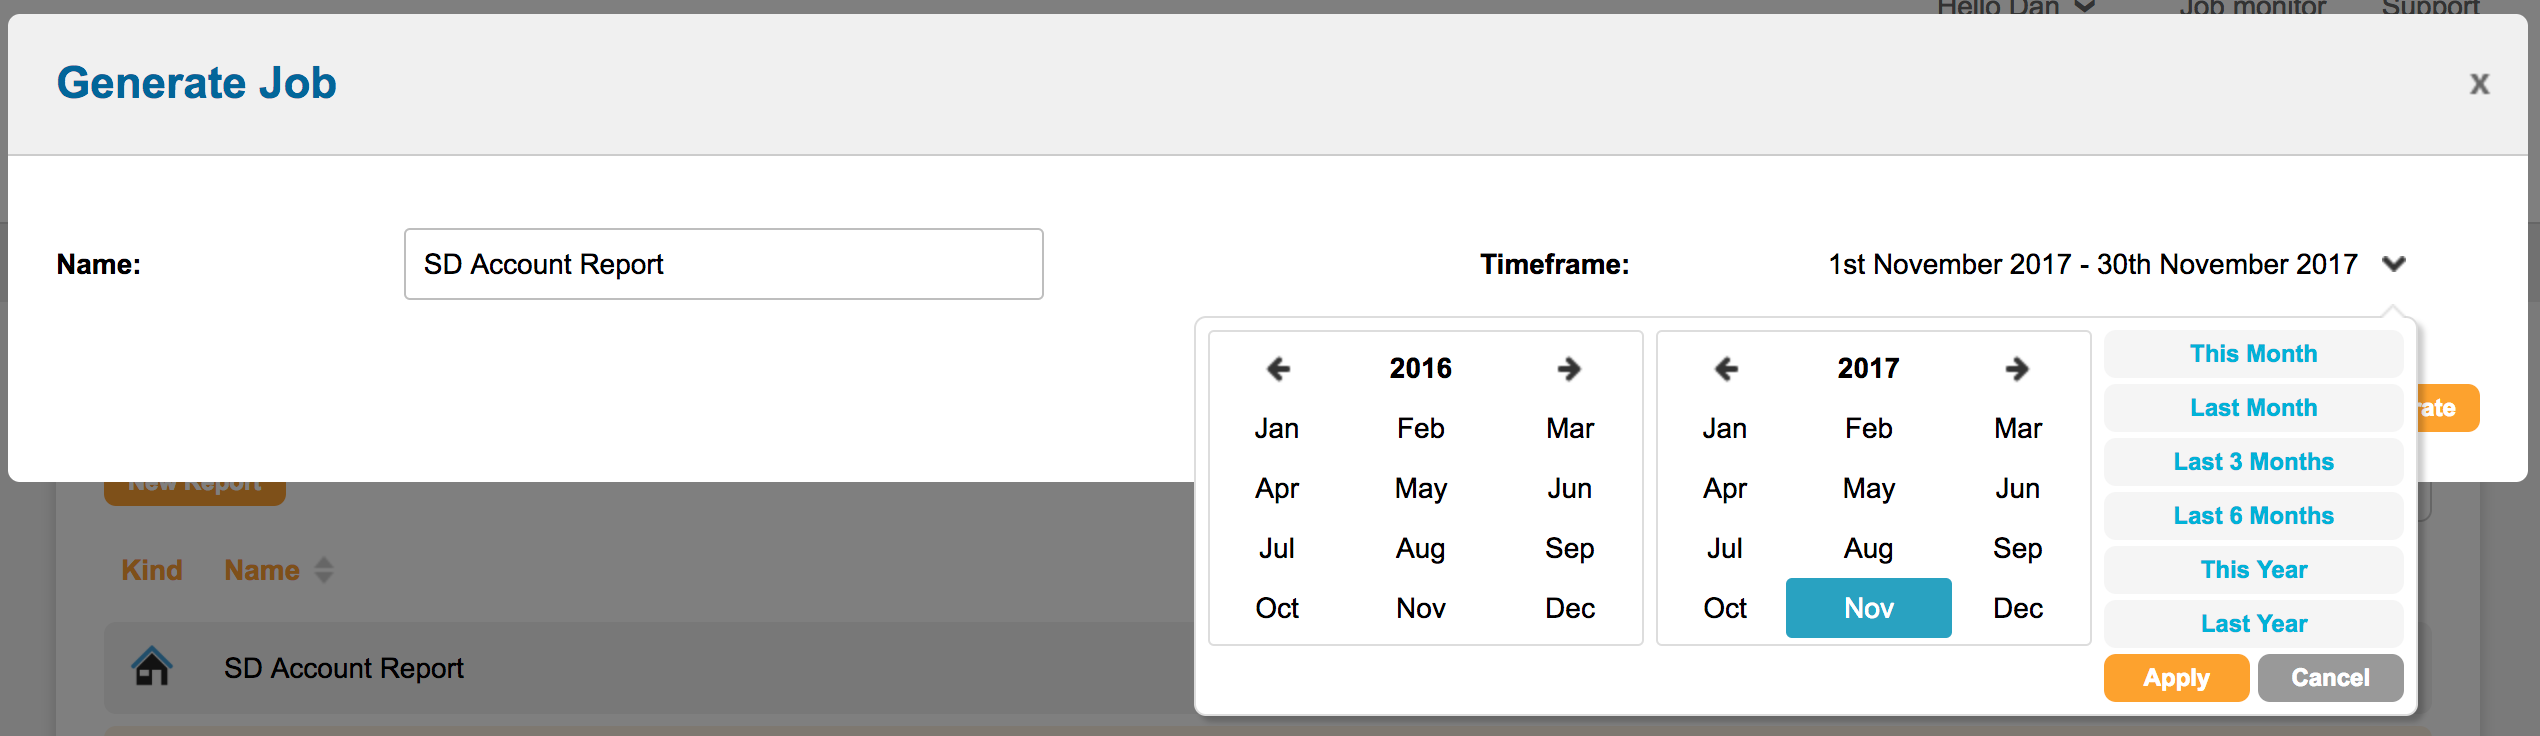
From here you can initiate reports manually without waiting for the scheduled report to be sent. You can also choose the date range for the manual report via the date pickers
Click the 