
Once saved, your Smart Page settings will be automatically applied to all Smart Pages in your account.
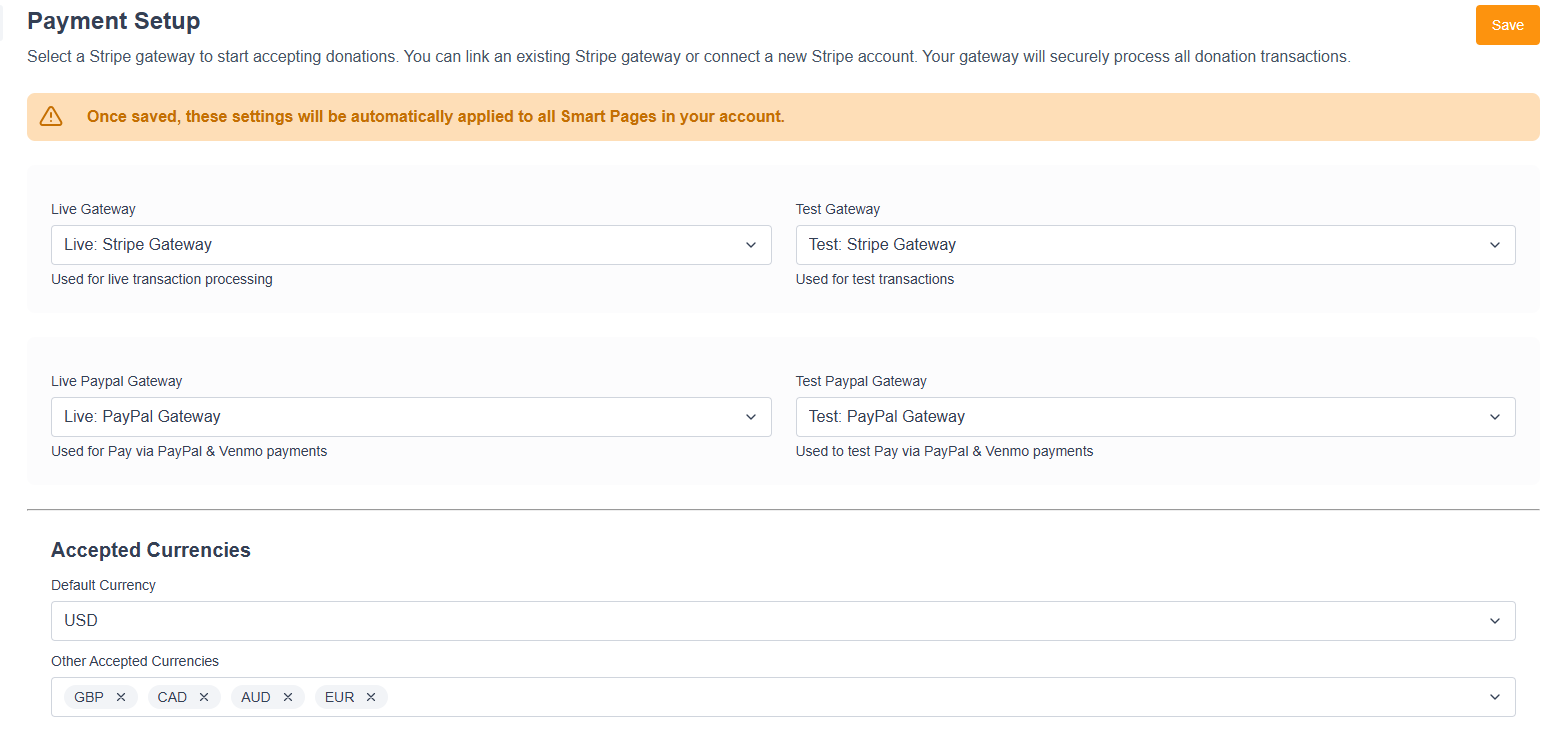
Payment Setup
This setting controls your payment gateways and the currencies you accept. Smart Pages currently only supports Stripe and PayPal One Touch Gateways
|
|
|
|
Smart Pages currently only supports Stripe and PayPal One Touch (with secret) Gateways |
|
|
Live Gateway |
Select the Stripe payment gateway you wish to use for live credit-card and digital wallet transactions |
|
Test Gateway |
When getting started with Smart Pages, the Test Gateway field will be blank.
Stripe test card credentials are: 4242424242424242 with any security code and any future expiration date. Additional details can be found here. |
|
Live PayPal Gateway |
Select your live PayPal One Touch Gateway for PayPal and Venmo transactions. Your PayPal One Touch gateway will only be available to use if it uses the secret. |
|
Test PayPal Gateway |
Select your test PayPal One Touch payment gateway to test PayPal and Venmo transactions |
|
Default Currency |
Select one of:
|
|
Other Accepted Currencies |
If required, choose additional donation currencies |
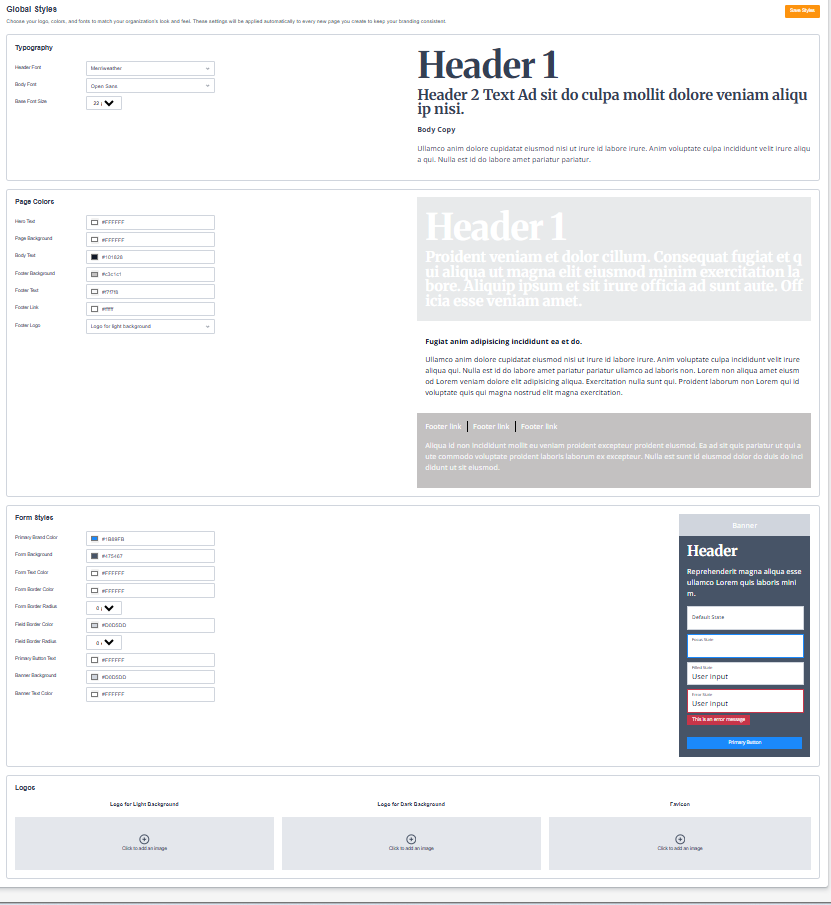
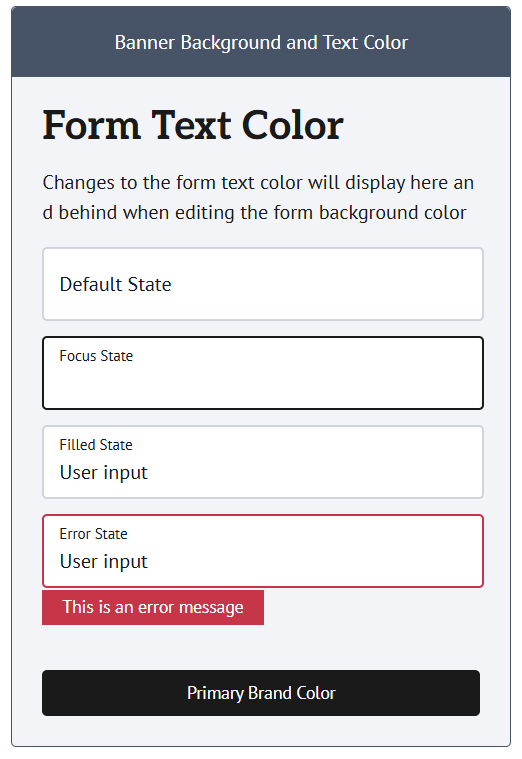
Global Styles
This setting controls page styling, helping to ensure all smart pages start with the same look and feel.
Pages are fully customisable, and as you adjust your style settings, the visual guide will update to reflect your chosen styles. You can also update styles at an individual page level if a variant from the global styles is required.
|
Select Global Styles to apply your global style settings, add the required typography, page colours, form styles and logos > Once completed, click Save Styles |
|
||
|
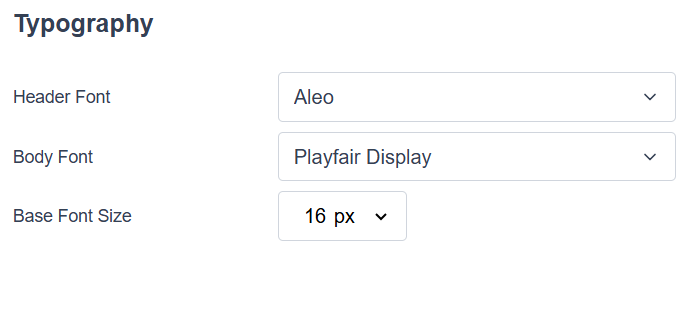
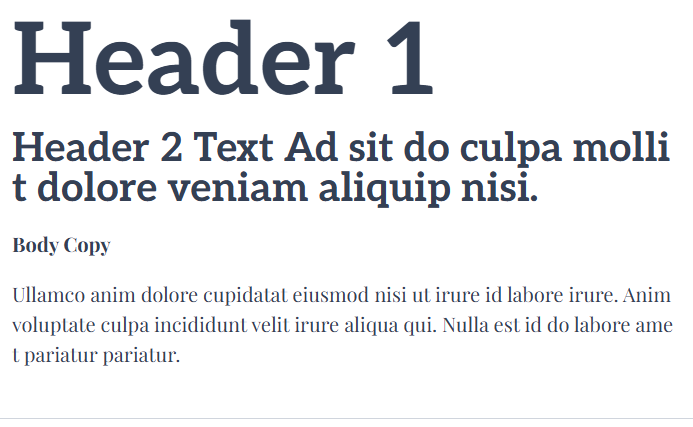
Typography Choose your:
|
|
||
|
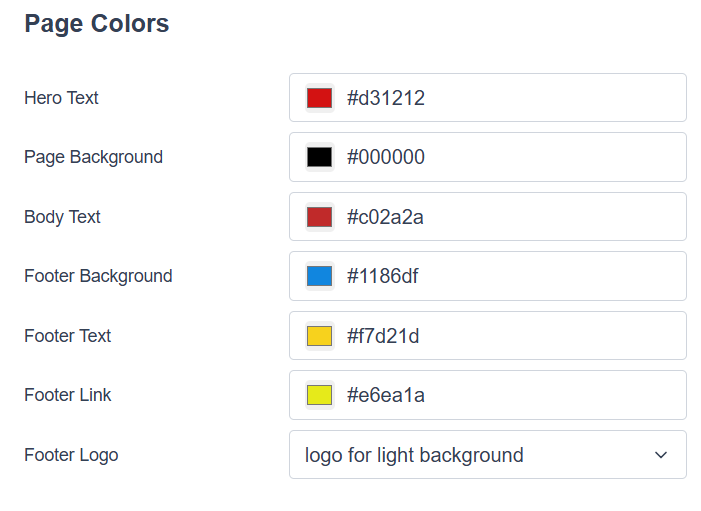
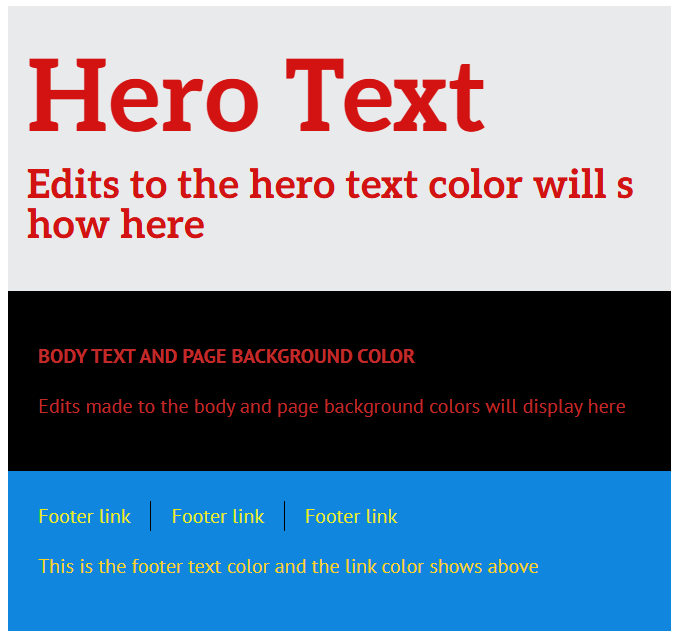
Page Colors Choose the colours for you:
You can select the footer logo choosing between:
|
|
||
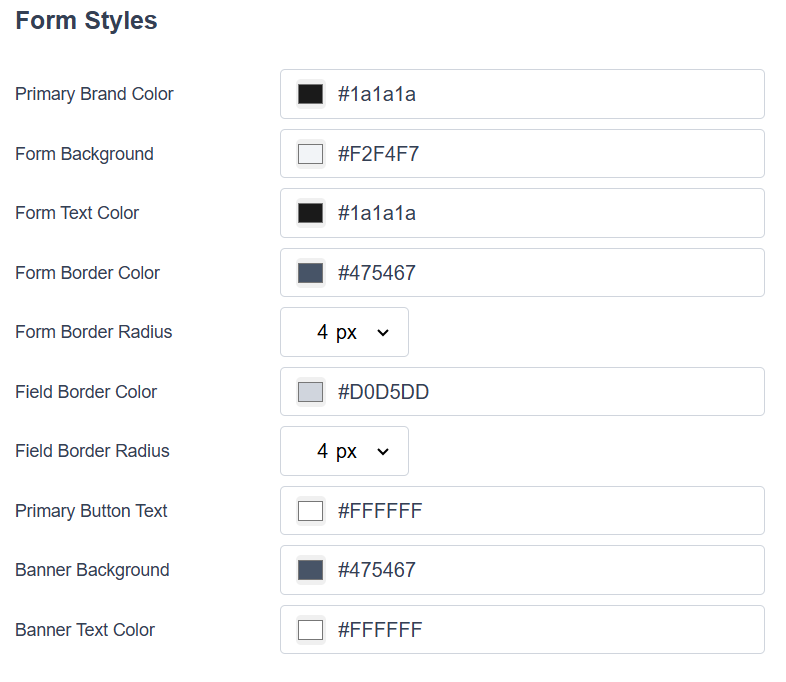
Form Styles
|
|
||
|
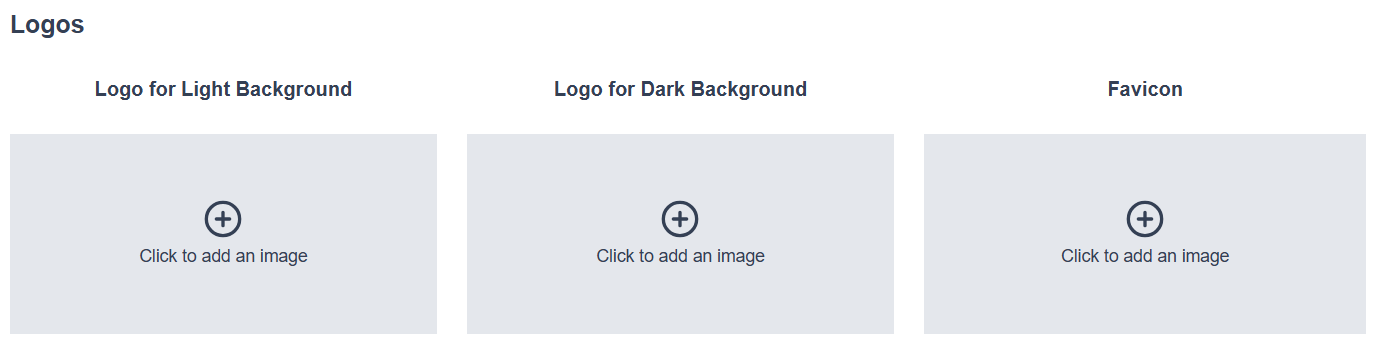
Logos Choose options for:
|
|

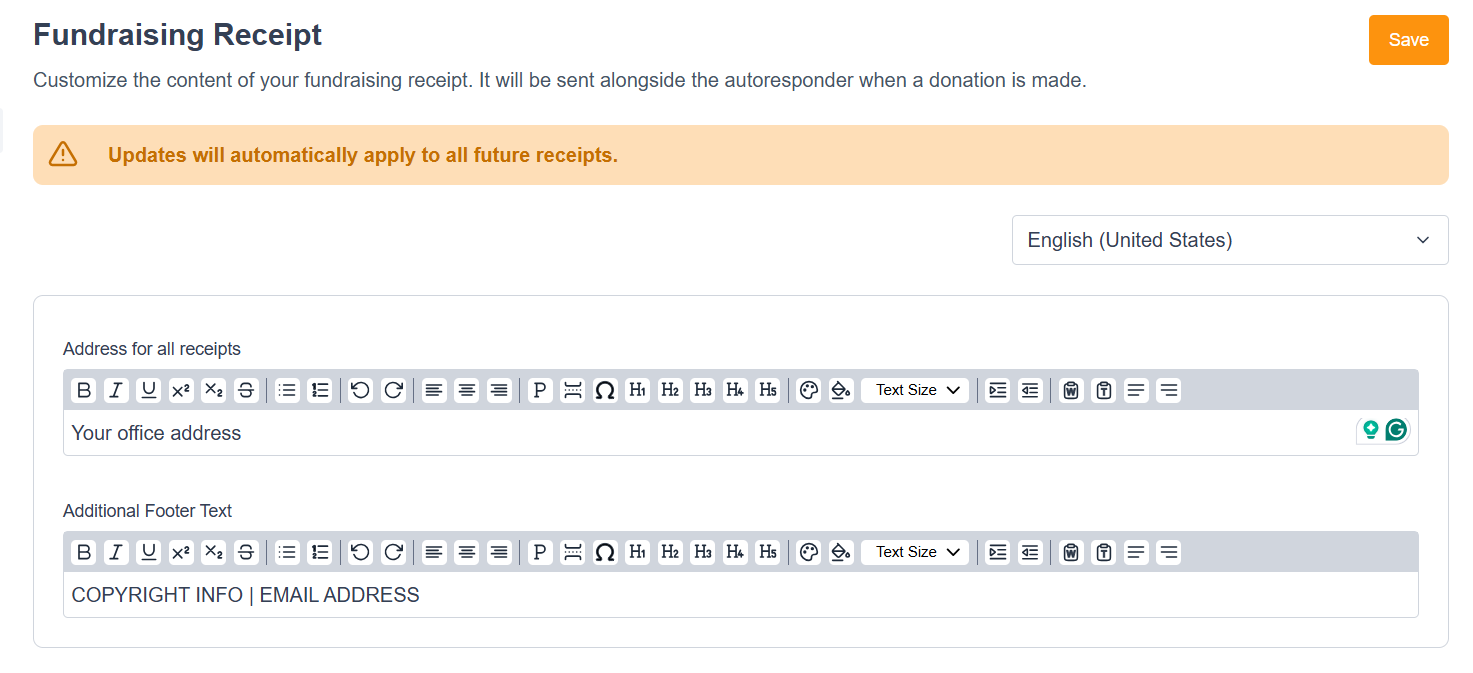
Receipting
|
The receipting menu allows you to add your organisation’s address and any footer content you require to a receipt. You can choose to include or exclude receipts in the smart page > email setting. |
|

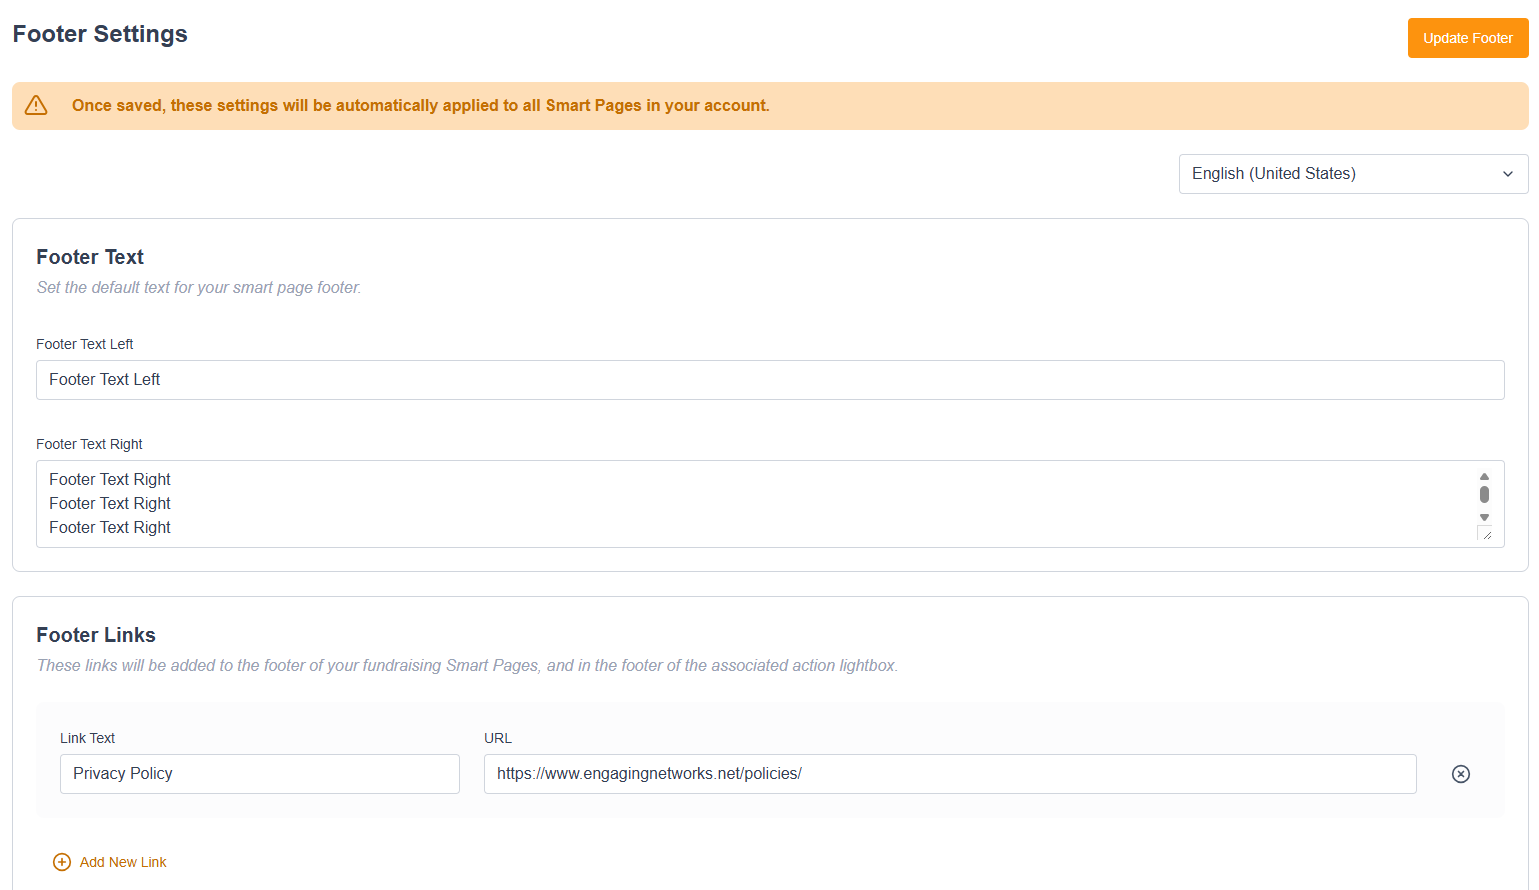
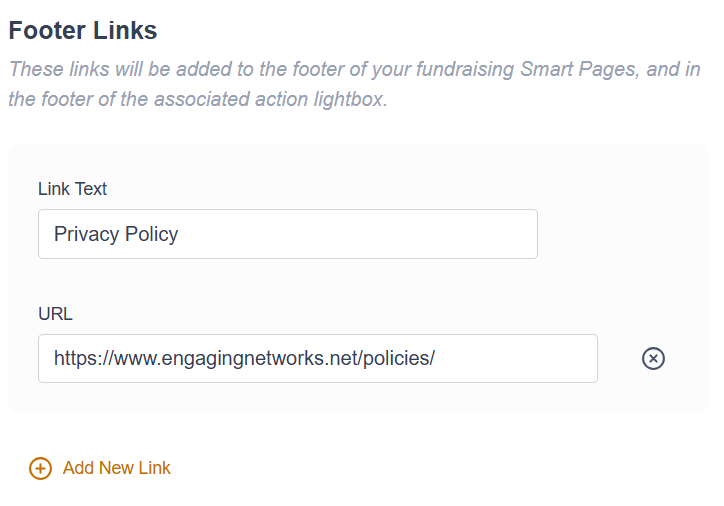
Footer Settings
This setting controls the copy and links in the footer of your Smart Pages
|
Select the footer to apply your global footer text and links > Once completed, click update footer. |
|
|
Language Using the language selector lets you create different footers for different locales. |

|
|
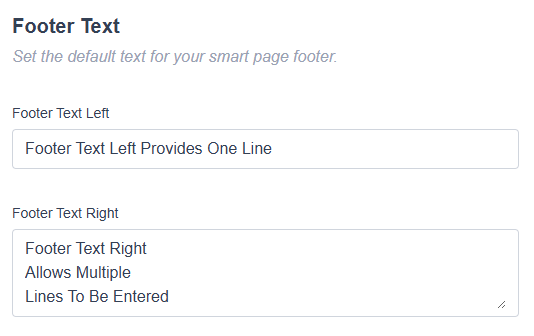
Footer Text
|
|
|
Footer Links
|
|


Embed Code
One unique feature of smart pages is the ability to easily embed your donation form on your website. This can help streamline the donation experience for your supporters, as you won’t need to redirect them to another page.
To use the embed code functionality, you will need to have created at least one smart page. You can then follow the steps outlined on the embed code page.
|
The Embed code setting provides a step-by-step guide to adding a lightbox to your website. |
|
|
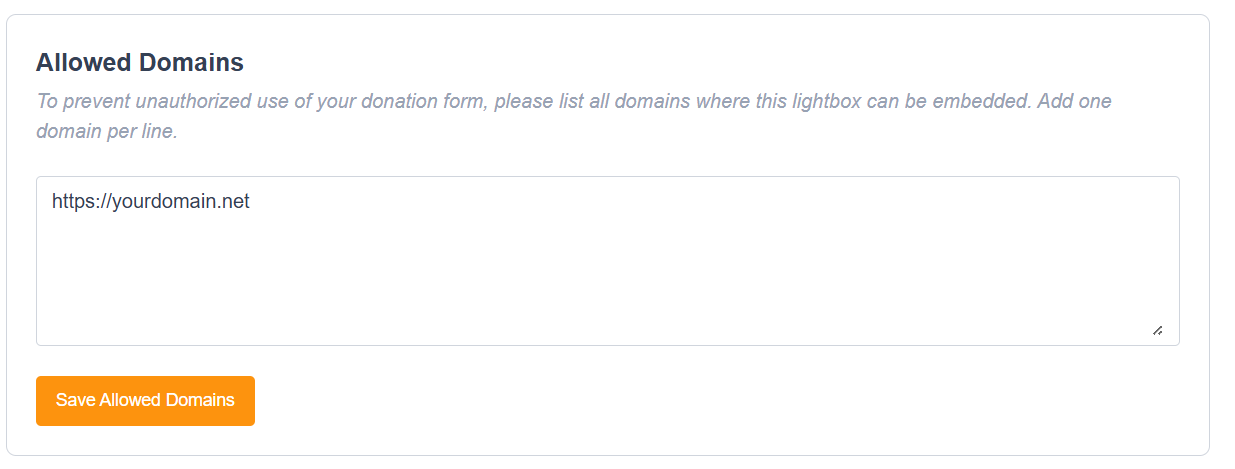
Allowed Domains
|
Add the domains here where you want your lightbox to be supported, and save. |
|
Testing and Enabling your Lightbox
The global settings for the embed code guide you through the steps required to enable the lightbox in your website's CMS. However, you may find it useful to test the function using a code block on an Engaging Networks page*:
|
|
|
Test Version:
Live Version:
|
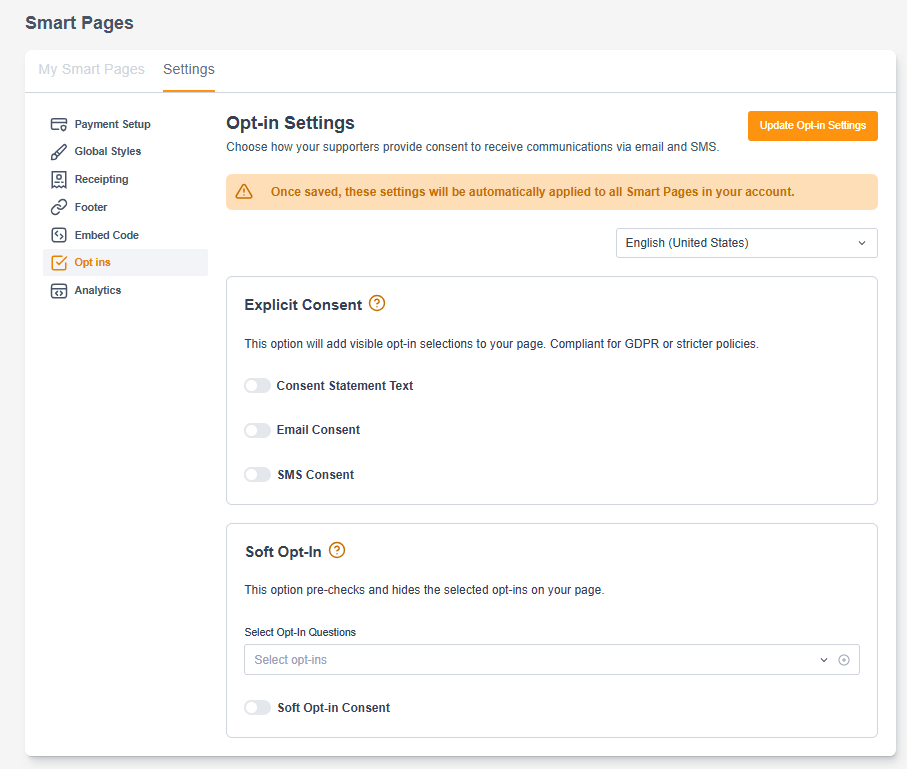
Opt ins
Opt-ins need to exist on your account and, once selected, are universal across all smart pages. You can choose between explicit consent, where a supporter answers an opt-in question, and soft opt-ins, where a supporter is opted in automatically until they unsubscribe.
When enabled, opt-ins will appear when a supporter enters their name and email in the donation journey.
|
Select the required opt-ins > Once completed, click Update Opt-in Settings. |
|
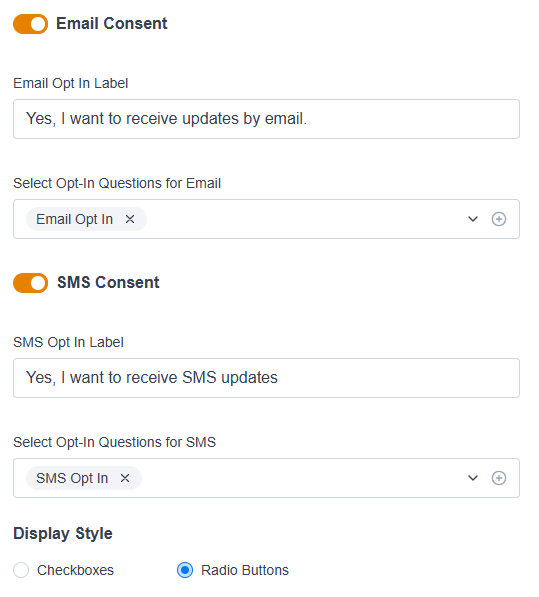
Explicit Consent
This option adds visible opt-in options to your page.
|
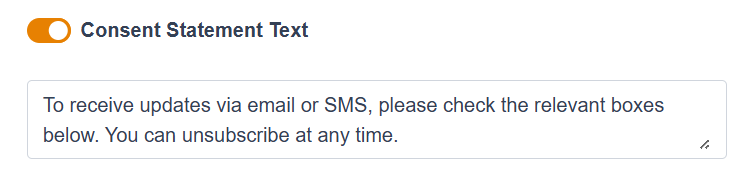
Consent Statement Text
|
|
|
Email/SMS Consent Use to enable or disable explicit email and/or SMS consent.
|
|
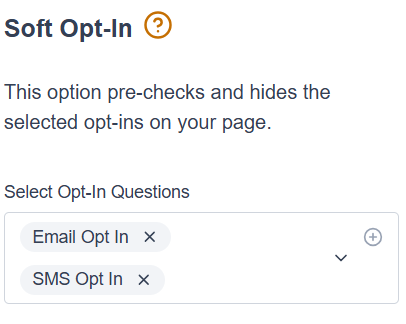
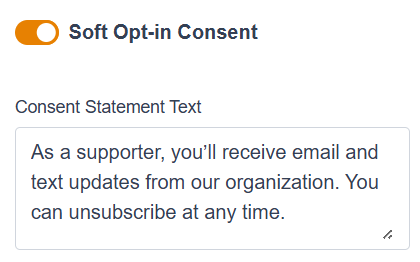
Soft Opt-in
This option pre-checks and hides the selected opt-ins on your page.
|
Question: Choose the opt-in question(s) you want the soft opt-in to be opted into on smart pages. |
|
|
Email/SMS Consent: Enable or disable an editable statement that appears when a supporter enters their name and email. |
|
Analytics & Cookie Management
|
Add your Google Container ID, Meta ID, or Cookiebot Domain Group ID here. |
Google Tag Manager
|

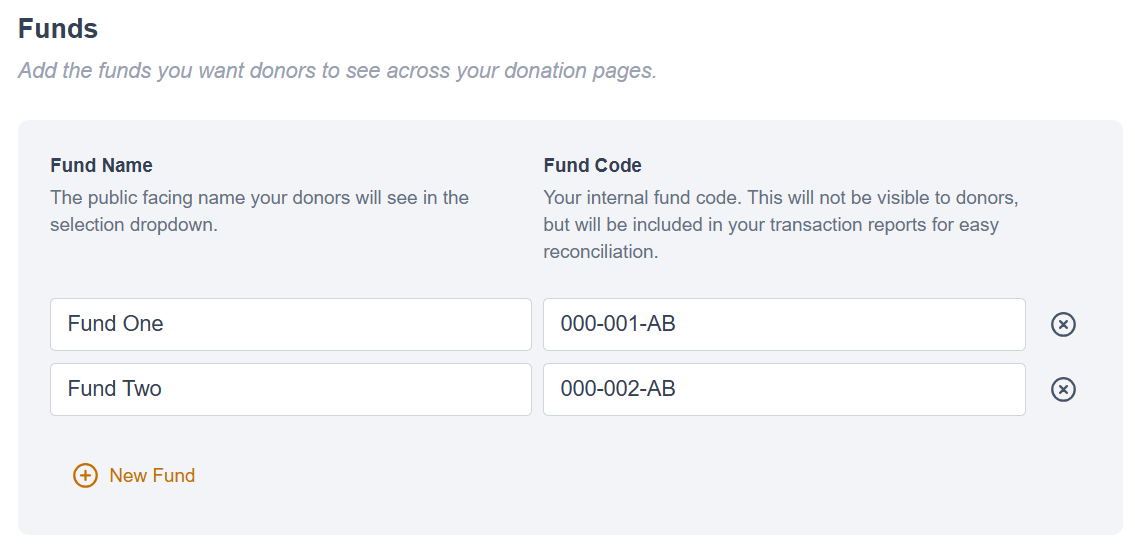
Fund Designation
Build and manage your master list of designation funds. Once added here, these funds will be available to toggle on or off across your individual smart pages, allowing donors to choose exactly where their contributions are directed.
Fund designation values will be exportable via transactional exports and will populate the Campaign Data 20 column.
|
|
|