
You can create, edit, test, delete, and view analytics in the My Smart Pages window.
Create and edit a Smart Page
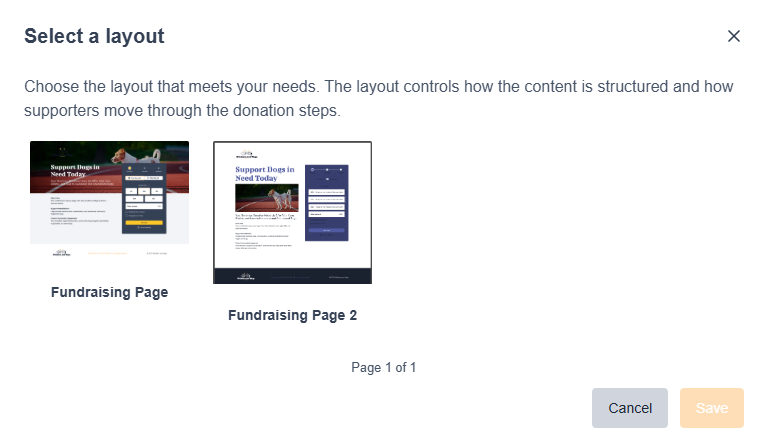
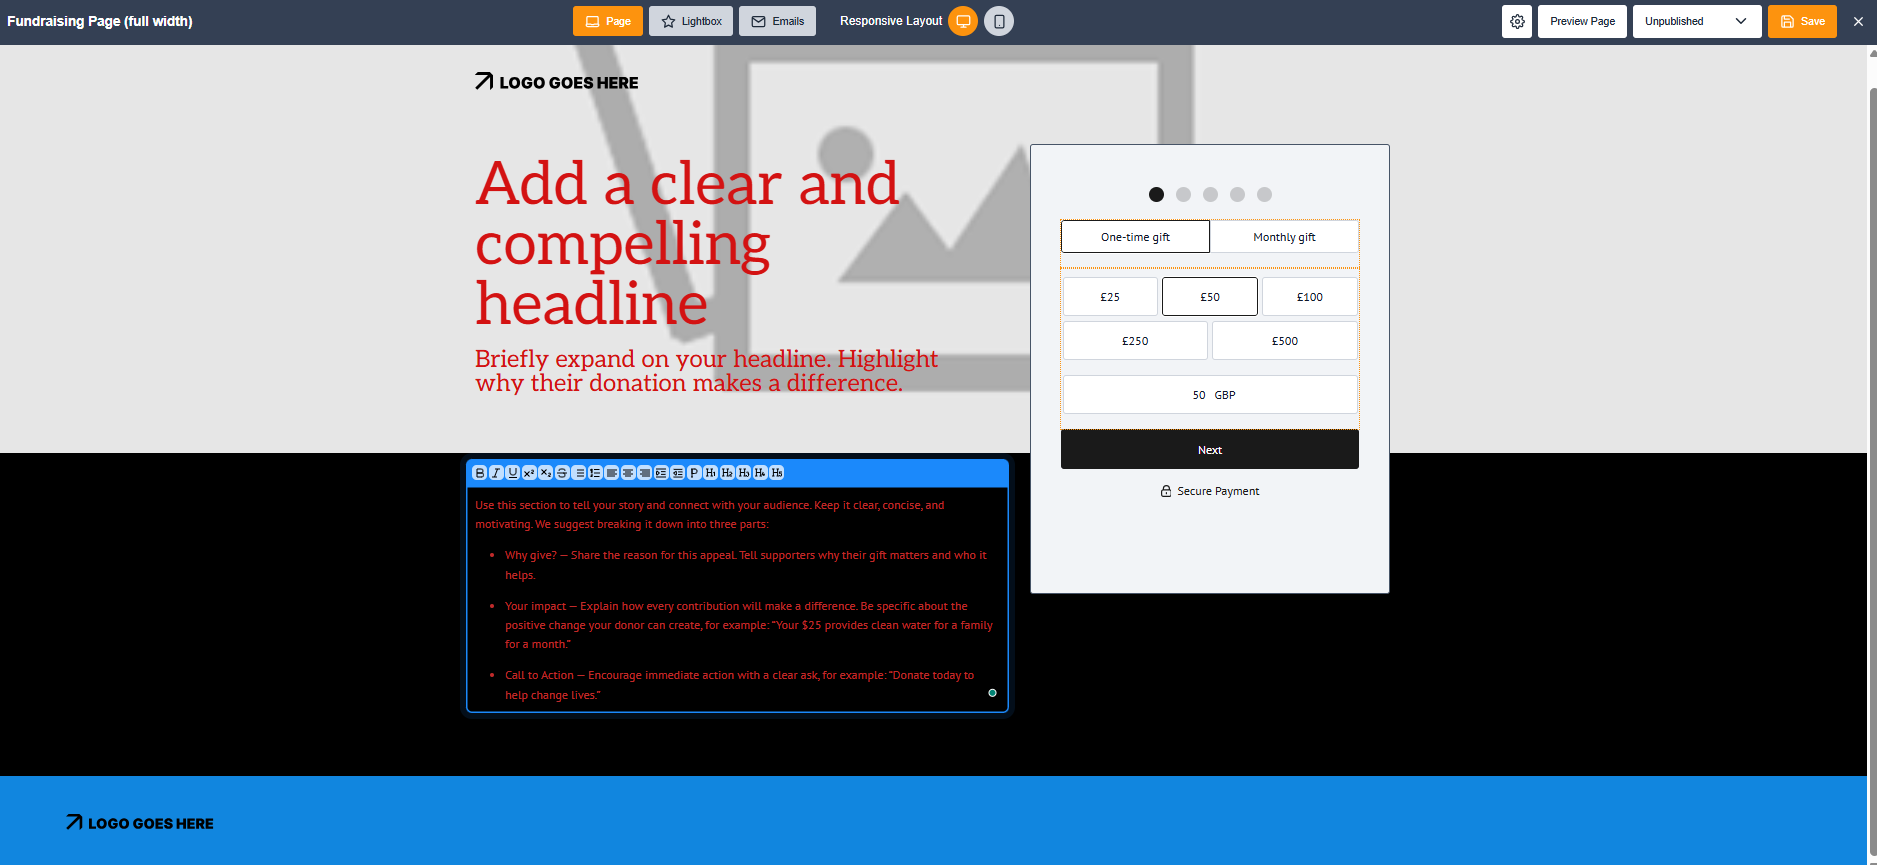
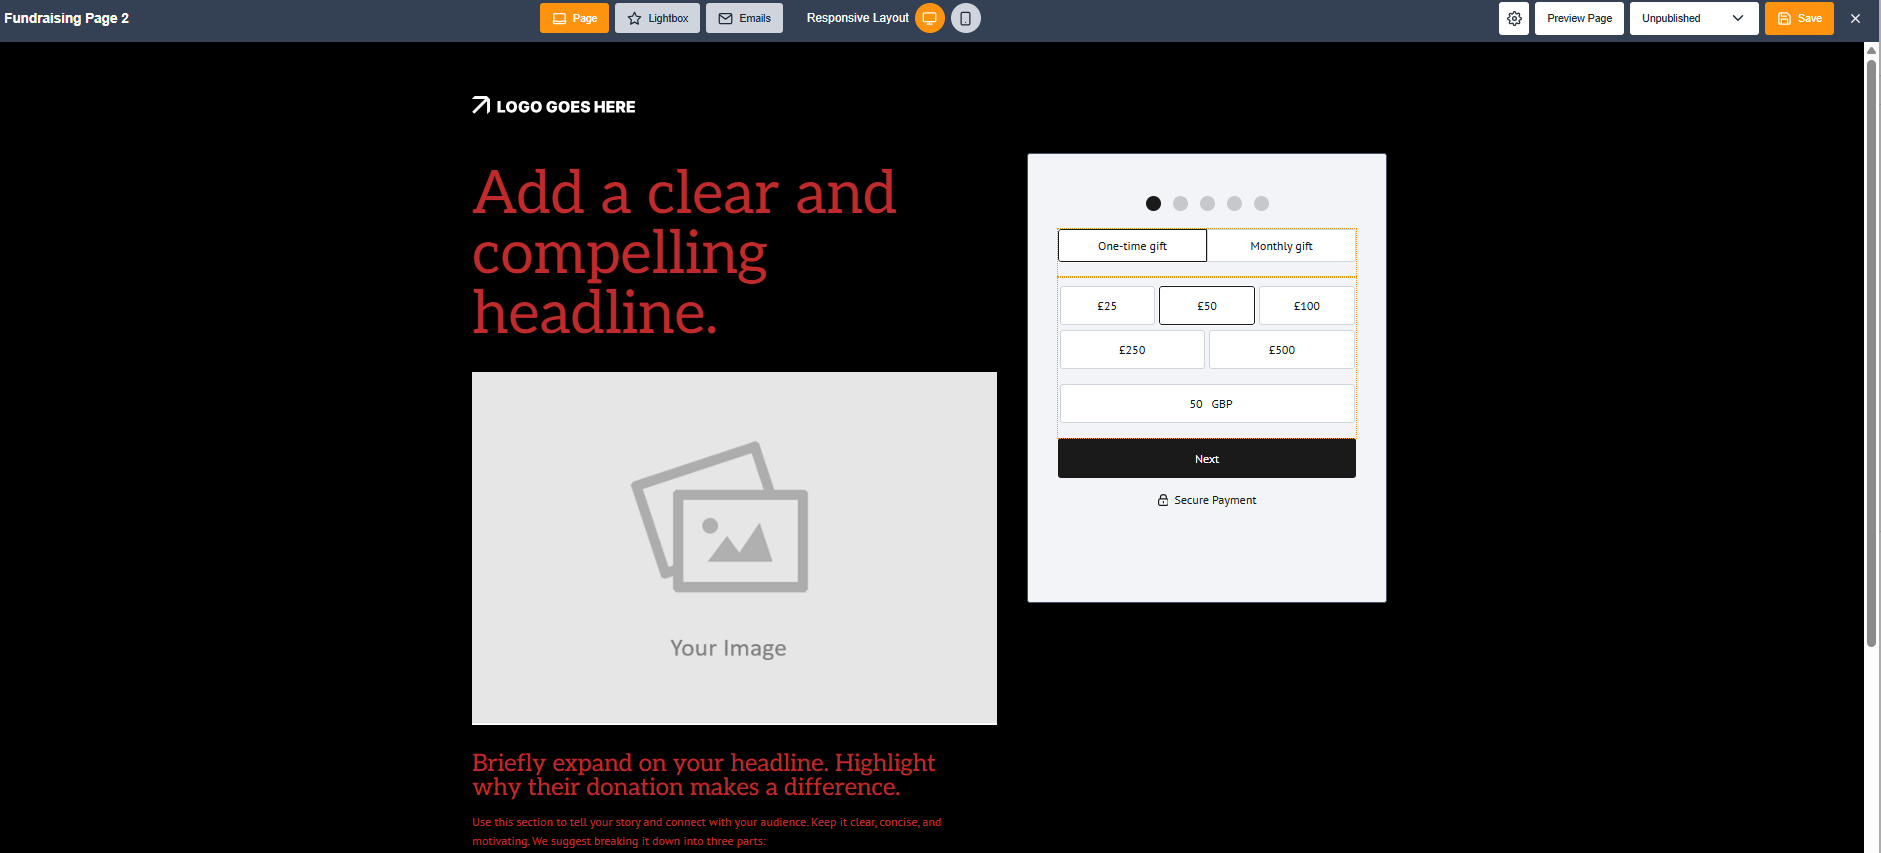
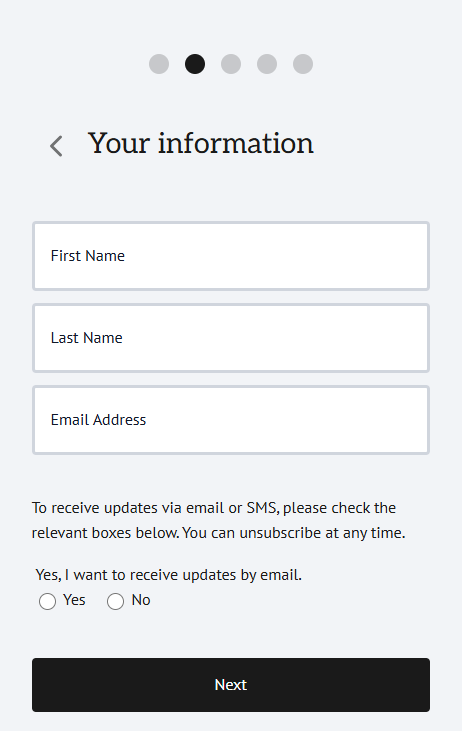
Once you’ve set up your global settings, creating a smart from scratch is quick and easy.
|
|
||||||
Lightbox and page copy are synced, so editing the lightbox also updates the page |
|
||||||
|
|
||||||
|

|
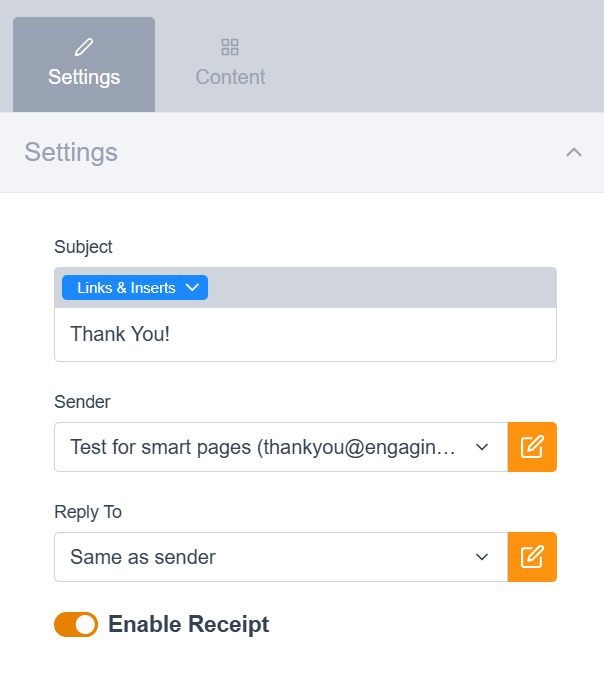
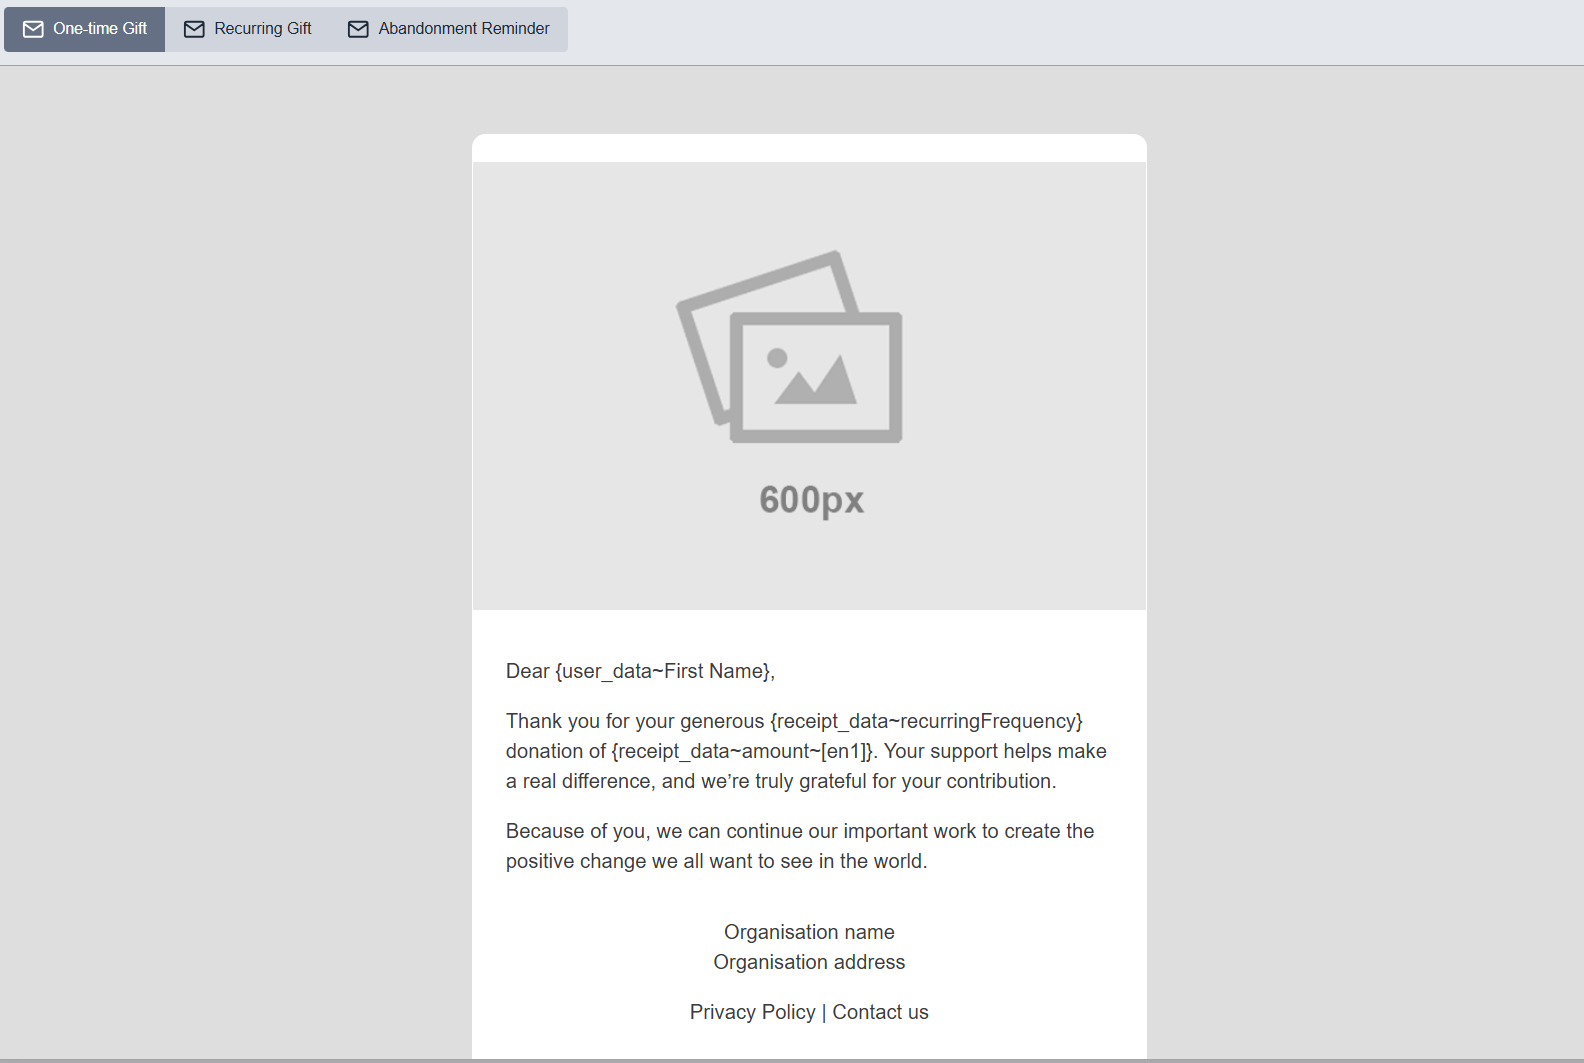
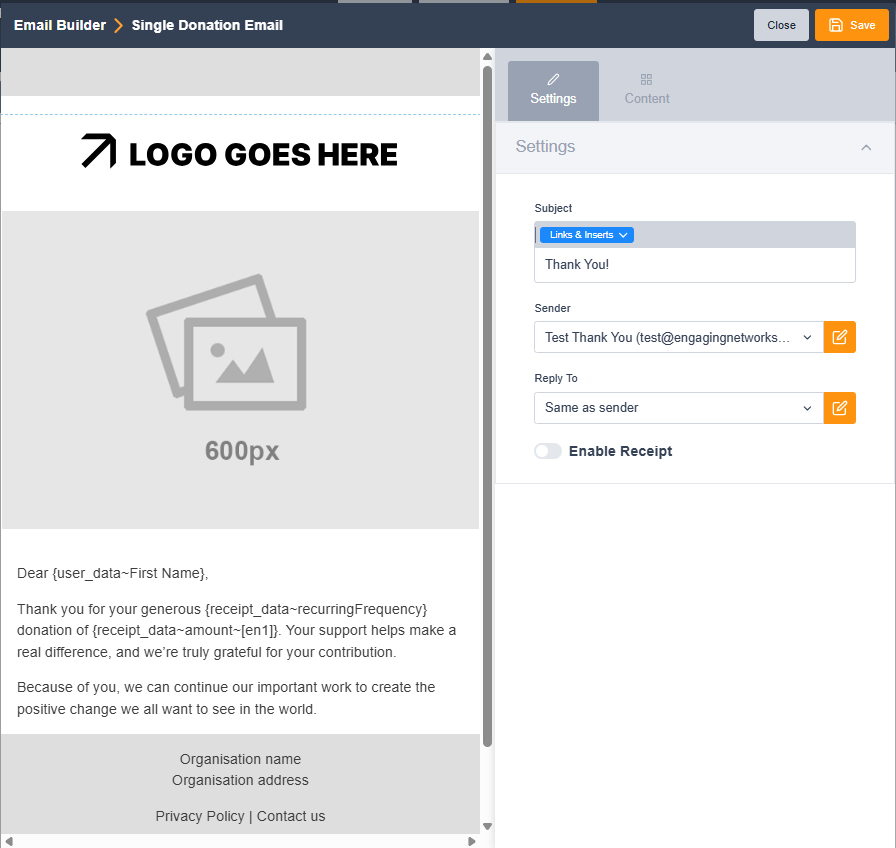
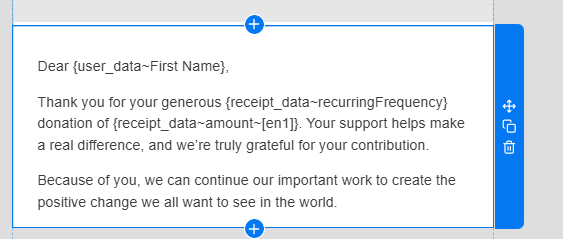
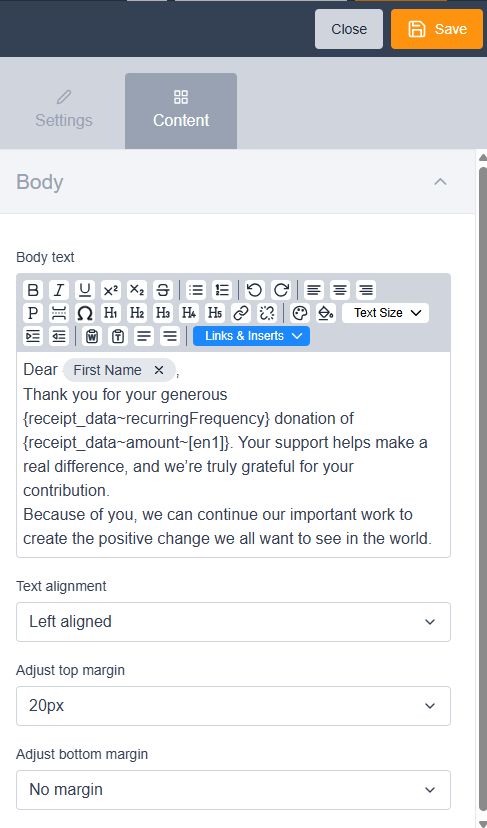
Edit Smart Page Emails
On SmartPages, you can edit emails for one-off or recurring donations using the same email builder from marketing tools broadcasts. To use the email function, you must have a thank-you email sender set up. To set one up, go to: Hello ‘Your name’ > Account Settings > Account Emails
|
|
||
|
|
||
|
|
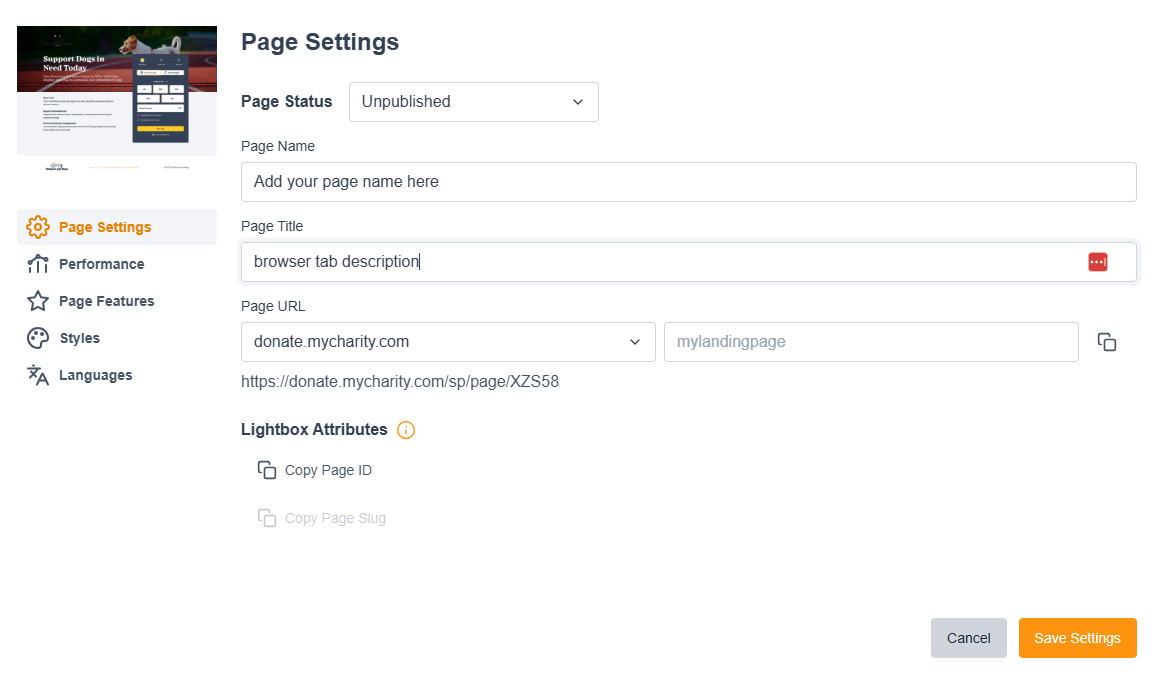
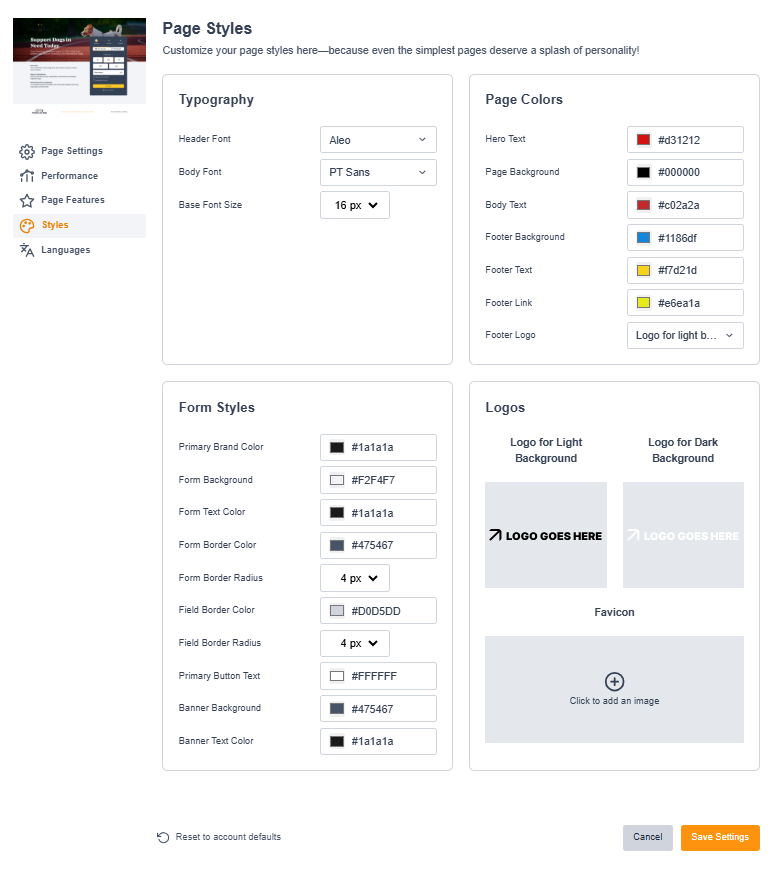
Smart Page Settings
Once you’ve set up your global settings, you can also edit the page settings at a local level.
|
Edit the following page settings here:
|
|
||
|
The page performance
If settings are enabled, additional metrics include:
|

|
||
|
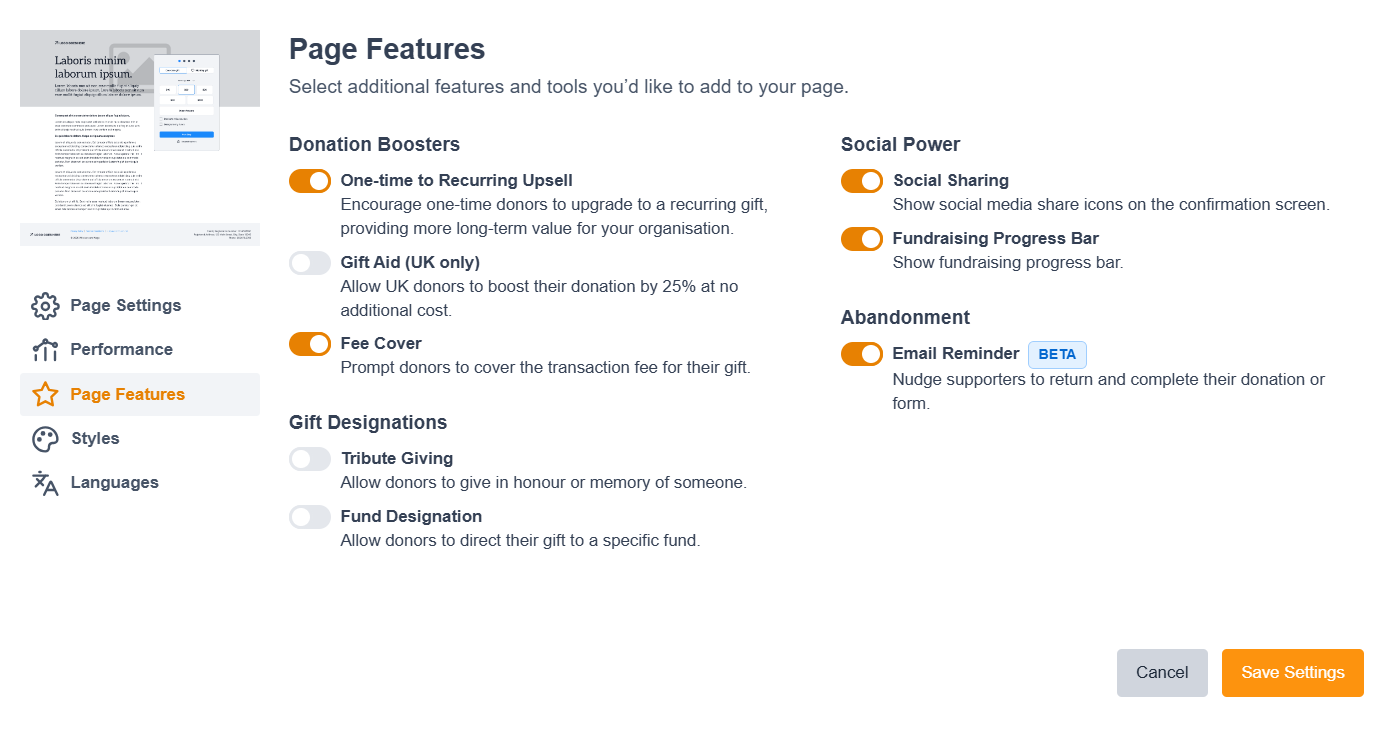
Page features allow the enabling and disabling of additional features and tools for use and inclusion on your page’s form: Donation Boosters:
|
|
||
|
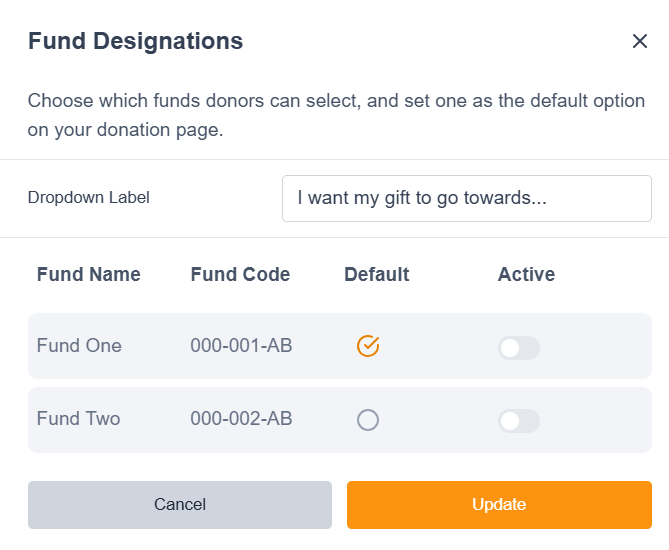
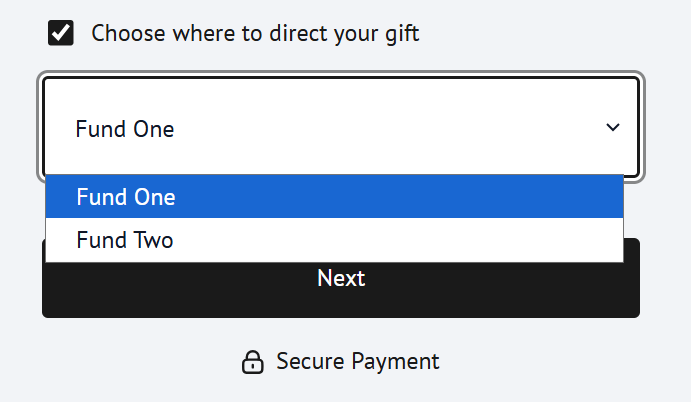
Gift Designations:
|
|
||
|
Social Power:
|

|
||
|
|
|
||
|
Select the default language for your page and any additional languages to tailor the page content based on your supporters’ browser preferences. Once enabled, you will need to create content for each language on your page. |

|


Additional Parameters
The following are additional data parameters you can add to your URLs to create additional transaction data on your successful donations.
|
Fields |
URL Parameter |
Alternative / UTM Parameter (if applicable) |
|---|---|---|
|
Origin Source |
|
|
|
Tracking Parameter |
|
|
|
Appeal Code |
|
|
|
External Reference 1 |
|
|
|
External Reference 2 |
|
|
|
External Reference 3 |
|
|
|
External Reference 4 |
|
|
|
External Reference 5 |
|
|
|
External Reference 6 |
|
|
|
External Reference 7 |
|
|
|
External Reference 8 |
|
|
|
External Reference 9 |
|
|
|
External Reference 10 |
|
|