Auto-responders (thank you emails)
The “Auto-responders” tool is used to send an automated thank you email to supporters after they have completed a form, for example after the donate or sign a petition.
This could be a simple thank you message or a confirmation message with event tickets attached. Each page type will have its own unique thank you email with transaction information that can be included.
NOTE: Auto-responders are optional. If you leave the content of an auto-responder blank, we will not send one.
Adding Auto-responders
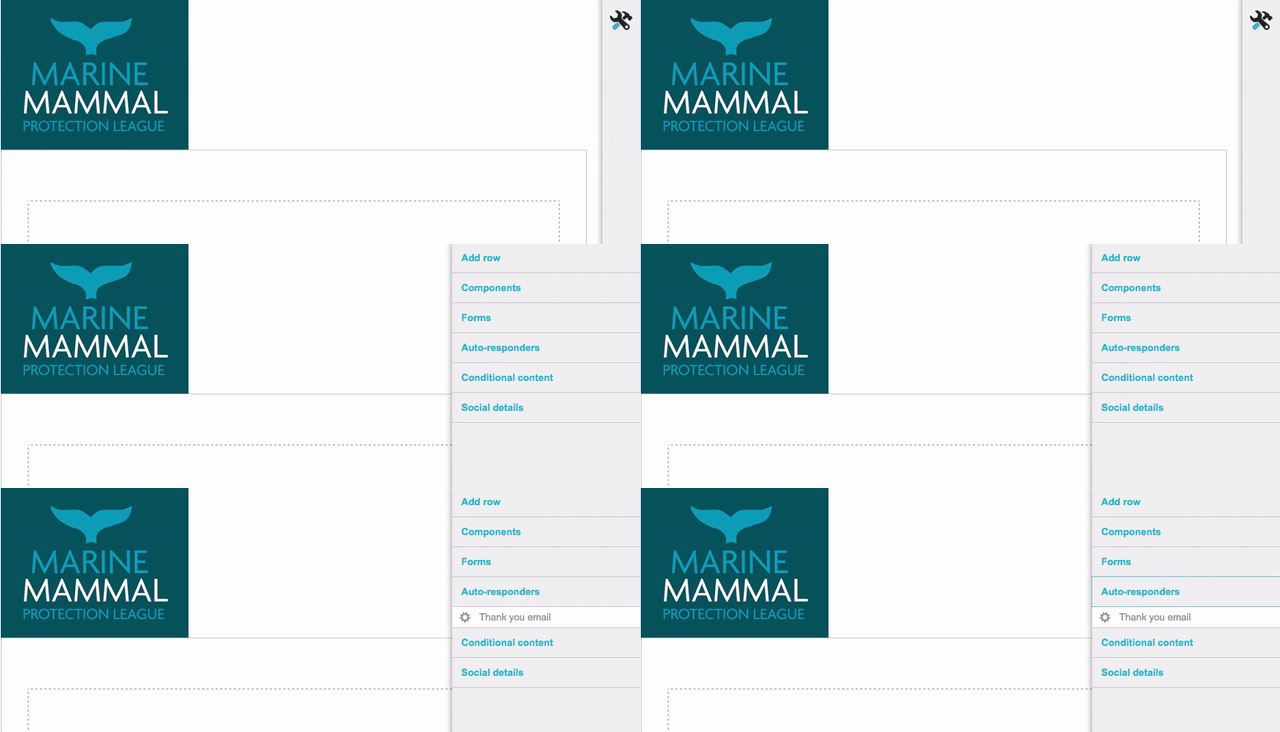
To add an auto-responder to your page, expand the toolbar by hovering over it with your mouse. Click on “Auto-responders” to reveal the thank you email tool and then click on “Thank you email” to open the editor.
Creating Thank You Emails
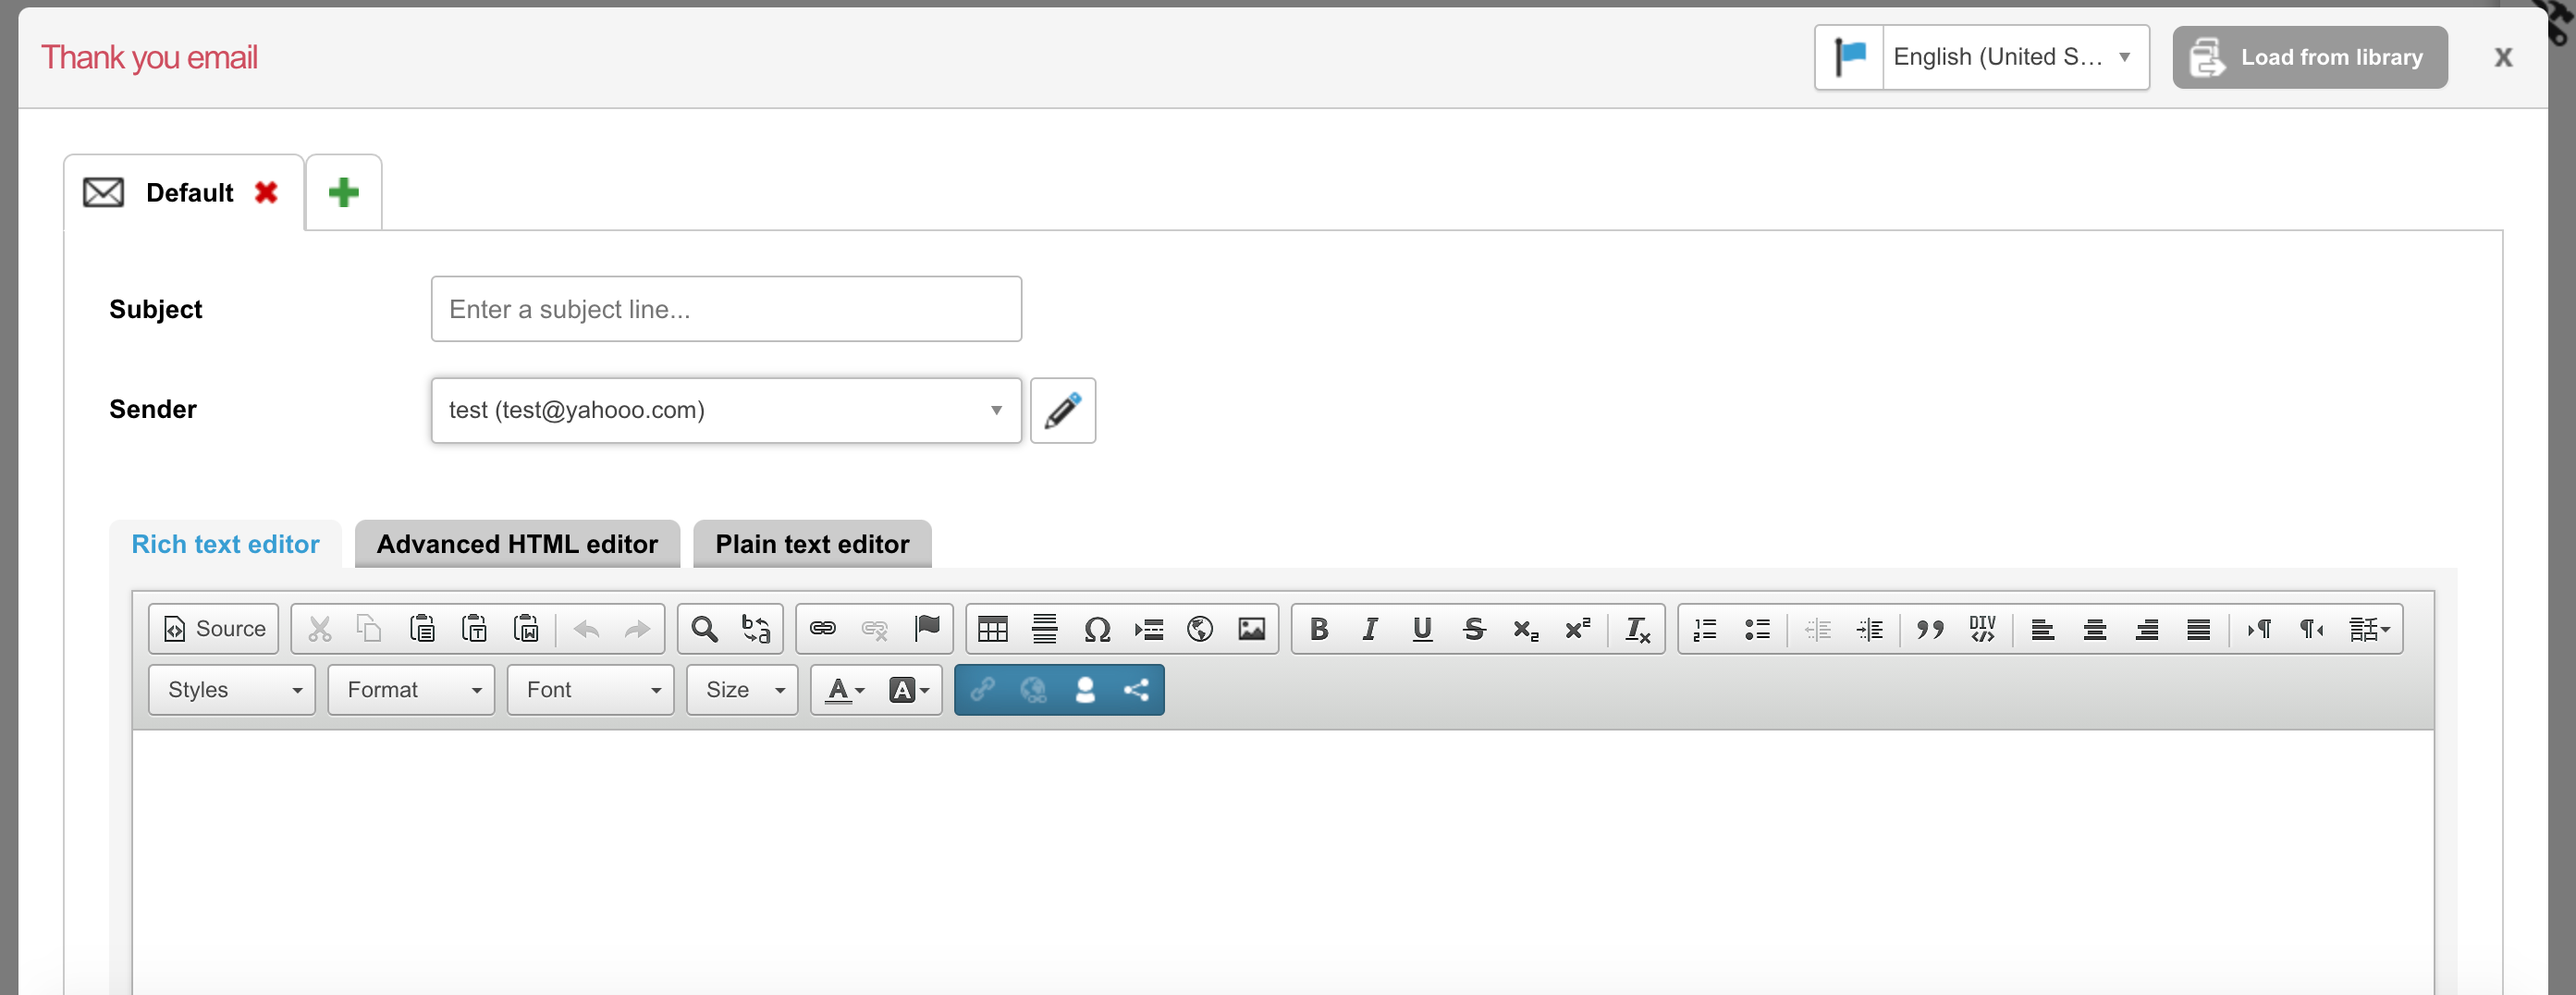
Once the editor is opened you are able to create your email using the rich text editor (WYSIWYG) or the advanced HTML editor. There is also a plain text editor that allows you to create a plain text version of your email, which is required.
Using locales? If you have multiple locales enabled in your account you will need to first select the locale you wish to create the thank you email for. You will need to repeat this process for each locale you use.
Enter the subject of the thank you email.
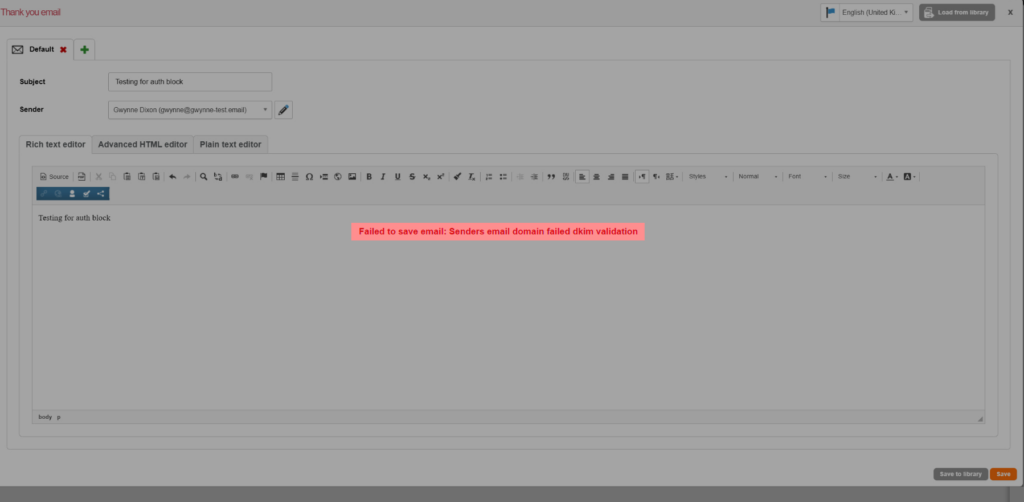
Select your sender from the dropdown menu. You can also add a new sender by clicking on the edit icon besides the menu. The sender email domain must be authenticated to send emails from Engaging Networks. If the sender isn’t authenticated trying to save the thank you email will produce an error.
For further customization, you can even create entirely different messages which will be sent instead of the default if certain criteria are met with “Custom Auto-responders“.
Depending on the page type the thank you email is used for, you may also have an attachment option for receipts or event tickets.


Select the attachment to use from the dropdown menu or click on the edit icon to create a new one.
For more information on creating and managing receipts read the help documentation here. For more information on creating and managing event tickets read the help documentation here.
To save the thank you email, click “Save”. To save it for use on other pages click “Save to library”.
Recurring Gift Receipts: Note that Auto-Responder Emails for donation pages generate a receipt for recurring gifts. Annual Receipting is the best method for creating receipts for those giving on a recurring basis.
Customizing Thank You Emails
You can customize the content of your thank you email using the Engaging Networks Tools. Depending on the page type, you will have different data you can insert.
Standard thank you emails
This is the standard thank you email that is associated with most pages in Engaging Networks. Every thank you email has these four tools available.

| None | None |
|---|---|
|
Campaign Link |
You can insert links to other advocacy or fundraising campaigns. Name: Give your link a unique name or let Engaging Networks generate one for you. Campaign: Select the campaign you would like to link to. Tracking parameter: If you have added tracking parameters to your campaign, you can link to specific tracked URL. Select the tracking parameter and the dropdown below will update to display campaigns that are using this specific tracking id. Start page: Select the start page for your campaign: you can redirect supporters to page 1 and pre-populate their data or you can redirect them automatically to page 2, submitting their data for them (provided that all the requested information has been collected on the previous campaign page). Link color: You can select the color of the link. |
|
Static Link |
You can insert links to pages on your website or “static pages” set up in your Engaging Networks account. Name: Give your link a unique name or let Engaging Networks generate one for you. External URL: enter a URL of a webpage you would like to insert a link to. Static page: enter a URL of a static page that is built and hosted within your Engaging Networks account. To create a new static page, head to “Account defaults’ > Manage web pages“. Link color: You can select the color of the link. |
|
User Data |
You can customize a thank you email with any personal data of a supporter. NOTE: If there is no data stored in the supporter record for the field it will appear blank in the email. |
|
Question Value |
You can insert the submitted value of any questions on your page into your thank you email. |
|
Social Share Buttons |
You can insert buttons to share your action on Facebook, Twitter, WhatsApp, and LinkedIn. Read more here. |
Email to Target thank you emails
In addition to the tools list above, Email to Target actions have an additional option which will allow you to insert a link to a downloadable PDF version of the sent message(s). The icon appears as ![]() in the toolbar.
in the toolbar.
![]()
If you have enabled the ‘Verify sender’ function in your page’s Admin section under the ‘Target settings’ panel, messages will not be sent to the target(s) until your supporter clicks on a confirmation link in the thank you email. The icon will only appear in the toolbar if this feature is enabled, in which case the toolbar will expand to look like the following:
![]()
Donation thank you emails
In addition to the tools list above, donation pages have two other options, Donation Data and Attachment Link.
![]()
| None | None |
|---|---|
|
Donation Data |
You can include details about the donation made in the thank you email. All fields related to donations are available to insert. Each individual detail will need to be inserted separately, so place your cursor where you would like to insert the data, make the selection and click “Insert” (repeat the process as many times as you need.) When inserting transaction date, you will have the option to select the date format and time zone the receipt displays. By default, the data populates as yyyy-MM-dd with North America – Eastern Time. NOTE: If you have sequential receipting enabled, including “receipt id” in the email will trigger a new receipt number to be issued. |
|
Attachment Link (receipt) |
Use the “Attachment Link” tool to insert a downloadable PDF receipt for single donation transactions (only). For more information on receipts read the support documentation here. |
Event thank you emails
In addition to the standard tools list, event pages have three other options, Event Data, Order Summary, and Attachment Link.
![]()
| None | None |
|---|---|
|
Event Data | Use the “Event Data” tool to insert logistical details about your event. |
|
Order Summary | The “Order Summary” tool inserts a customizable table to show which tickets were purchased by the supporter. |
|
Attachment Link (tickets) |
Use the “Attachment Link” tool to insert a downloadable PDF event ticket for each attendee. For more information on event tickets read the support documentation here. |
Loading thank you emails from the library
You can also load pre-built thank you emails that are shared with other pages in your account by clicking the “Load from library” button at the top of the editor ![]() .
.
Select the thank you email you would like to use on the page and click “Use selected component” to load it.
Only thank you emails for the page type you are working on will be displayed.
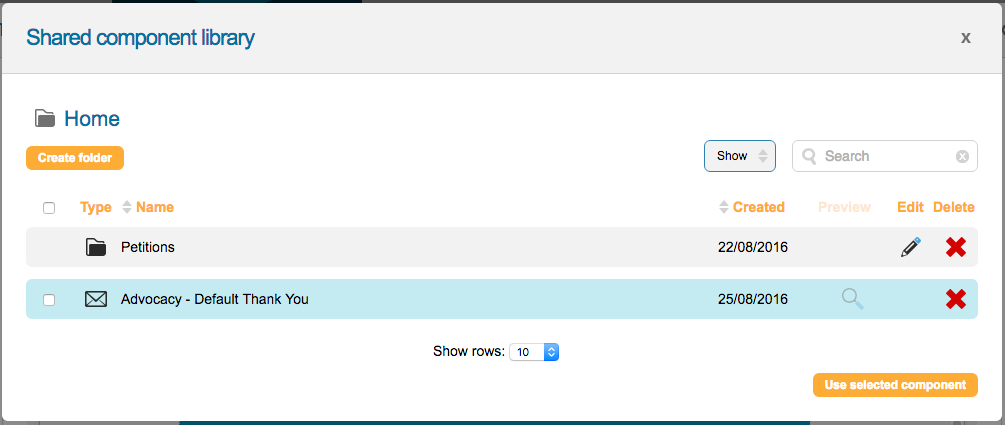
Once loaded, you can leave the thank you email linked to your library or remove the link so you can make edits to it without affecting the other pages it’s shared to.
To unlink the thank you email, click the “Unlink from library” button next to the save button. ![]()
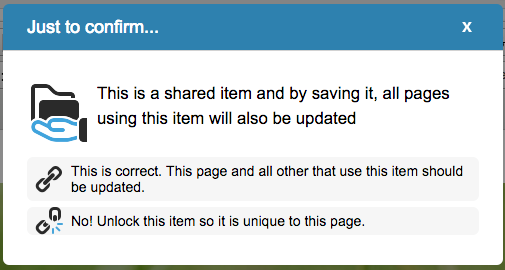
Otherwise, save your thank you email as normal. A dialog will open confirming that you want to use the linked content that also gives you the option to unlink the content.
Adding Social Sharing Buttons
Use this insert button to add social sharing buttons to your thank you email:
![]()
This will show you the different social media options available:
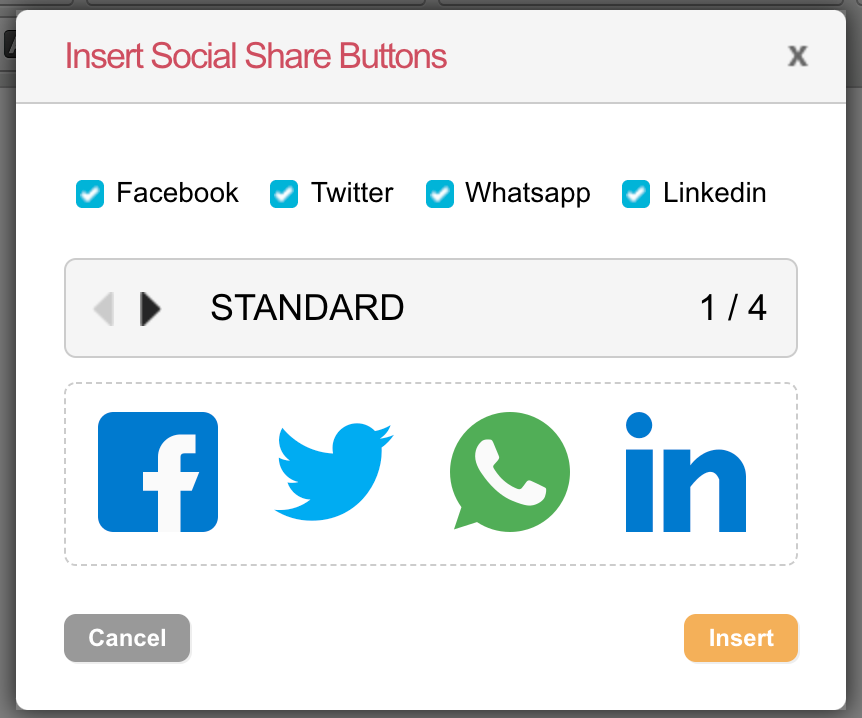
Use the arrows to choose which style of button you want to insert:
|
Bevel:
|
Simple:
|
Black:
|
Make sure your social settings are set up so that these buttons will then populate with a sharing link.


