
Engaging Networks supports Single Sign-On (SSO) integration with Microsoft Entra ID (formerly Azure AD) and Okta using the OpenID Connect (OIDC) protocol. This allows your team to authenticate into the Engaging Networks platform using their existing corporate credentials, enhancing security and simplifying user management.
Entra Integration
Before you begin
To complete this setup, you will need:
-
Administrative access to your organization’s Microsoft Entra admin center.
-
Account Administrator permissions in Engaging Networks.
-
Your Engaging Networks Client ID (Hello > Client ID).
Step 1: Configure Microsoft Entra ID
First, you must register Engaging Networks as an application within your Microsoft Entra ID tenant. |
|---|
|
|
|
|
|
|
|
Step 2: Enable the Entra ID Extension in Engaging Networks
Once the application is registered in Microsoft, you must provide the credentials to Engaging Networks to complete the link. |
|
|
|
|
|
|
|
Important Notes
|
Okta Integration Overview
The Okta integration uses the Open ID framework to allow authenticated users to securely log in to an individual account.
Clients using the Accounts Hub may also enable the Okta integration through this process, using a separate Okta app. Okta can also be used to allow your supporters to log into the Supporter Hub – see the separate documentation if you wish to use it there. The Supporter Hub implementation also requires a separate Okta app.
Set Up Instructions
-
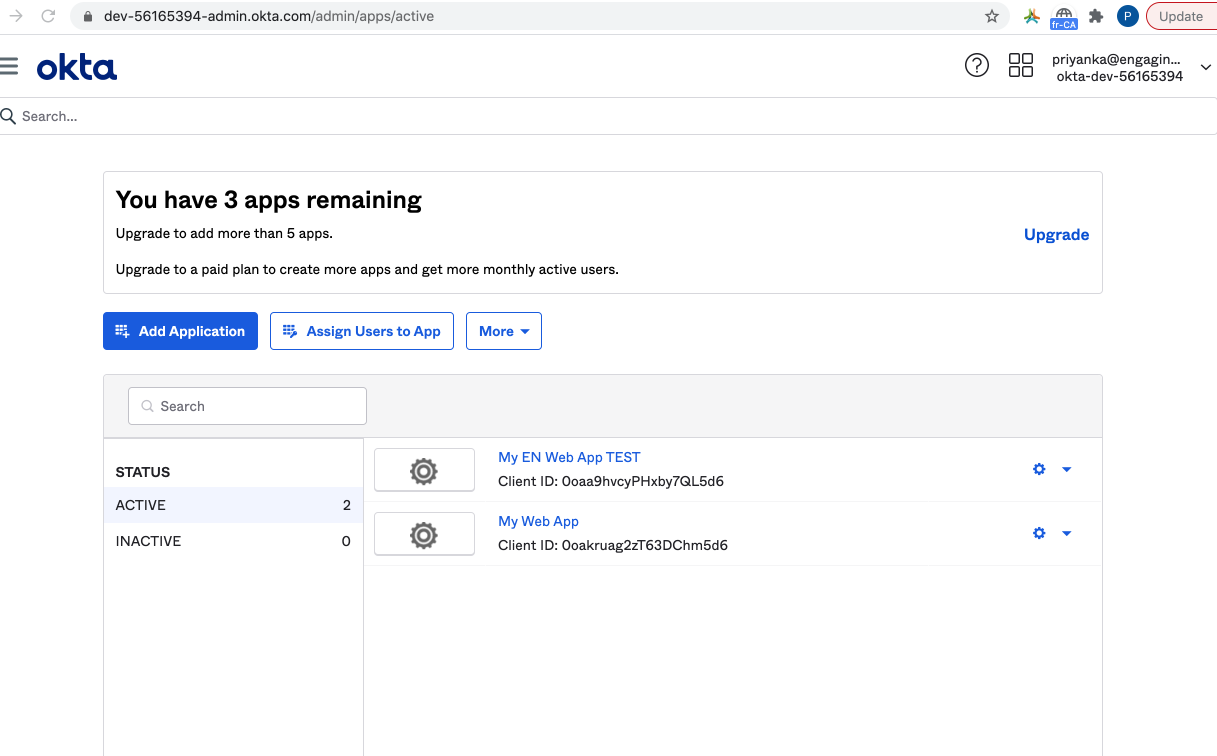
In Okta, click on Add Application
-
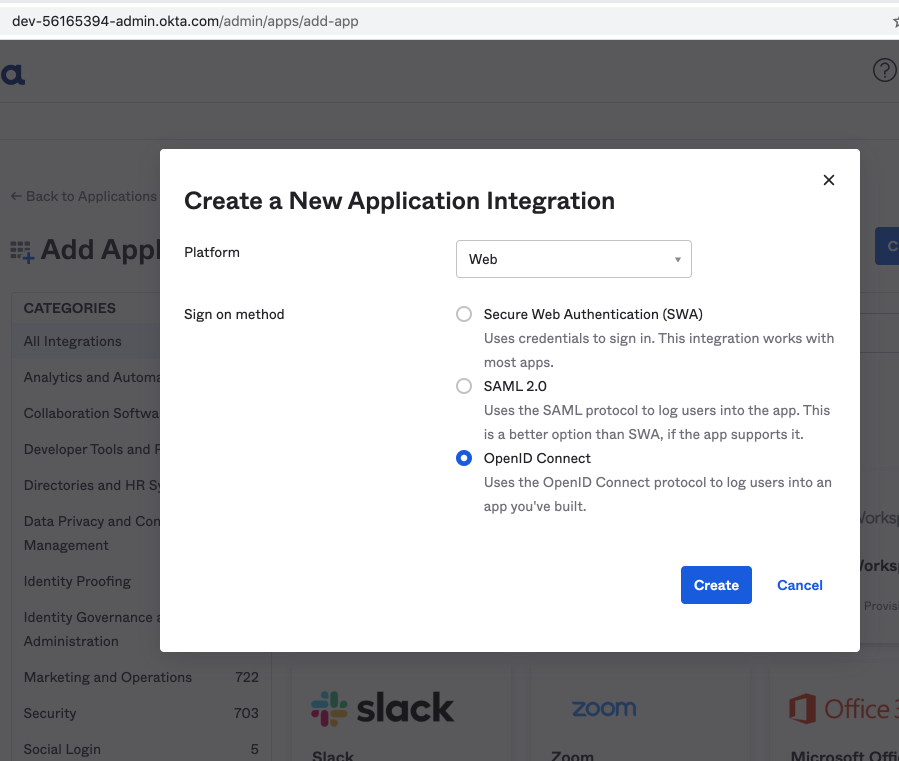
Choose OpenID Connect
-
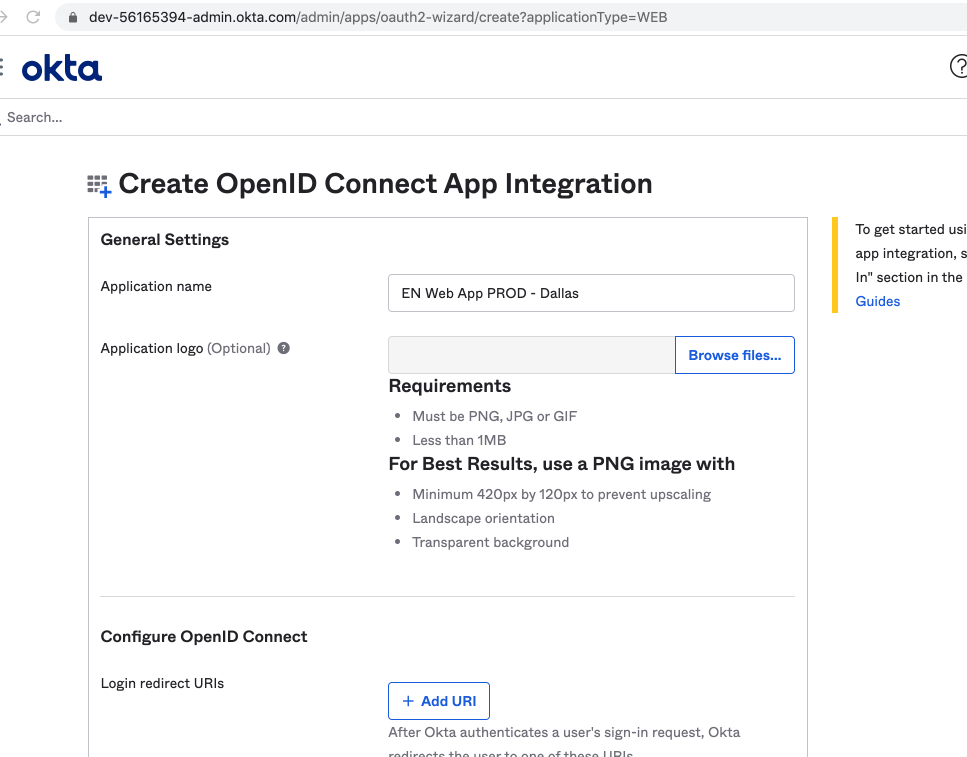
Give the application a name, e.g. “Engaging Networks Okta Accounts”
-
The web app redirect URI should point to one of the URLs below depending on your server. The ClientID can be found in Engaging Networks under the Hello menu.
|
CA |
https://ca.engagingnetworks.app/ea-dataservice/rest/account/auth/client/{clientId} |
|
US |
https://us.engagingnetworks.app/ea-dataservice/rest/account/auth/client/{clientId} |
|
US2 |
https://us2.engagingnetworks.app/ea-dataservice/rest/account/auth/client/{clientId} |
-
On saving, Client ID and Client Secret keys will be generated.
-
Edit the General settings and add Initiate login URI – https://ca.engagingnetworks.app/index.html#login or https://us.engagingnetworks.app/index.html#login or
https://us2.engagingnetworks.app/index.html#login -
Add ‘People’ under Directory. Make sure that these users exist in Engaging Networks
-
In Engaging Networks, enable the Okta integration in your Engaging Networks account by navigating to the Extensions Manager under your Account Settings. Select the Okta integration available under the Account level integration options.
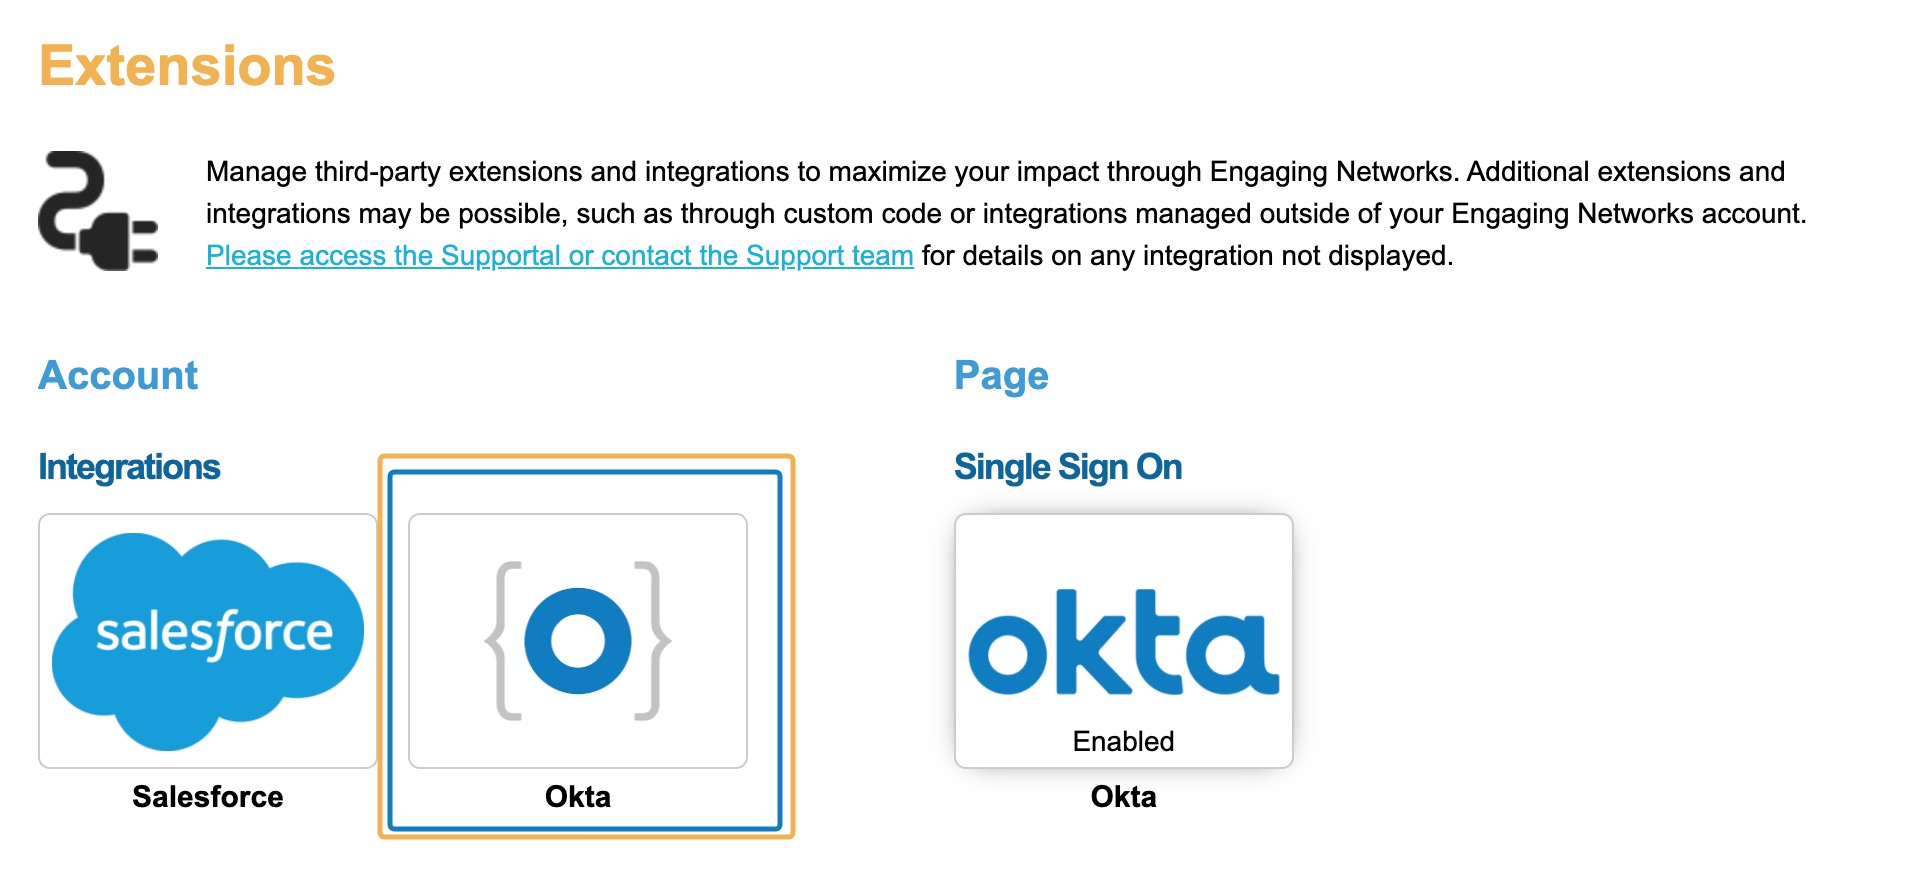
The Page level Okta integration allows enabling with the Supporter Hub.
-
Enter the required details prompted, including Okta Client ID and Client Secret (this should be used from your web app in Okta). The Okta login URL should be auto-populated in Engaging Networks. Be sure to save all details updated to enable.
-
Update your web app in Okta with the login URL populated.
-
In the Okta web app, Add users under ‘Assignments’ in the web app with a primary email address for each. This will determine who is able to access the particular account (or associated subaccounts).
-
When the redirect is sent to Engaging Networks, it will make the appropriate calls to obtain the access token. Using the access token, Engaging Networks will make a call to the ‘userinfo’ endpoint to obtain the email address of the authenticated user. It will then use that email address to log the user into the account.
Note: When a user logs out of the account, Engaging Networks will destroy the application session but will not log the user out of Okta.