
Opt-ins are a question type that lets you record a responder's consent (opting in) or withdrawal of consent (opting out). They typically use a radio or checkbox field type to collect a ‘Y' (Yes) or 'N' (No) response value. They’re shared components, meaning any updates apply universally, and opt-ins do not control the sending of autoresponder emails on pages.
The software offers two distinct opt-in question types:
-
Opt-ins (QCB): Use a 'Y' (Yes) or 'N' (No) response type.
-
Opt-ins with confirmation (CQS): Also known as double opt-in. Consent is initiated through a question on a page, followed by an email being sent to the user. When the email is sent, it creates a ‘P' (Pending) value against the question, which becomes a 'Y’ (Yes) value once the recipient has clicked on the link in the email.
For information on managing Soft opt-ins, read our blog.
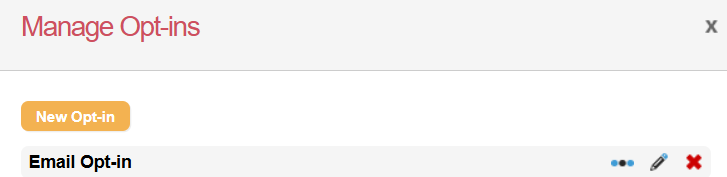
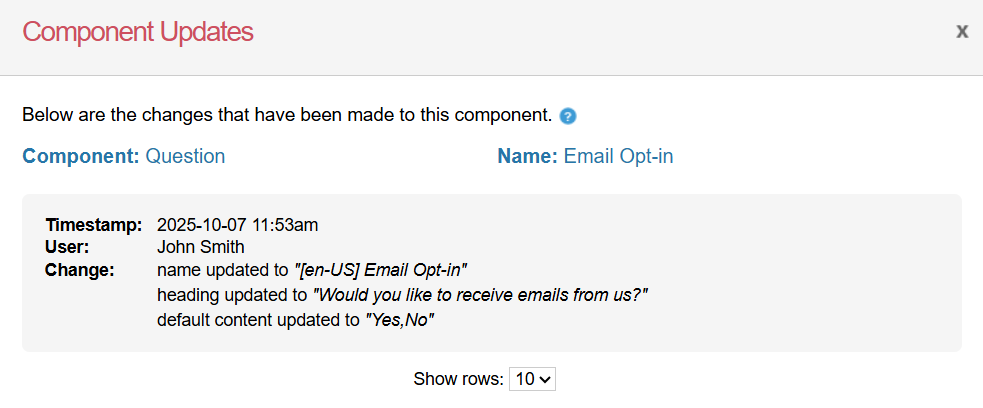
Adding, editing, deleting, checking usage and version history of an opt-in
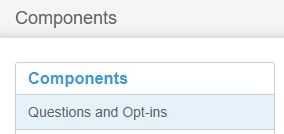
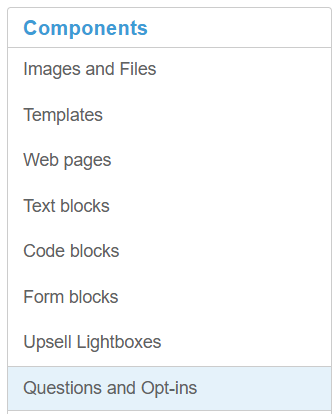
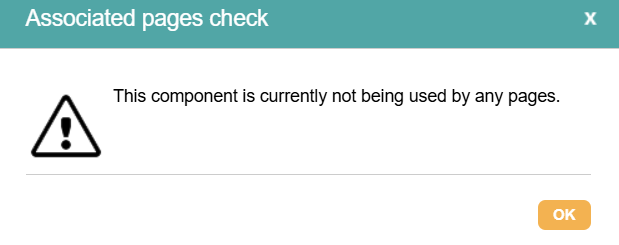
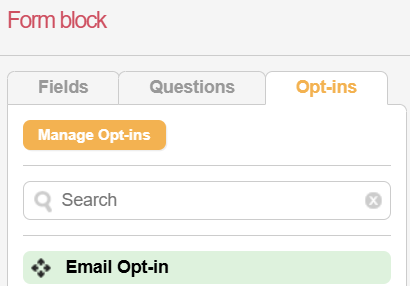
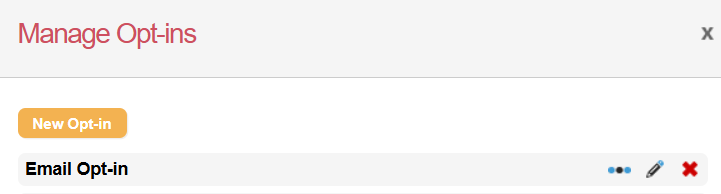
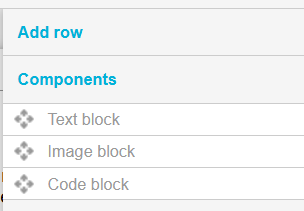
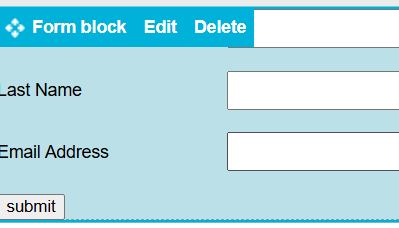
You can create opt-ins using page components or on the page with a form.
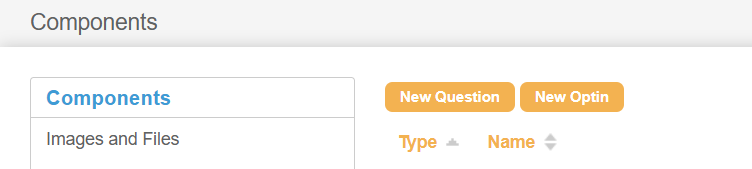
With Components:
|
|
||
|
|
||
|
|
||
|
|
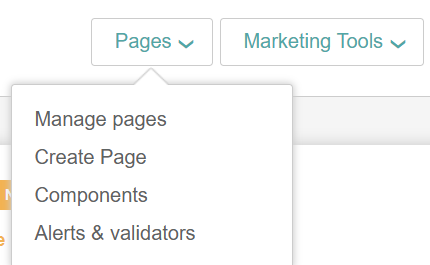



On the page:
|
|
||
|
|
||
|
|
||
|
|
||
|
|


Required Information for creating an opt-in or opt-in with confirmation
|
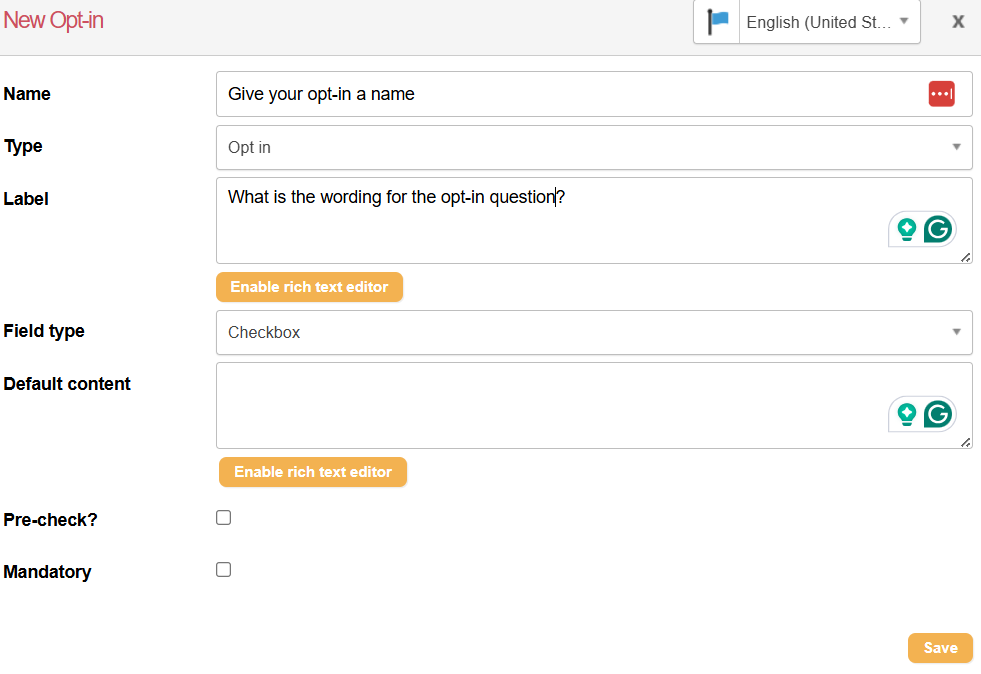
Name |
This is an internal name used for identifying your opt-in. |
||||
|---|---|---|---|---|---|
|
Type |
Choose between:
|
||||
|
Message
|
If you’ve chosen Opt-in with confirmation, this is where you manage the confirmation email. |
||||
|
Label |
This is the opt-in question you want to ask your supporters. Enabling the rich text editor allows you to edit the HTML source, add and remove links (for example, to a Terms and Conditions page), create anchor links and edit the formatting of the question label. |
||||
|
Field Type* |
You can select one of two types of opt-in fields:
When first choosing a field type, consider your account’s opt-in settings and how they may be affected. |
||||
|
Default Content |
Text Area Box: Edit the default content of the label that appears to the right of the checkbox.
|
||||
|
Pre-check
|
With a checkbox field type, you can set it to be pre-checked (pre-ticked) when the supporter lands on your page. |
||||
|
Mandatory |
You can make the opt-in question mandatory, meaning it must be answered when it’s included on a page. |


Setting up an opt-in with confirmation
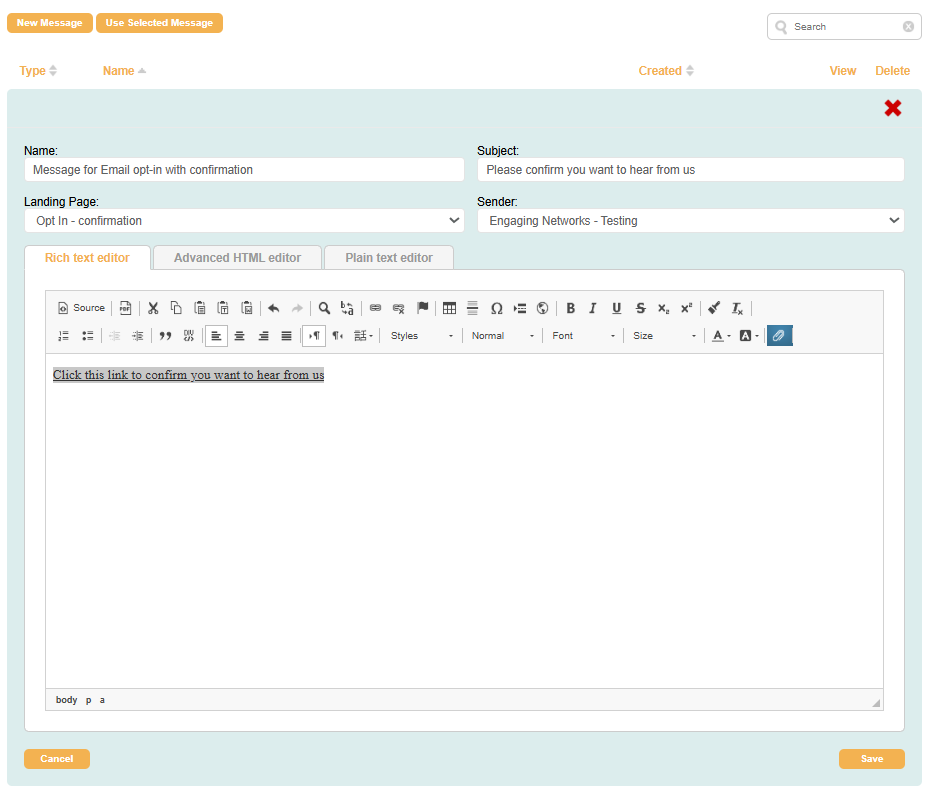
An Opt-in with confirmation is often used for compliance or data-quality reasons, as it ensures subscribers are genuine and want to hear from your organisation. They work by sending a message to a subscriber containing a confirmation link. The opt-in status of unconfirmed opt-ins is ‘P', and changes to 'Y’ once confirmed. Supporters must complete this action within 24 hours, as the opt-in confirmation link expires after 24 hours.
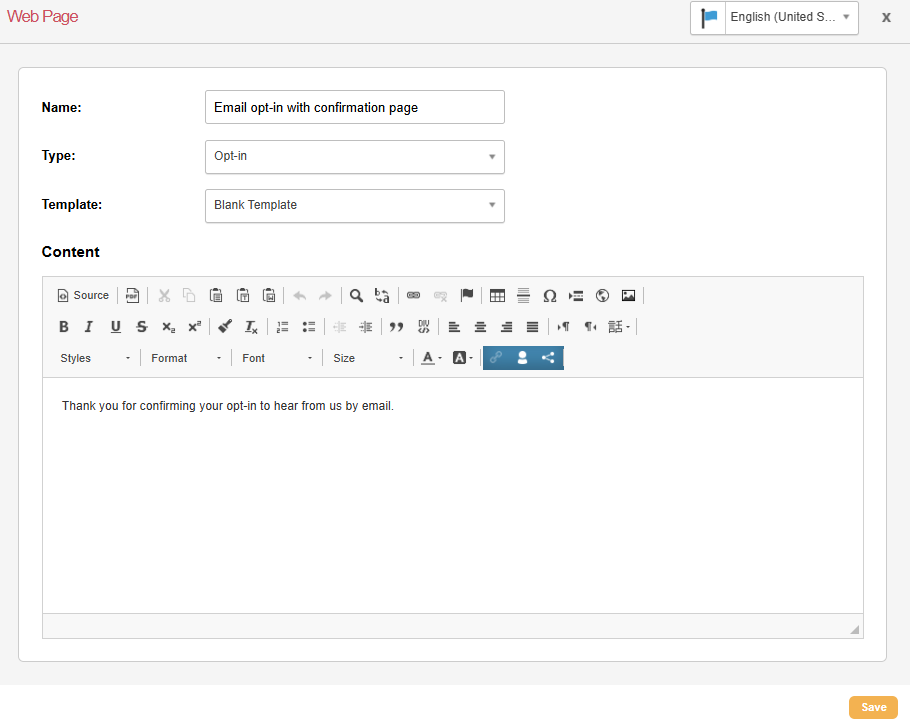
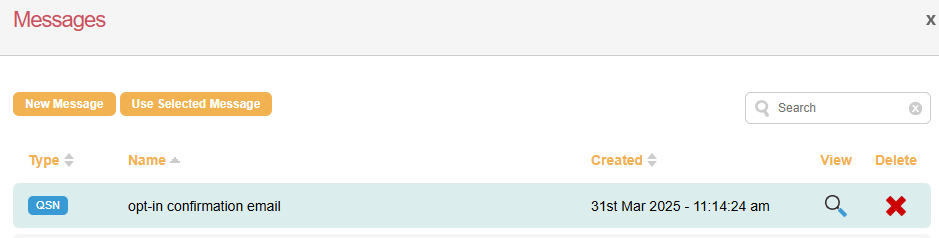
To use an opt-in with a confirmation question, you will require an opt-in web page and a confirmation email. You select these when creating your question, but you can also edit or change them later.
Opt-in web page
|

|
|
|
Selecting a confirmation message
|

|
||
|
|

Opt-in data Values
Unlike question multiple response (QMR), where you can set the value to almost anything, opt-in question (QCB) values are limited to Y (they are opted-in), N (they have opted-out) and opt-in with confirmation questions (CQS) are limited to Y, N or P for a pending opt-in with confirmation.
Opt-ins are also transactional, meaning they store a record each time a supporter answers the question, even if the value remains unchanged.
Always verify your opt-in data value before importing, as any opt-in question containing values other than Y or N will create a QMR question.
|
Value |
Question Transaction Created |
|---|---|
|
Yes |
QMR |
|
Y |
QCB |
Account Settings - Opt-in Behaviours
Update existing supporter records when an opt-in question response is submitted.
This setting means the opt-in status for your supporters will update only if they complete an opt-in question or unsubscribe via a broadcast email.
For checkbox opt-ins. With setting:
-
Disabled: An opted-in supporter who fails to check the box will remain opted-in
-
Enabled: An opted-in supporter who fails to check the box will be opted out
For Radio opt-ins, the value will always be overwritten with the selected value, regardless of the setting.
Do not display for Y values
The account setting “if an opt-in value is Y, do not display on the page render for the supporter” affects whether the opt-in questions are visible on the page or not when a supporter lands on a page.
However, there are some instances where the questions will not be hidden, regardless of the setting:
-
After a ‘dependency redirect’, for example, as a result of a particular value being selected in a form.
-
On unsubscribe pages, the current opt-in status of any questions included will be displayed.
-
If a supporter clicks through to a page more than once from a broadcast email.